DIY Backyard Hammock Ideas: 7 Relaxing Retreats You Can Make
DIY backyard hammock ideas cover homemade hammock construction, stand building, hanging techniques, and comfort upgrades so you can set up a backyard relaxation station for $20 to $200 in materials without buying a pre-made hammock set that costs $150 to $500. A hammock needs two anchor points 12 to 15 feet apart (trees, posts, a building wall, or a freestanding stand), a fabric or rope sleeping surface rated for your body weight plus a 50% safety margin, and hardware rated for outdoor weather exposure. Below are 7 DIY backyard hammock setups with specific materials, dimensions, and costs, followed by a how-to building guide, a comparison table, and FAQs.
1. Balcony Hammock Setup
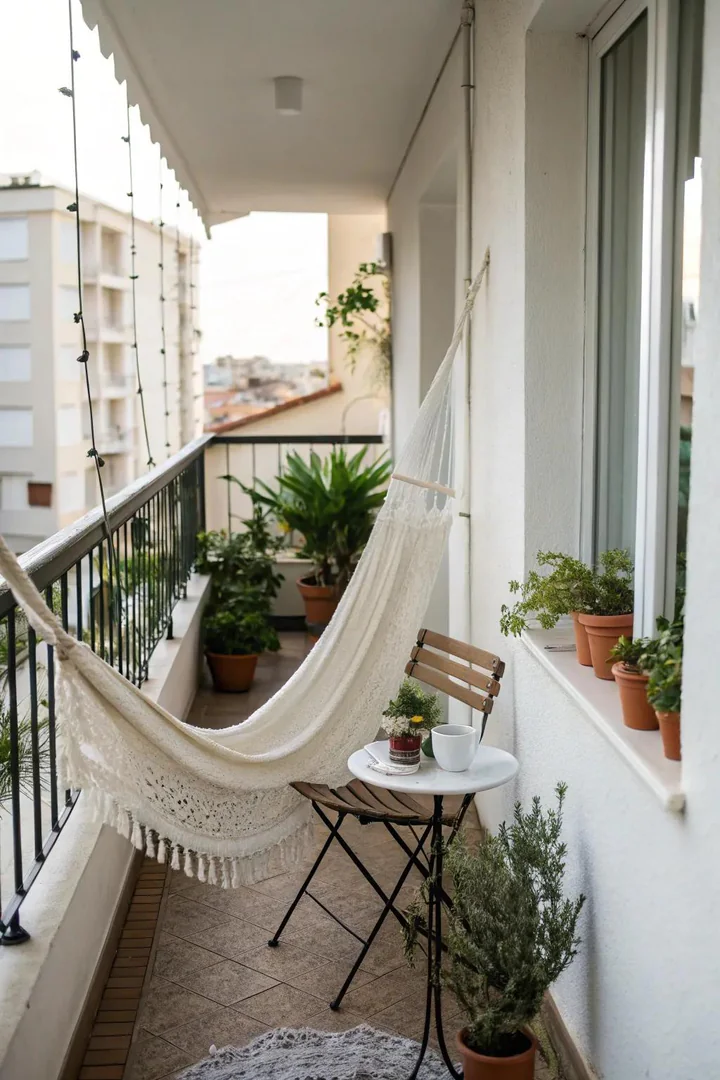
A compact hammock chair (also called a hanging chair or pod chair) hangs from a single overhead anchor point, making it the only hammock type that works on a small balcony, covered porch, or pergola where two horizontal anchor points are not available. A DIY hammock chair starts with a 48-by-60-inch piece of heavy canvas or duck cloth ($10 to $20 per yard from Joann Fabric or a fabric store), a 36-inch hardwood spreader bar (a 1.5-inch-diameter dowel or closet rod, $5 to $10, drilled with evenly spaced holes at 3-inch intervals), and 3/8-inch braided nylon rope ($10 to $15 for a 50-foot hank from Home Depot or a marine supply store).
Fold and sew a 3-inch channel along the top edge of the canvas, thread the spreader bar through the channel, and tie suspension ropes from each end of the spreader bar to a single gathering point above the chair. Hang the chair from a ceiling-mount swivel hook ($10 to $15, rated for 500+ pounds, screwed into a ceiling joist or a steel beam) with a carabiner ($5 to $8 for a locking carabiner rated for 2,000+ pounds). Total cost: $40 to $65. A hammock chair on a balcony requires a structural ceiling or beam capable of supporting 300 to 400 pounds of static and swinging load — verify the ceiling structure before installing. See more balcony and porch seating designs at trellis arbor ideas for overhead structures that double as hammock hanging points.
2. Cushioned Comfort Hammock
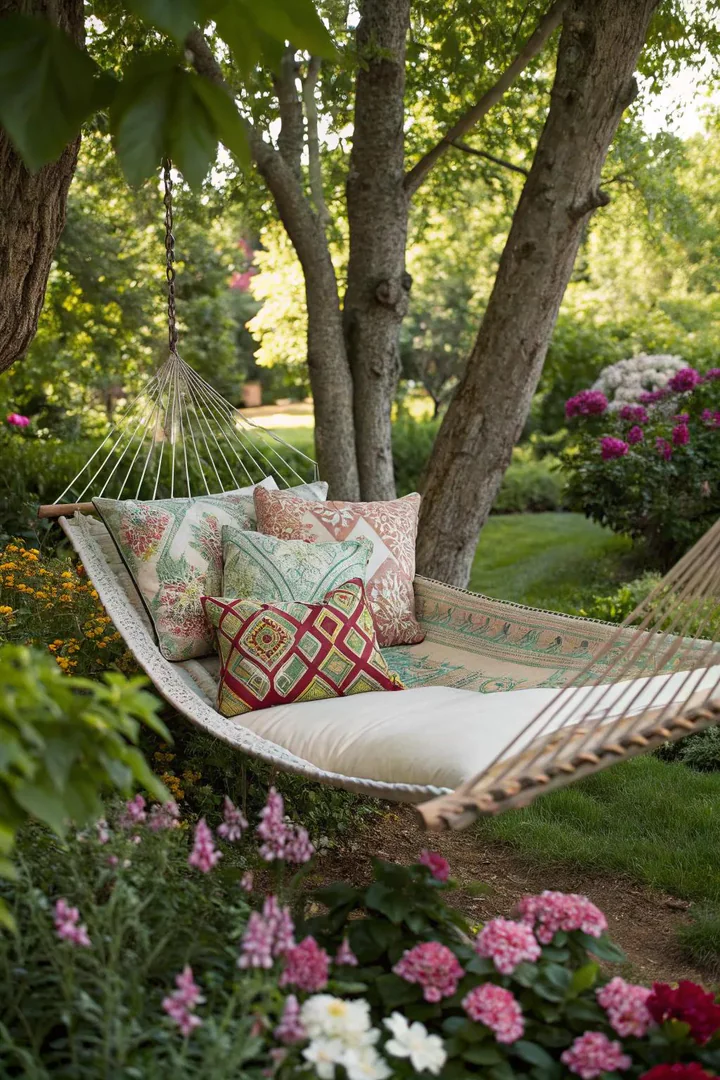
Adding a quilted hammock pad ($30 to $60 for a 55-by-80-inch pad from Hatteras Hammocks or Pawleys Island) or a DIY pad (a piece of outdoor foam, $20 to $40 for a 4-inch-thick, 24-by-72-inch pad from Foam Factory or Amazon, wrapped in a Sunbrella or polyester outdoor fabric cover, $10 to $20 per yard) converts a basic rope or fabric hammock into a cushioned lounge bed. A hammock without a pad sags into a narrow valley that presses the body’s weight into a 12-to-18-inch contact strip; a pad distributes the weight across the full surface and provides insulation from below (important on cool evenings when air circulates beneath the hammock).
Layer the pad with an outdoor pillow ($10 to $20 from Target or IKEA) at the head end and a lightweight throw blanket ($15 to $30, microfiber or fleece) folded at the foot for afternoon naps. A mosquito net canopy ($15 to $25 from Amazon, conical or rectangular, hangs from a single hook above the hammock) drapes over the hammock and tucks under the pad edges to create a bug-free sleeping enclosure for warm-weather overnight backyard camping. Find more comfortable outdoor seating strategies at budget friendly patio ideas for additional low-cost backyard lounging setups.
3. DIY Wooden Hammock Stand
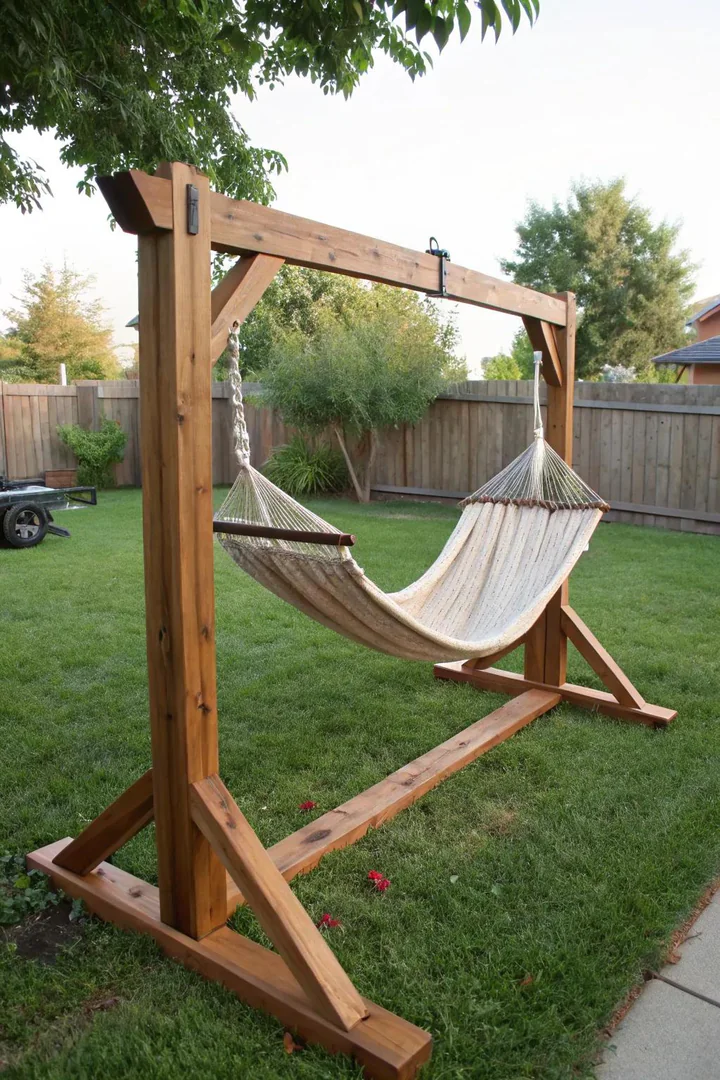
A freestanding hammock stand built from standard lumber places the hammock anywhere in the yard without requiring trees, posts, or permanent anchors. The most common DIY design uses two A-frame ends (each assembled from three 2×4 boards: two 7-foot legs and one 4-foot crossbar, bolted at the apex) connected by a single 15-foot 4×4 beam that spans the top of the two A-frames. Total lumber cost: $40 to $80 from any hardware store. Total hardware cost: $15 to $25 in carriage bolts, washers, nuts, and lag screws.
Cut two pairs of 2×4 legs at 7 feet each, angle-cut the tops at 15 degrees for a flush apex joint, bolt each pair together at the top with a 3/8-inch carriage bolt, and attach a 4-foot 2×4 crossbar 18 to 24 inches from the bottom of each A-frame for stability. Set the two A-frames 13 to 15 feet apart (measured at the apex hooks) and connect them with a 4×4 or doubled 2×6 beam lag-screwed to the inside of each apex. Screw a heavy-duty screw-eye hook ($3 to $5 each, 3/8-inch diameter, rated for 300+ pounds) into the beam at each end, 12 to 14 feet apart. Stain or paint the stand with exterior stain or paint ($15 to $30) for weather resistance. Total build cost: $60 to $130. Total build time: 3 to 5 hours.
4. Canopy-Covered Hammock
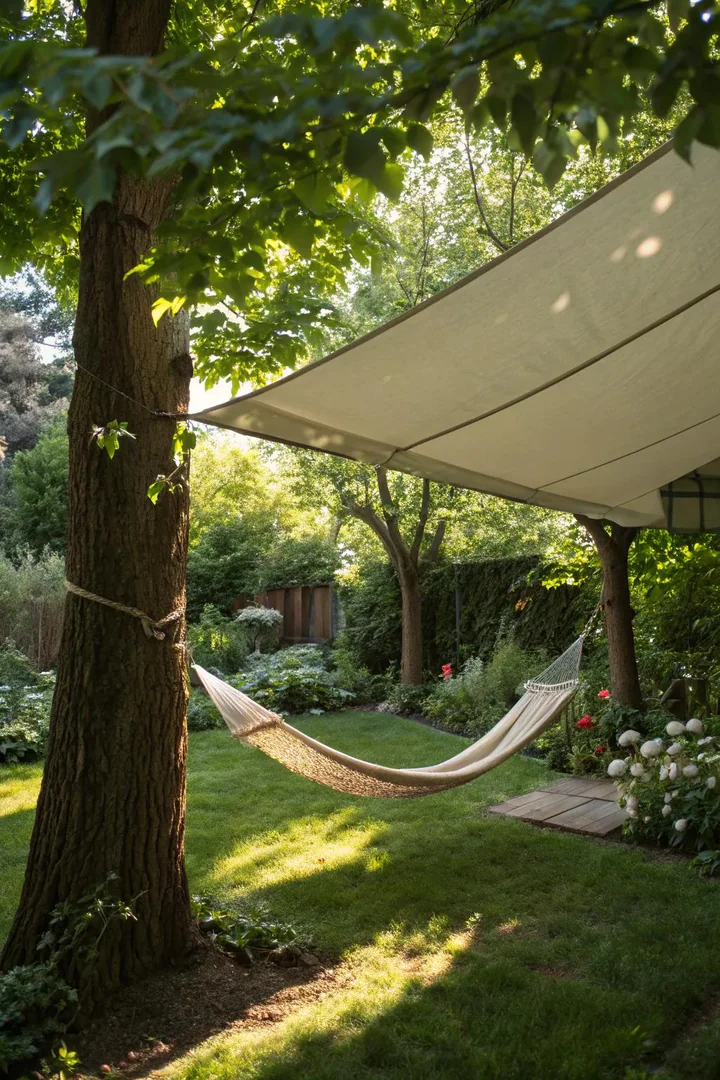
Suspending a shade canopy above the hammock blocks direct sun, protects from light rain, and creates a defined overhead enclosure that makes the hammock area feel like an outdoor room rather than a piece of yard furniture. A triangular shade sail ($20 to $40 for a 10-by-10-by-10-foot sail from Coolaroo or Amazon) anchored to three points (two trees and a post, or two posts and a house fascia) above the hammock provides 80% to 90% UV protection and ventilation through the permeable HDPE fabric.
For a more enclosed canopy, build a simple 4-post frame (four 8-foot 4×4 posts set in the ground in a 6-by-12-foot rectangle, connected at the tops with 2×4 beams) and drape a tarp or outdoor fabric panel ($10 to $30) across the beams as a flat or slightly pitched roof. A pitched canopy (one end 12 to 18 inches higher than the other) sheds rainwater to one side rather than pooling in the center. Add outdoor curtains ($15 to $25 per panel) on one or two sides for wind screening and privacy. A hammock under a canopy between two palm trees, oaks, or maples creates a resort-style relaxation zone for under $100 in total materials.
5. Corner Garden Hammock
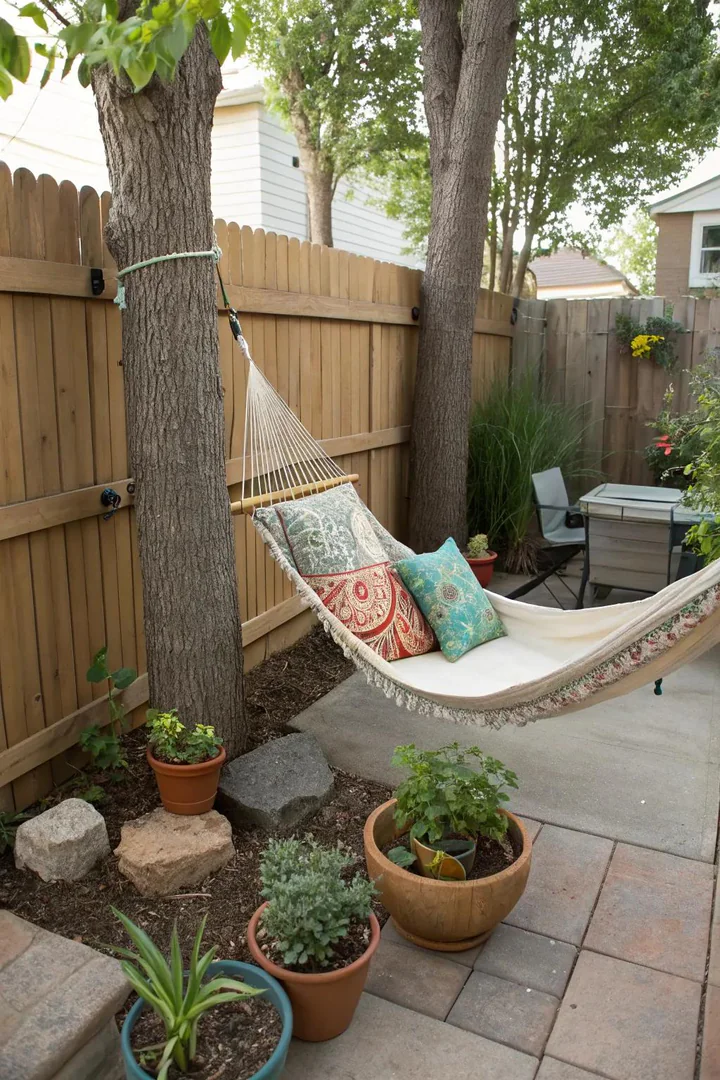
Hanging a hammock in a corner of the yard (where two fences meet, between a fence and a tree, or between a shed wall and a post) creates a partially enclosed, private retreat that feels separated from the main yard activity. A corner location provides built-in wind protection on two sides and a sense of enclosure that an open-yard hammock does not have. Mount one end of the hammock to the fence post or fence rail using a lag screw eye hook ($3 to $5, 3/8-inch, screwed into the post at 5 to 6 feet above the ground) and the other end to a tree, a second fence post, or a dedicated 4×4 or 6×6 hammock post set in concrete 12 to 15 feet away.
Surround the corner with potted plants, ground-cover plants, and stepping stones leading from the main yard to the hammock area. A cluster of tall grasses (Miscanthus, Pampas Grass, or Fountain Grass, $10 to $25 per plant from a nursery) planted beside the hammock adds privacy screening, gentle rustling sound in the breeze, and a naturalistic border. Place a small side table or tree stump (free from yard cleanup) within arm’s reach of the hammock to hold a book, a drink, or a phone. A solar-powered string light strand ($10 to $20) draped between the two hammock anchor points adds evening ambiance. Explore more private backyard retreat setups at off grid outdoor kitchen ideas for secluded outdoor living areas.
6. Poolside Hammock Lounge
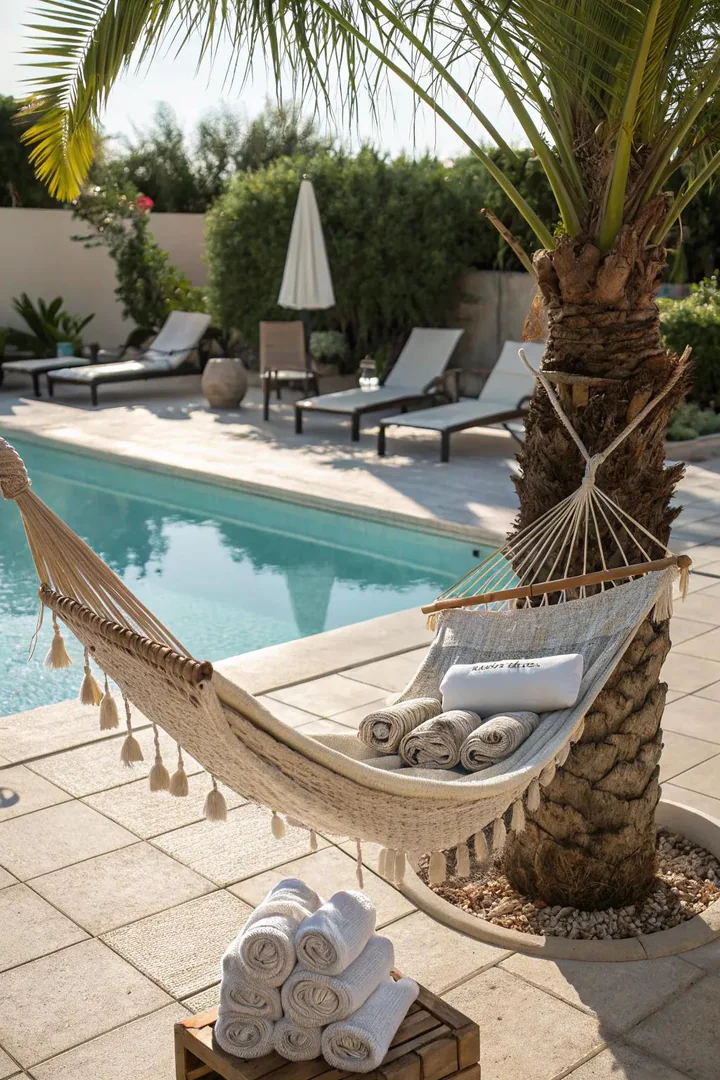
Positioning a hammock beside the pool (parallel to the pool edge, 4 to 6 feet from the water) provides a drying and relaxation spot for swimmers that replaces traditional pool lounge chairs. A quick-dry hammock made from DuraCord rope ($100 to $200 for a pre-made DuraCord hammock from Hatteras Hammocks or Pawleys Island) or solution-dyed polyester fabric (does not absorb water, dries in 30 to 60 minutes, resists mildew and chlorine splash) holds up to pool-area moisture that would rot a cotton hammock in one season.
A freestanding hammock stand ($40 to $130 DIY or $60 to $200 for a steel stand from Amazon) allows poolside placement without anchoring to trees or posts. Position the stand on the pool deck, patio, or grass area with the hammock running parallel to the pool so the occupant faces the water. Drape a microfiber pool towel ($10 to $20) over the hammock surface for comfort and easy cleanup. Keep the hammock 4 feet minimum from the pool edge (for safety — a child or adult rolling out of the hammock should land on the deck, not in the water). Add a poolside umbrella ($30 to $80 from Walmart or Target) beside the hammock for sun protection during peak hours.
7. Fairy-Light Nighttime Hammock
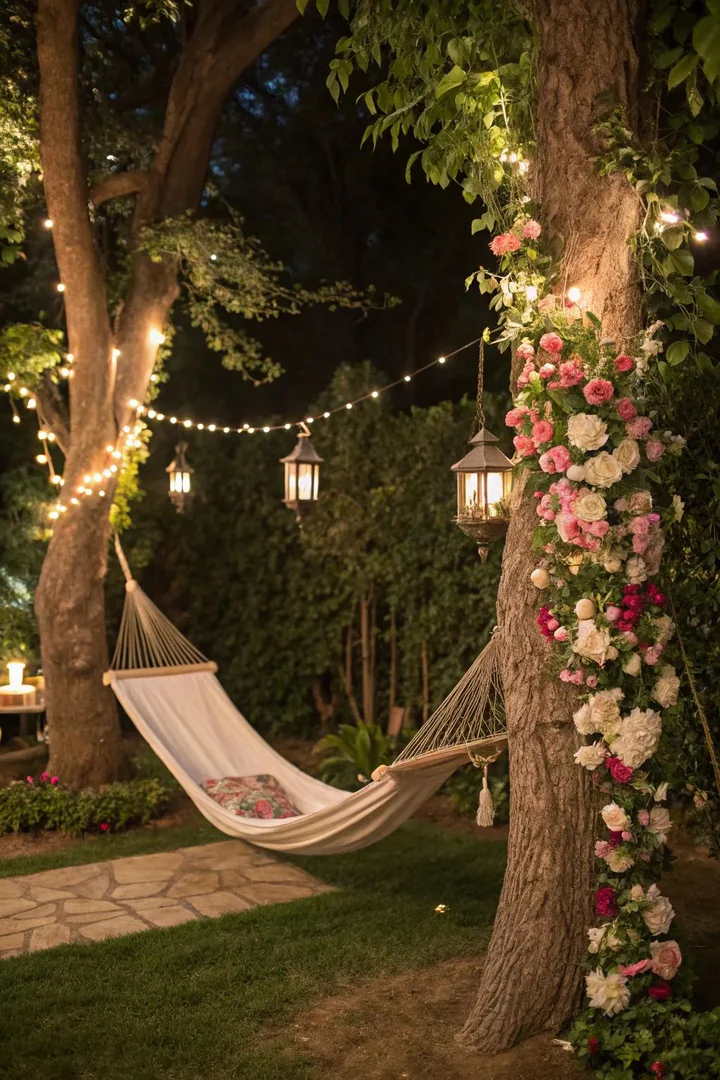
Wrapping LED fairy lights ($8 to $15 for a 33-to-66-foot strand of warm-white micro-LED lights from Brightown or TaoTronics) around the hammock suspension ropes, along the spreader bars, and through the tree branches or stand frame above the hammock creates a glowing cocoon that makes the hammock usable and visually stunning after dark. Battery-operated fairy lights ($8 to $12, powered by 3 AA batteries that last 40 to 60 hours) require no outdoor electrical outlet and can be placed anywhere in the yard.
String a second set of lights overhead between the two anchor points (trees, posts, or stand ends) in a loose swag or canopy pattern so the hammock lies beneath a ceiling of warm light. Add a solar-powered mason jar light ($10 to $15 for a set of 4 from Amazon; a solar-powered LED lid that screws onto a standard mason jar) hanging from the tree branches or stand frame at different heights for a scattered lantern effect. A nighttime hammock setup with fairy lights, a blanket, a pillow, and a wireless speaker ($15 to $30 for a JBL Go 3 or Anker Soundcore) creates an evening outdoor living space for under $60 in accessories. Visit red kitchen ideas for indoor design inspiration, or browse The Designers Company for the full home and garden design library.
How to Hang a DIY Backyard Hammock
1. Choose Anchor Points 12 to 15 Feet Apart
Identify two sturdy anchor points 12 to 15 feet apart (measured at the hanging height of 4 to 6 feet above the ground). Trees with a trunk diameter of 12 inches or greater (measured at the hanging height) provide the strongest natural anchors. For yards without suitable trees, set two 6×6 pressure-treated posts ($15 to $25 each, 10 to 12 feet long) 3 to 4 feet deep in concrete footings (a 12-inch-diameter hole filled with 2 bags of quick-set concrete per post). Allow the concrete to cure 48 hours before loading the hammock.
2. Install Tree Straps or Hardware
Wrap tree-saver straps ($12 to $20 for a pair from Wise Owl Outfitters or Bear Butt; 1.5 to 2 inches wide, 10 to 12 feet long per strap, polyester webbing rated for 400 to 1,000 pounds) around each tree trunk at 5 to 6 feet above the ground. Tree straps distribute the load across a wide band of bark without cutting into the tree (a rope or chain cuts into the bark and damages the cambium layer, eventually girdling and killing the tree). For post-mounted hammocks, install a 3/8-inch lag screw eye hook ($3 to $5 each, rated for 300+ pounds) drilled and screwed into the post at the hanging height.
3. Attach the Hammock and Adjust the Hang Angle
Clip the hammock to the tree straps or eye hooks using S-hooks ($3 to $5 for a pair) or carabiners ($5 to $8 each). Adjust the hanging height so the hammock sags into a gentle curve with the lowest point (the center of the hammock with no occupant) 18 to 24 inches above the ground. A 30-degree hang angle (the angle between the hammock suspension rope and the horizontal) produces the most comfortable, flat-lying position with the least stress on the anchor points and hardware. A tighter hang (less sag) creates a narrower, less comfortable sleeping position and increases the horizontal pull force on the anchors.
DIY Hammock Type Comparison
| Hammock Type | DIY Cost | Space Needed | Anchor Points | Best For |
|---|---|---|---|---|
| Fabric between trees | $20–$40 | 12–15 ft between trees | 2 trees or posts | Backyards with mature trees |
| Rope hammock on stand | $60–$130 | 15 ft open ground | Freestanding | Open yards, portability |
| Hanging chair | $40–$65 | 4 ft diameter | 1 overhead point | Balconies, porches, pergolas |
| Canopy hammock | $80–$150 | 12–15 ft + shade frame | 2 trees/posts + canopy | Full-sun yards |
| Poolside quick-dry | $100–$200 | 15 ft poolside | Stand or posts | Pool decks, wet environments |
Frequently Asked Questions
What is the best fabric for a DIY hammock?
Sunbrella marine-grade acrylic ($20 to $35 per yard, 54 inches wide, UV-resistant, mildew-resistant, 5-year outdoor warranty) is the most durable DIY hammock fabric. Heavy cotton canvas (10-ounce to 12-ounce duck cloth, $8 to $15 per yard) provides a soft, breathable sleeping surface but absorbs water and requires indoor storage between uses. Ripstop nylon ($5 to $10 per yard from an outdoor fabric supplier) is the lightest option (ideal for a camping hammock you carry in a backpack) but less comfortable for extended backyard lounging than canvas or Sunbrella. A hammock body requires 2 to 3 yards of 54-inch-wide fabric, depending on the hammock length (9 to 11 feet for a single person, 11 to 13 feet for two people).
How much weight can a tree support for a hammock?
A healthy, living hardwood tree (oak, maple, elm, hickory, beech) with a trunk diameter of 12 inches or more at the strap height easily supports 400 to 600 pounds of hammock load (the weight of two adults plus the hammock). A 6-inch-diameter tree is too small for safe hammock use. A dead tree, a tree with visible trunk rot, or a softwood tree (pine, spruce, poplar) with a trunk under 12 inches should not be used. Check for dead branches above the hammock area that could fall — a dead branch is more dangerous than a hammock failure.
How high should a hammock hang?
The anchor points (strap loops, eye hooks, or carabiners where the hammock attaches) should be 4 to 6 feet above the ground. The center of the hammock (the lowest sag point with no occupant) should hang 18 to 24 inches above the ground — high enough for airflow beneath and comfortable entry/exit, but low enough that rolling out of the hammock results in a short, safe fall. An occupied hammock sags 6 to 12 inches lower than an empty one, so account for body weight when setting the anchor height.
Can you leave a hammock outside year-round?
A DuraCord, polyester, or Sunbrella hammock can stay outside year-round in moderate climates (no extended snow or ice). UV exposure gradually fades the fabric over 3 to 5 seasons, and mildew may develop on any fabric in consistently humid, shaded conditions. A cotton or canvas hammock should be brought indoors or stored in a dry shed when not in use for more than a day — cotton absorbs rain, grows mold within 48 to 72 hours of staying wet, and rots within 1 to 2 seasons of continuous outdoor exposure. Store any hammock in a breathable fabric bag or hang it in a garage during the winter months or rainy season.
How do you make a hammock more comfortable?
Five comfort upgrades: (1) Add a quilted hammock pad or outdoor foam cushion ($20 to $60) for pressure distribution and insulation. (2) Lie diagonally across the hammock (at a 15 to 30 degree angle from the center line) to flatten the sleeping surface and reduce the banana-curve effect. (3) Use a pillow at the head end ($10 to $20 outdoor pillow) for neck support. (4) Hang the hammock at a 30-degree angle (the angle of the suspension lines from horizontal) for a flat, comfortable lie. (5) Add a lightweight blanket ($10 to $20) draped over the body for warmth on cool evenings — air circulates freely under a hammock, drawing heat away from the body faster than a bed or couch.