Trellis Arbor Ideas: 18 Creative Designs to Transform Your Space
Trellis arbor ideas combine vertical plant support with an overhead arch structure to create garden entryways, shaded walkways, privacy screens, and focal points using wood, metal, vinyl, or recycled materials. A trellis provides the flat or lattice panel that climbing plants grip with tendrils, aerial roots, or twining stems, while an arbor provides the arched or flat-topped overhead frame that defines a passageway or seating area. Below are 18 trellis arbor designs with specific materials, plants, dimensions, and costs, followed by a how-to building guide, a comparison table, and FAQs.
1. Classic Floral Entry Arbor
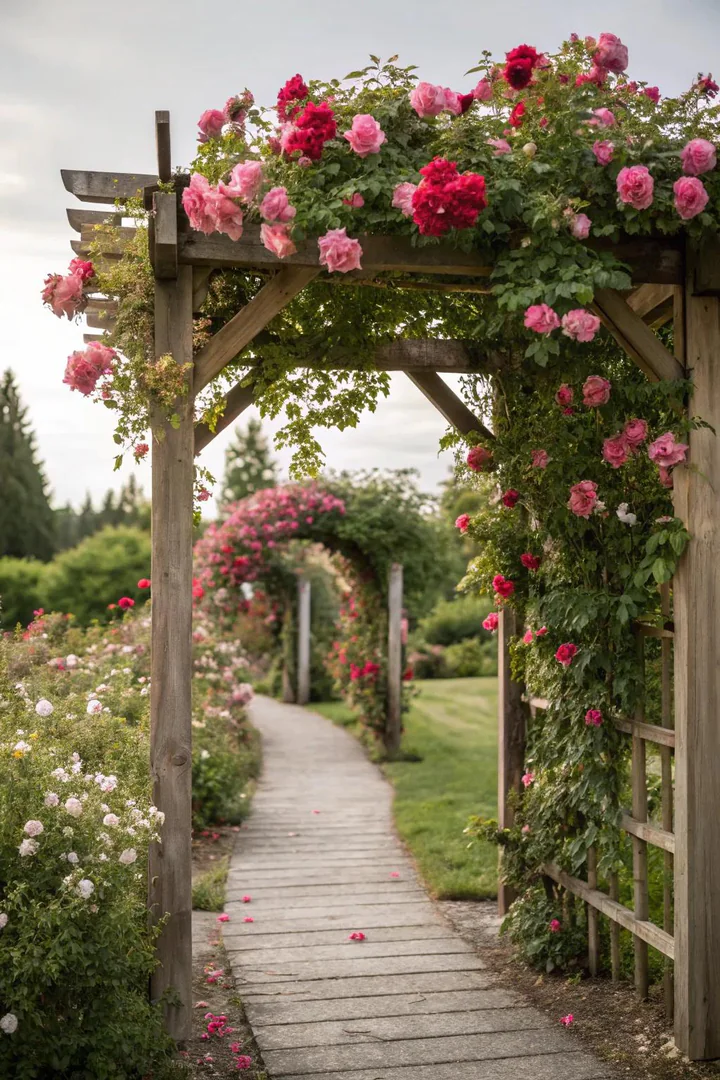
A wood or metal entry arbor placed at the garden gate, walkway entrance, or property line creates a framed threshold that signals the transition from one outdoor zone to another. Gardman R361 Kensington Metal Arch ($60 to $90, 7.5 feet tall, 4.25 feet wide, powder-coated black steel) and Dura-Trel Kingston Vinyl Arbor ($150 to $200, 7.5 feet tall, 4.5 feet wide, maintenance-free white PVC) are popular entry arbor models that arrive in flat-pack kits and assemble in 1 to 2 hours with basic hand tools.
Train climbing roses (New Dawn, pale pink, repeat-blooming, 15 to 20 feet; Zephirine Drouhin, deep pink, thornless, 8 to 12 feet; Iceberg Climbing, white, 10 to 15 feet; $15 to $30 per bare-root plant from David Austin Roses or a local nursery) up both sides of the arbor by tying young canes loosely to the trellis panels with soft garden twine or plant clips ($5 for a pack of 50). Roses reach the top of a 7-foot arbor in 2 to 3 growing seasons and produce flowers along the horizontal top beams where the canes bend and send out lateral flowering shoots.
2. Garden Room Divider Trellis
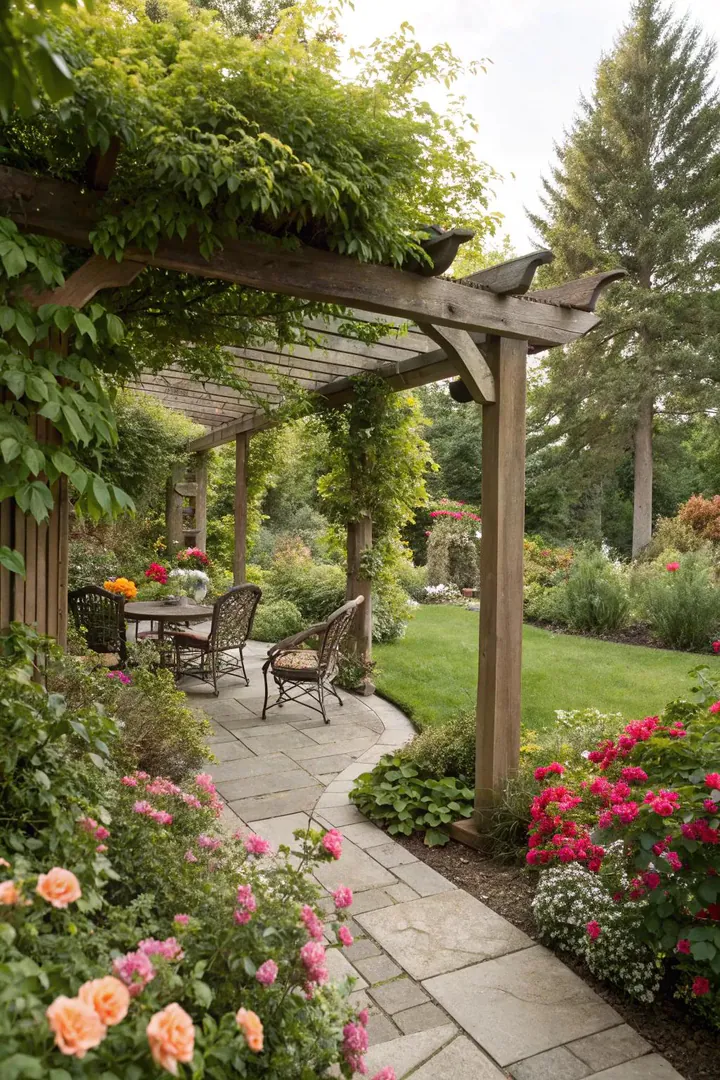
A freestanding trellis panel ($30 to $80 for a 4-by-8-foot cedar lattice panel from Home Depot or Lowe’s; Forest Garden Premium Trellis, $40 to $60 per panel) placed between garden zones (vegetable garden and lawn, patio and pool, seating area and utility area) creates a semi-transparent wall that separates spaces while allowing airflow and filtered light to pass through. A lattice trellis with 2-to-3-inch diamond or square openings provides enough visual screening to define a boundary without creating a solid wall that blocks breezes and sunlight.
Set two or three trellis panels in a line, connected at the posts with galvanized bolts or stainless-steel brackets, and anchor each post in a post spike ($8 to $15 from Home Depot, driven into the ground with a sledgehammer) or a concrete footing (a 12-inch-diameter, 18-to-24-inch-deep hole filled with quick-set concrete, $5 per 50-pound bag). Plant a different climber on each panel (clematis on one, honeysuckle on another, jasmine on a third) for a mixed-texture living wall that flowers at different times throughout the growing season. Browse more outdoor room-divider strategies at budget friendly patio ideas for affordable ways to define outdoor living zones.
3. Private Reading Nook Arbor
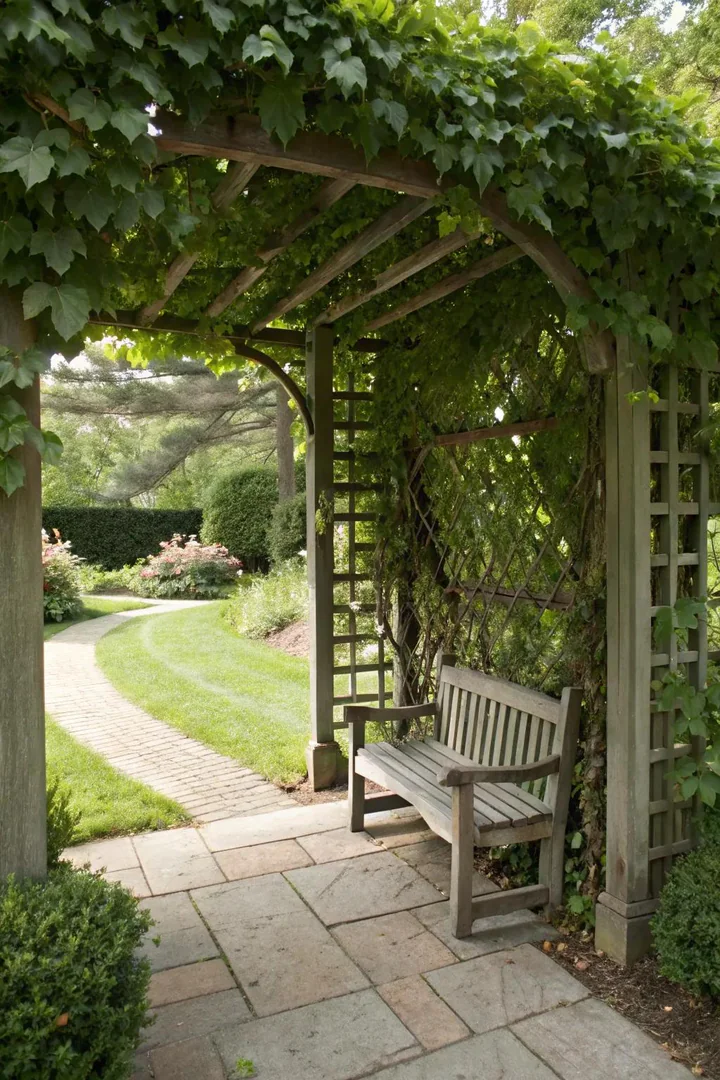
Building an arbor with an integrated bench seat ($150 to $400 for a bench-arbor kit from Leisure Season or Outsunny; $100 to $250 in lumber for a DIY build using 4×4 posts, 2×4 seat frame, and 1×6 seat boards) creates a shaded, vine-enclosed sitting spot for reading, morning coffee, or quiet conversation. An arbor bench typically measures 4 to 5 feet wide (seating for 2), 7 to 8 feet tall (at the arch peak), and 3 to 4 feet deep (the bench depth plus leg clearance behind the seat).
Position the bench arbor in a garden corner, at the end of a path, or backed against a fence or hedge so the vines growing over and around the arbor create a three-sided enclosure that feels secluded without being fully enclosed. Train a fragrant climber (Confederate Jasmine, Trachelospermum jasminoides, $12 to $25, zones 8 to 11, intensely fragrant white flowers in spring; Sweet Autumn Clematis, $10 to $20, zones 5 to 9, vanilla-scented white flowers in late summer) over the arbor roof for overhead shade and fragrance that makes the reading nook a sensory retreat.
4. Pathway Tunnel Arbor
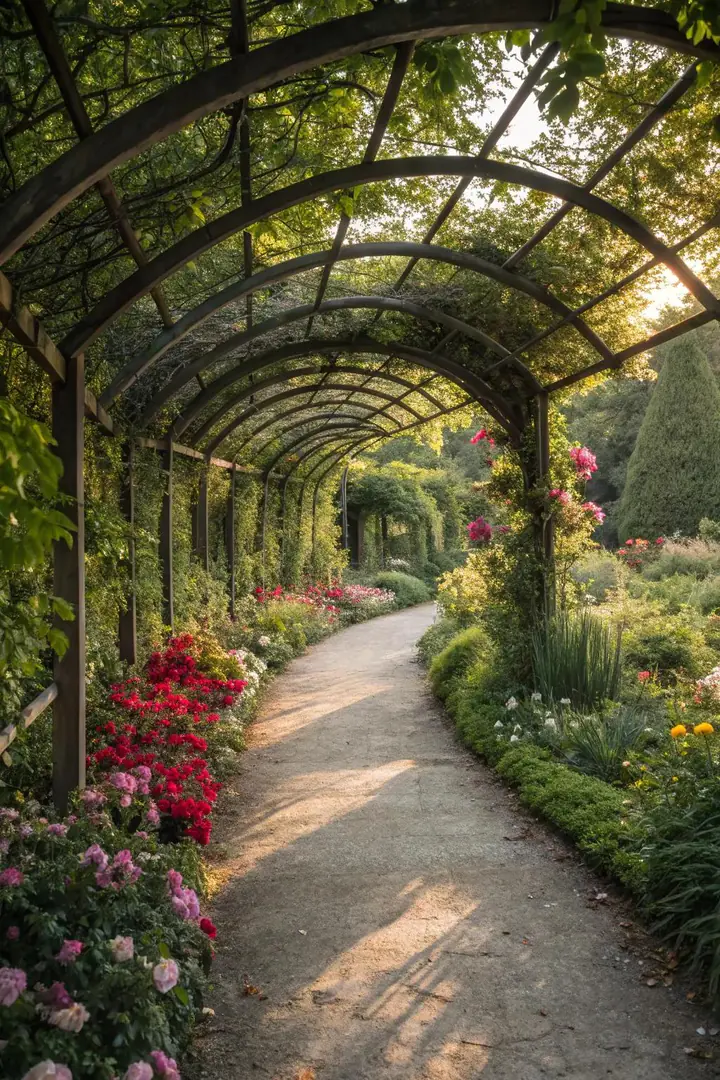
Placing 3 to 5 identical arbors in a row along a garden path (spaced 3 to 4 feet apart, each arbor 4 to 5 feet wide and 7 to 8 feet tall) and connecting them at the tops with horizontal stringers creates a vine tunnel (also called a pleached walk or bower) that shades the path and frames the destination at the far end. A 5-arbor tunnel (15 to 20 feet long) built from metal garden arches ($30 to $60 each, 5 arches totaling $150 to $300) and trained with grape vine, wisteria, or climbing hydrangea creates a dramatic green corridor within 2 to 3 growing seasons.
Anchor each arch firmly with ground stakes or concrete footings because the combined wind load on a vine-covered tunnel is considerable (the leaf surface area catches wind like a sail). Wisteria (Wisteria sinensis or W. frutescens, $15 to $30 per plant, produces cascading purple, blue, or white flower clusters in spring) is the classic tunnel plant but grows aggressively and requires twice-yearly pruning to prevent it from crushing lightweight structures. American Wisteria (W. frutescens, native, less aggressive than Chinese or Japanese species) is a better choice for residential tunnels where maintenance time is limited.
5. Framing View Arbor
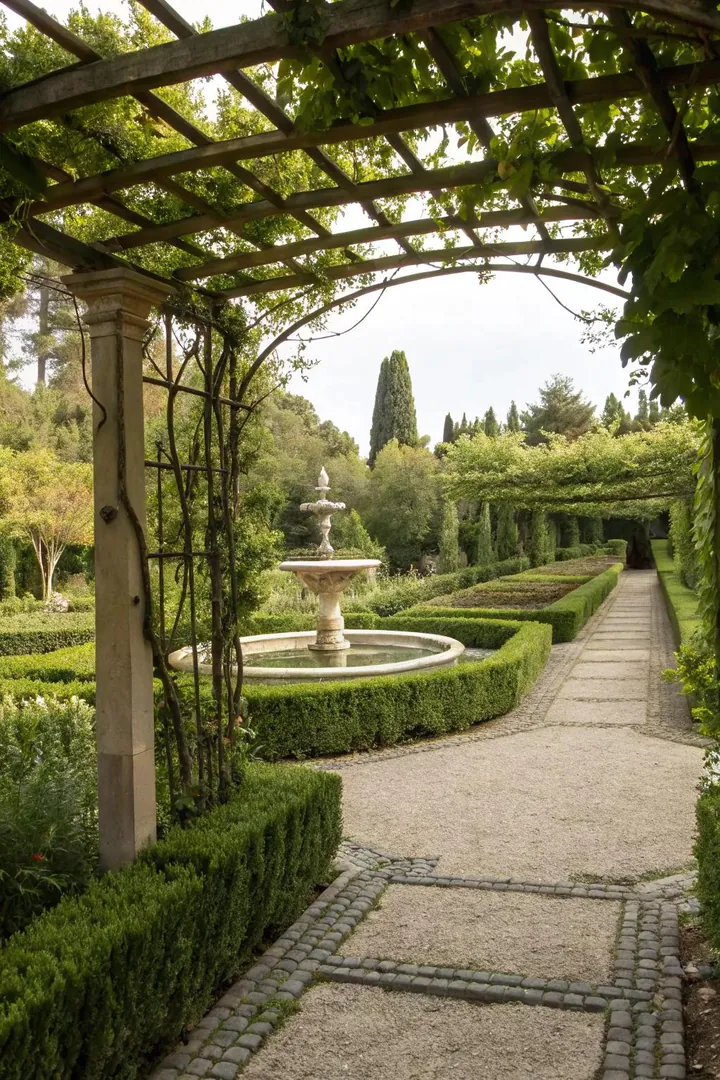
Positioning an arbor to frame a specific view (a distant mountain, a specimen tree, a water feature, a sculpture, or the end of a long garden axis) uses the arbor’s opening as a picture frame that draws the eye toward the focal point beyond. A simple flat-topped arbor (two posts and a lintel, no arch) built from 6×6 posts and a 4×6 or 6×6 beam ($50 to $100 in lumber) creates a clean rectangular frame. An arched-top arbor adds a softer, more ornate frame.
Place the arbor 10 to 30 feet in front of the view you want to frame, centered on the sightline from your primary viewing point (the patio, the kitchen window, or the front walkway). Keep the arbor’s side trellis panels narrow (12 to 18 inches wide) so the climbing plants frame the view without blocking it. Use a slow-growing, small-leafed climber (star jasmine, small-flowered clematis, or creeping fig) rather than a fast, dense grower (wisteria, trumpet vine) that would eventually fill the opening and obscure the view you positioned the arbor to frame.
6. Arbor with Built-In Seating
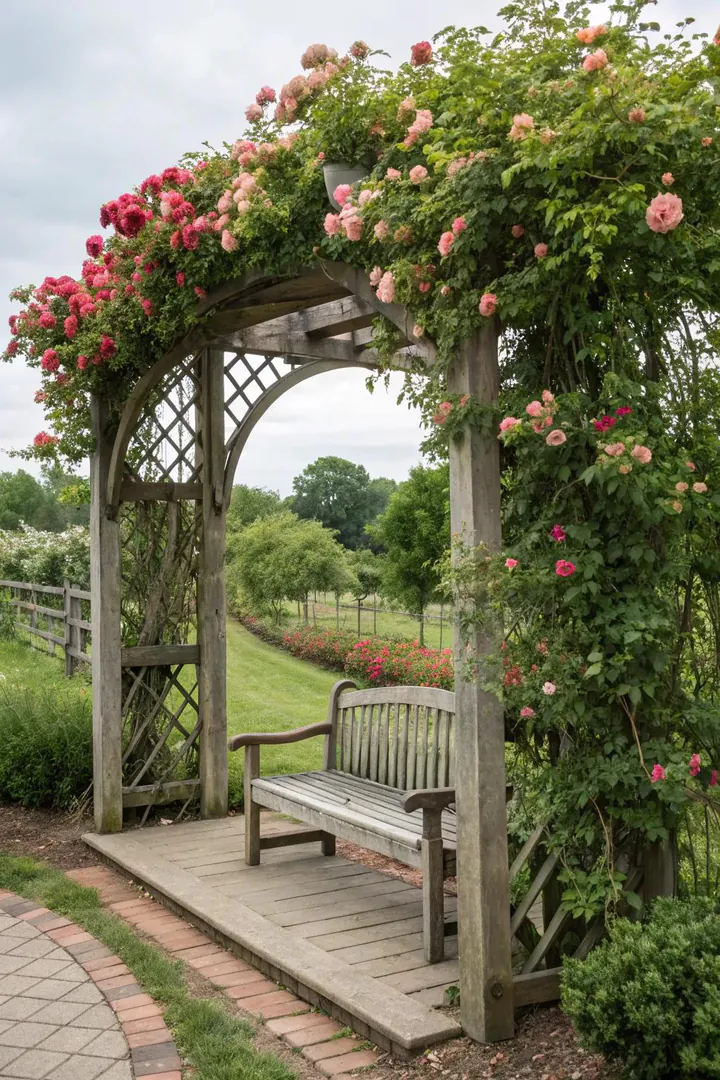
A double-bench arbor (two facing benches under a shared overhead arbor, with trellis panels on the sides and back) creates an outdoor conversation area that seats 4 to 6 people beneath a vine-covered canopy. Outsunny Garden Arbor with Bench ($120 to $180, wood, seats 2 to 3), Leisure Season 7-Foot Cedar Arbor with Bench ($250 to $400, Western red cedar, seats 2), and Vita Gardens Kingsdale Vinyl Arbor with Bench ($200 to $300, maintenance-free PVC) are popular combination units.
Build a DIY double-bench arbor from 4×4 pressure-treated posts (4 posts, each 8 feet tall), 2×4 seat frames, 1×6 seat boards, and 2×2 lattice strips for the trellis panels. Total lumber cost: $80 to $150. Total build time: 1 to 2 days for a moderately experienced DIYer. Add outdoor seat cushions ($20 to $40 per bench-length cushion from Target or IKEA) and train a climber up each side panel for seasonal shade and fragrance. A built-in-seating arbor works best in a garden area 15 to 20 feet from the house, where it creates a destination point that draws people out into the garden.
7. Vertical Garden Trellis
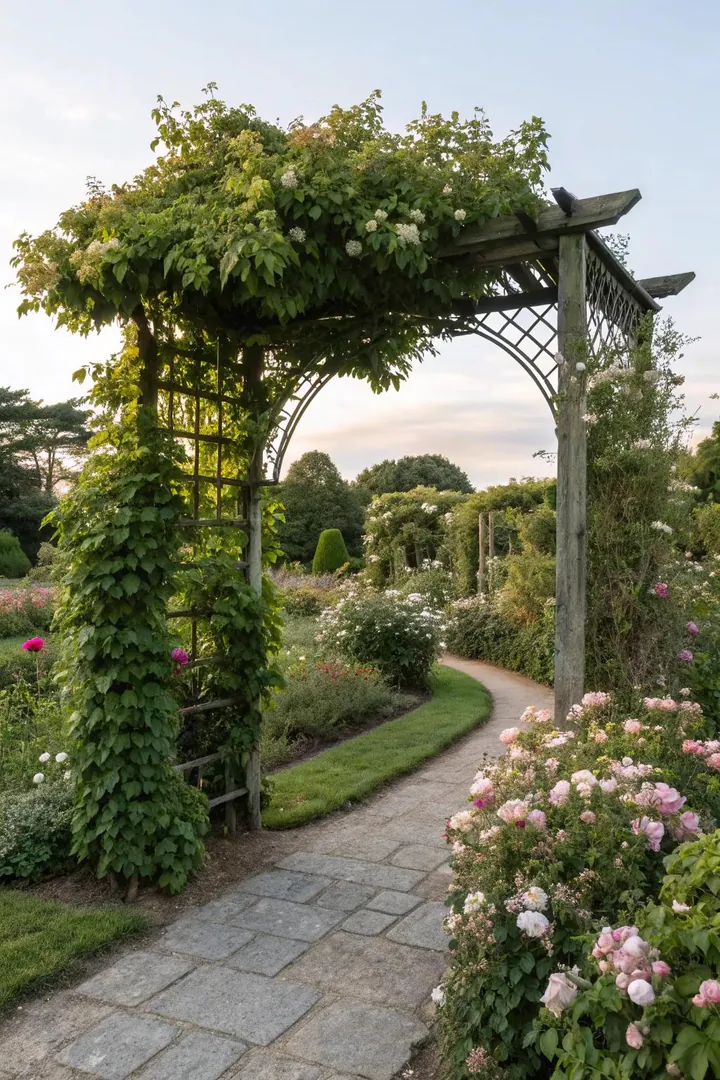
A tall, narrow trellis (6 to 8 feet tall, 2 to 3 feet wide) placed at the back of a garden bed adds vertical height and visual depth to an otherwise flat, ground-level planting. A single tall trellis panel planted with a columnar climber (a narrow, upright vine or trained espalier) creates a vertical accent that draws the eye upward and makes a small garden feel taller. Obelisk trellises ($25 to $60 from Gardman or Arcadia Garden Products) provide a freestanding, tapered column that supports a single climbing rose, clematis, or morning glory.
A fan trellis ($10 to $25, wood or bamboo, 4 to 6 feet tall, spreads from a narrow base to a wide top) mounts flat against a wall or fence and guides a climber into a fan-shaped display. Mount the trellis 2 to 3 inches away from the wall surface (using spacer blocks behind the mounting brackets) to allow airflow between the wall and the vine, preventing moisture buildup and mildew on the wall surface. Plant the climber 6 to 12 inches in front of the trellis base (not directly against the wall, where the soil is drier due to the rain shadow from the eaves) so the roots have access to rainfall and the vine reaches the trellis naturally.
8. Mixed-Material Trellis Arbor
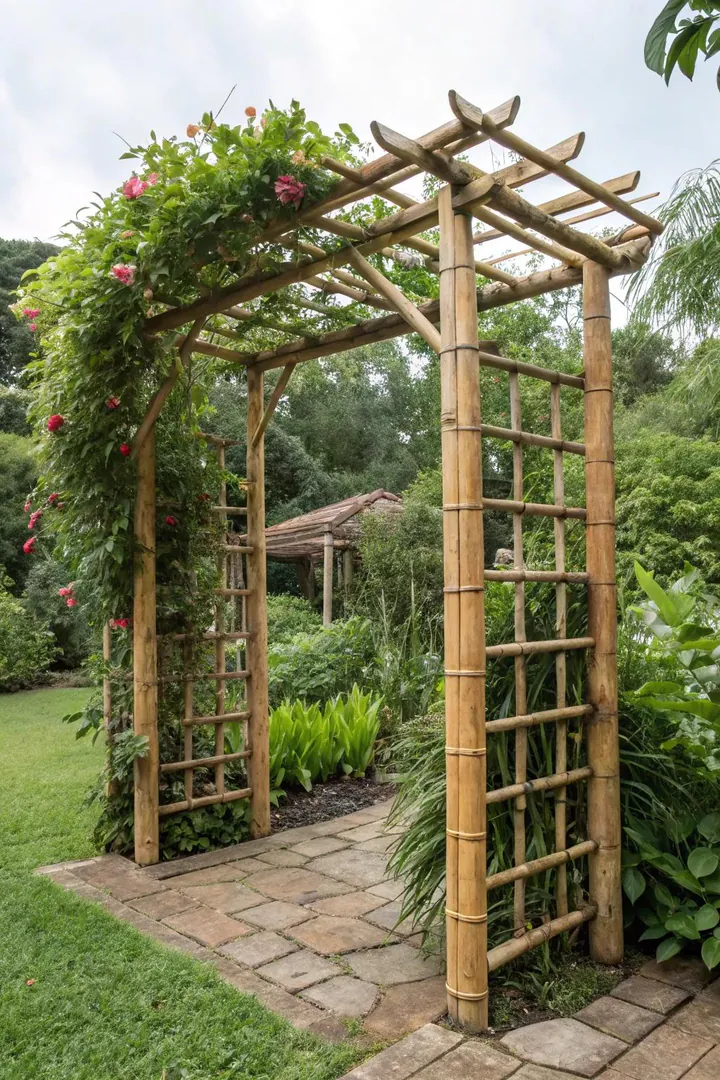
Combining wood posts with metal trellis panels (or metal posts with wood lattice) creates a trellis arbor with contrasting textures and a more contemporary look than a single-material structure. A 4×4 cedar post frame ($8 to $15 per 8-foot post) with welded wire mesh panels ($15 to $25 per 4-by-8-foot panel of 2×4-inch welded wire from a farm supply store) as the trellis infill produces a clean, modern arbor that costs $60 to $120 in materials.
Other mixed-material combinations: copper pipe posts with hemp rope trellis webbing (a nautical, warm-toned look); galvanized steel conduit posts ($5 each for 10-foot EMT conduit from an electrical supply store) with bamboo lattice panels ($15 to $30 per panel); or reclaimed barn-wood posts with stainless-steel cable trellis lines ($0.50 to $1 per foot of 1/8-inch cable). Cable trellis (horizontal or vertical stainless-steel cables tensioned between posts with turnbuckle fittings, $3 to $5 each) provides the most minimalist trellis surface — the thin cables nearly disappear when viewed from a distance, and the vines appear to float unsupported. Find more outdoor material-mixing inspiration at front porch ideas for Florida for weather-resistant material combinations.
9. Painted Color-Pop Arbor
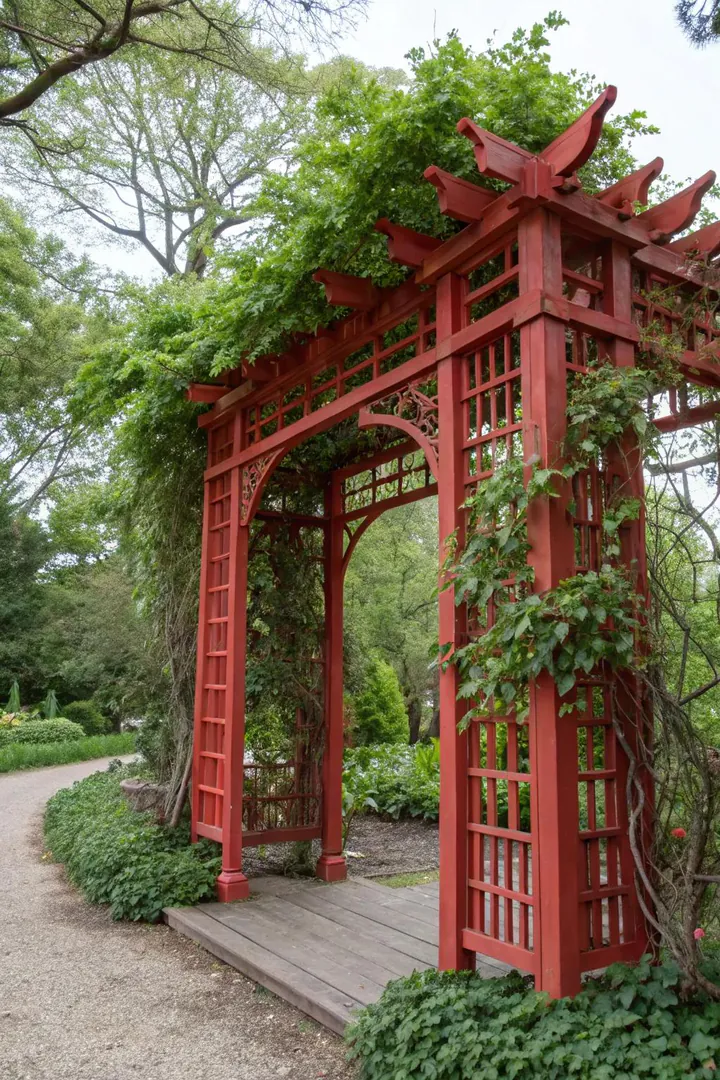
Painting an arbor a bold, saturated color (cobalt blue, fire-engine red, sunflower yellow, teal, or charcoal black) turns the structure into a year-round focal point that provides visual interest even during the dormant months when vines have dropped their leaves. A painted arbor reads as garden furniture or sculpture rather than a purely functional plant support, and the color creates a backdrop that makes green foliage and flower colors pop by contrast.
Use exterior latex or acrylic paint ($30 to $50 per gallon, enough for 2 coats on a standard 4-by-7-foot arbor) with UV-resistant pigments. Sand the wood, apply 1 coat of exterior primer ($25 to $40 per gallon), and apply 2 coats of the finish color. Popular color choices: Benjamin Moore Gentleman’s Gray 2062-20 (deep blue-gray), Sherwin-Williams Ripe Tomato SW 6607 (true red), Farrow & Ball Pitch Blue No. 220 (deep teal). A metal arbor can be painted with Rust-Oleum Universal Spray Paint ($5 to $8 per can, 2 to 3 cans per arbor) directly over the existing finish after a light sanding.
10. Arbor with Integrated String Lights
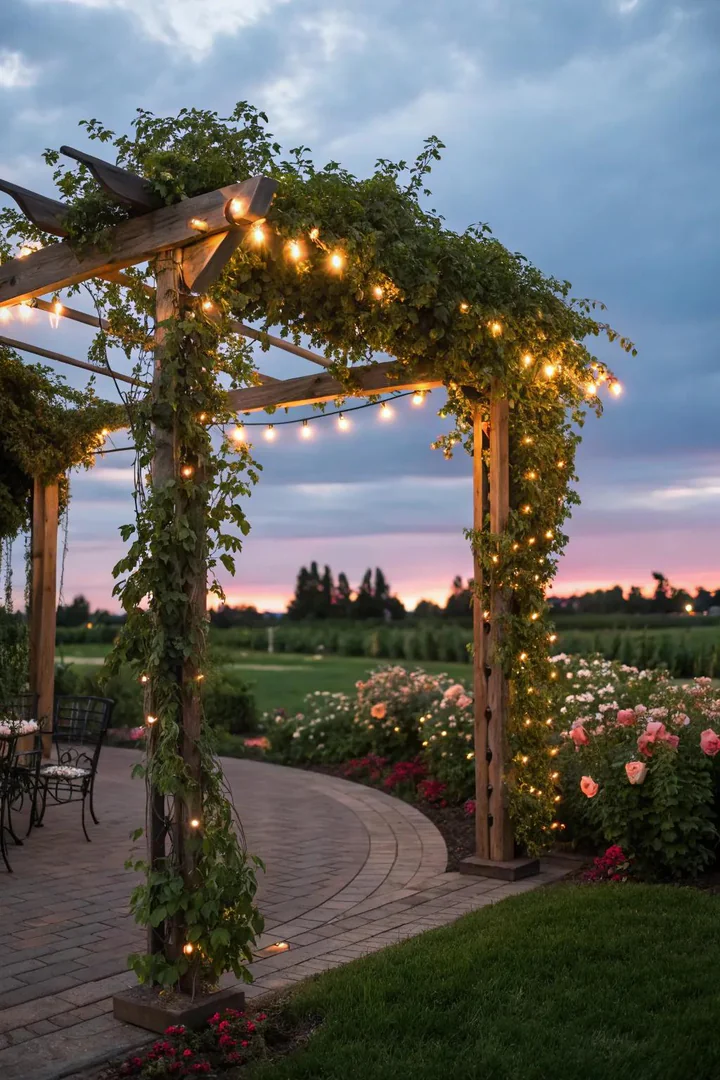
Wrapping LED string lights ($15 to $30 for a 33-to-100-foot strand of warm-white LED fairy lights; Brightech Ambience Pro, $25 to $40 for café-style bulbs on a weatherproof strand) around the arbor posts, along the top beams, and through the trellis lattice transforms the arbor into an evening focal point that glows after sunset. LED lights consume 1 to 5 watts per strand (pennies per month in electricity) and last 15,000 to 25,000 hours.
Wrap the lights in a loose spiral around each post (6 to 8 inches between wraps) rather than a tight coil (which uses excessive light length on the posts and leaves the overhead beams dark). Run a second strand along the top crossbeams in a zigzag pattern. Secure the lights to the arbor with outdoor light clips ($5 for a pack of 100 from Amazon) rather than staples or nails (which can cut through the wire insulation). Connect the lights to a weatherproof outdoor timer ($8 to $15 from BN-LINK or Woods) that turns the lights on at dusk and off at bedtime automatically.
11. Children’s Play Arbor
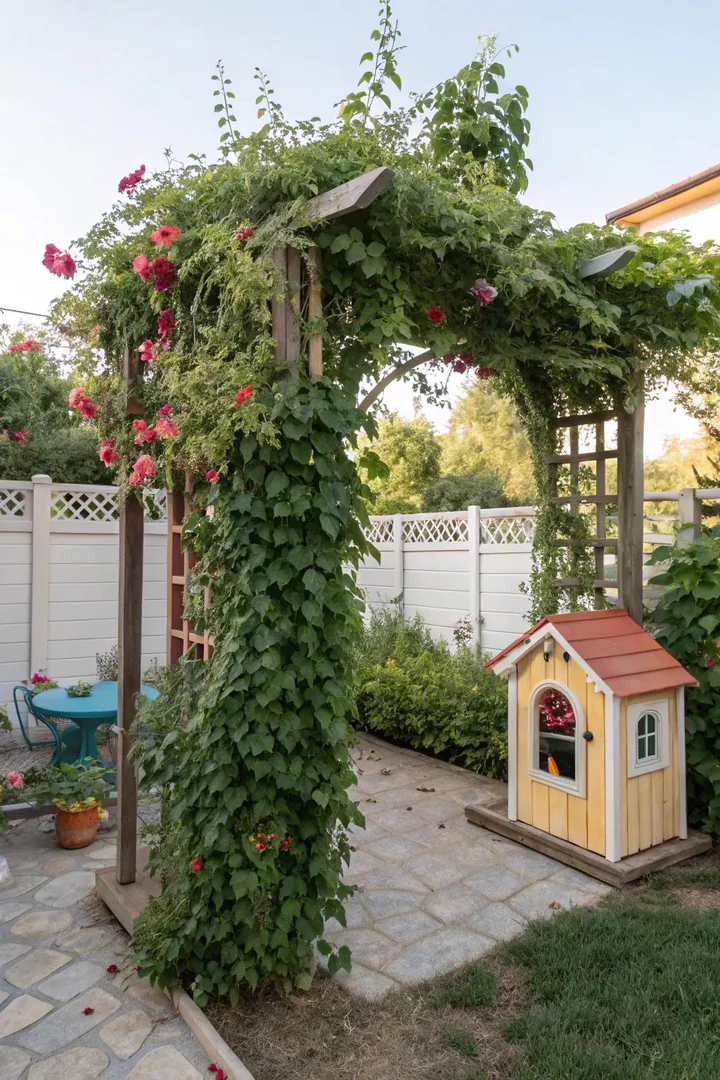
A child-sized arbor (4 to 5 feet tall at the peak, 3 feet wide, built from lightweight 2×2 lumber or bamboo poles) creates a vine-covered playhouse, secret hideaway, or garden doorway scaled for children ages 3 to 10. Build the arbor from four 2x2x6-foot posts set in the ground in a 3-by-3-foot rectangle, connected at the top with 2×2 cross beams, and covered with chicken wire or garden twine webbing for the vines to climb ($15 to $30 total in materials from any lumber yard).
Plant fast-growing annual climbers (scarlet runner beans, $3 per seed packet, grows 8 to 10 feet in one season and produces edible beans; morning glory, $2 per packet, blooms blue, purple, or pink; hyacinth bean vine, $3 per packet, purple flowers and ornamental purple seed pods) for a full green cover that establishes from seed in 6 to 8 weeks. Annual vines die back each fall, allowing you to replace or remove the structure without permanent planting. Add a small bench, a stepping-stone path, or a cluster of pots with child-friendly herbs (mint, lemon balm, chocolate mint) inside the arbor for a sensory play space.
12. Water Feature Arbor
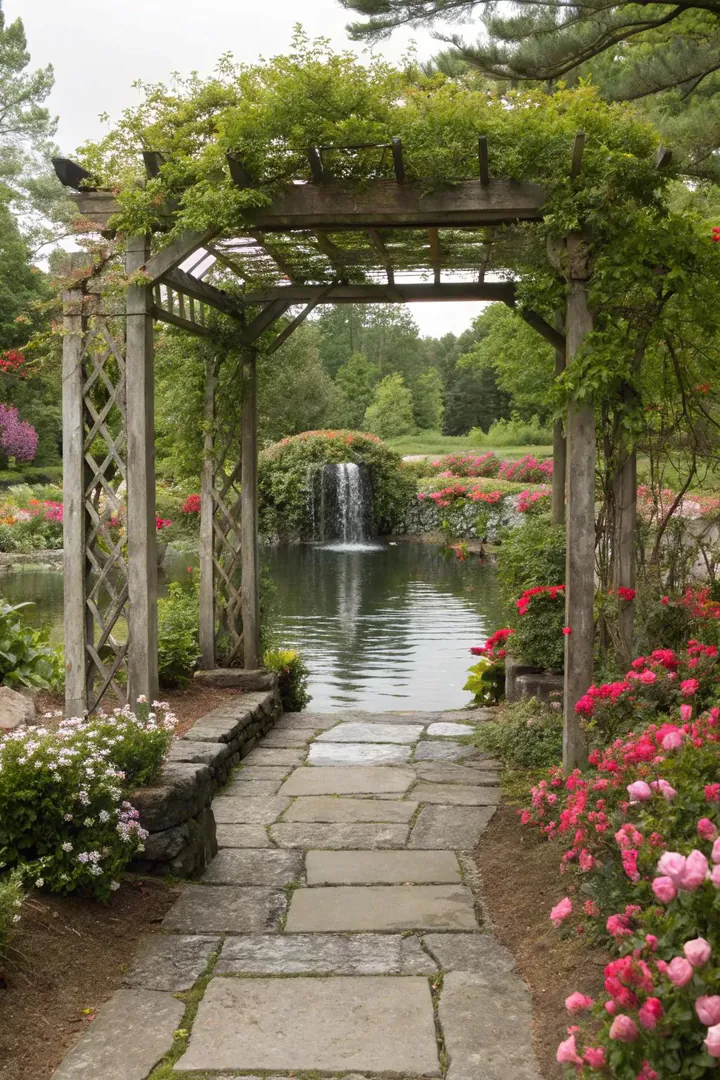
Placing an arbor directly behind or over a garden fountain, birdbath, or small pond creates a layered focal point where the vertical arbor structure frames the water element below. A wall-mounted fountain ($80 to $300 from Sunnydaze Decor or Alpine Corporation) hung on the trellis panel of the arbor integrates the water feature directly into the structure — water trickles down the fountain face while vines grow around and above it.
Position a freestanding tiered birdbath fountain ($50 to $150 from Home Depot or Lowe’s) directly in front of the arbor’s opening so the arbor frames the fountain when viewed from the main garden path. Train vines up the arbor’s side panels but keep the center opening clear so the fountain remains visible. A recirculating pump ($10 to $20, solar-powered or plug-in) keeps the water moving, which prevents mosquito breeding and creates a gentle splashing sound that attracts birds and masks neighborhood noise.
13. Vegetable Garden Trellis Arbor
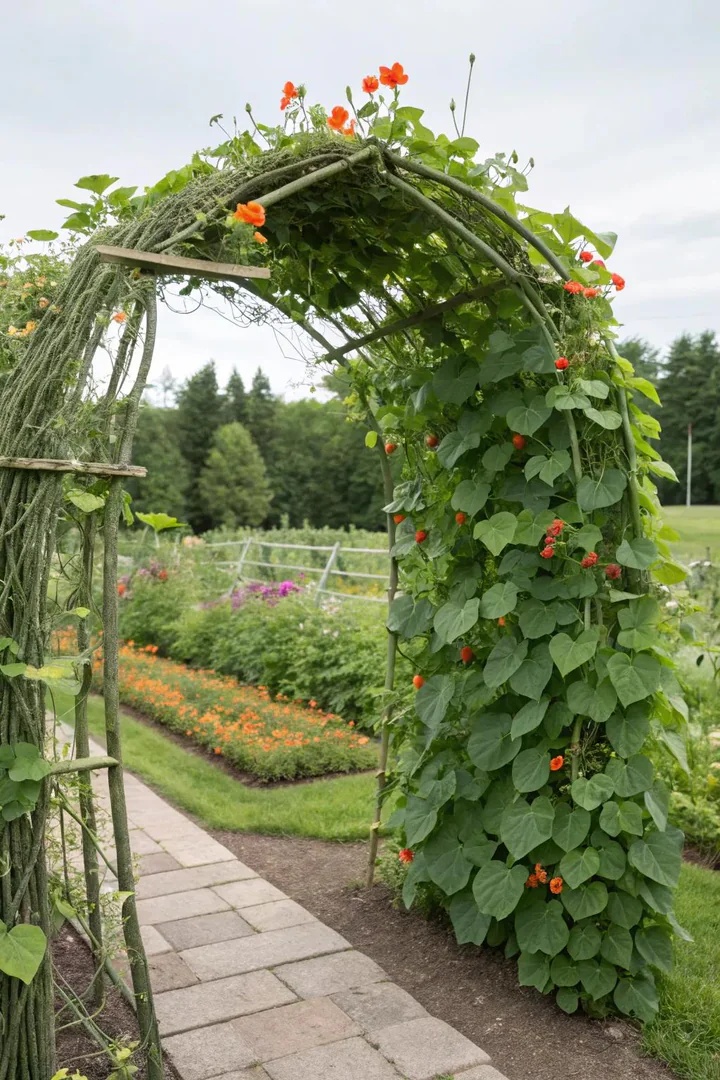
A cattle panel arbor (a 16-foot-long, 50-inch-tall welded-wire livestock panel from Tractor Supply, $25 to $35 per panel, bent into an arch and anchored to two rows of T-posts or wooden posts) creates a strong, wide vegetable tunnel that supports heavy crops like squash, melons, cucumbers, and pole beans. A cattle panel arch spans 4 to 5 feet wide and stands 6 to 7 feet tall at the peak, providing walk-through clearance and enough overhead surface area to grow 20 to 30 pounds of squash or beans per season.
Plant pole beans (Kentucky Wonder, Blue Lake, or Rattlesnake, $3 per seed packet, 6 to 8 feet tall) on both sides of the arch base. The bean vines climb the cattle panel without tying or training, and the beans hang down from the overhead arch where they are easy to spot and pick. Small-fruited squash (Delicata, Acorn, or Tromboncino zucchini, $3 to $5 per seed packet) grow up and over the arch, and the fruit hangs through the wire openings for straight, uniform growth. Avoid planting large-fruited squash (pumpkins, watermelons over 10 pounds) on an unsupported cattle panel arch because the fruit weight can collapse the structure.
14. Seasonal Decoration Arbor
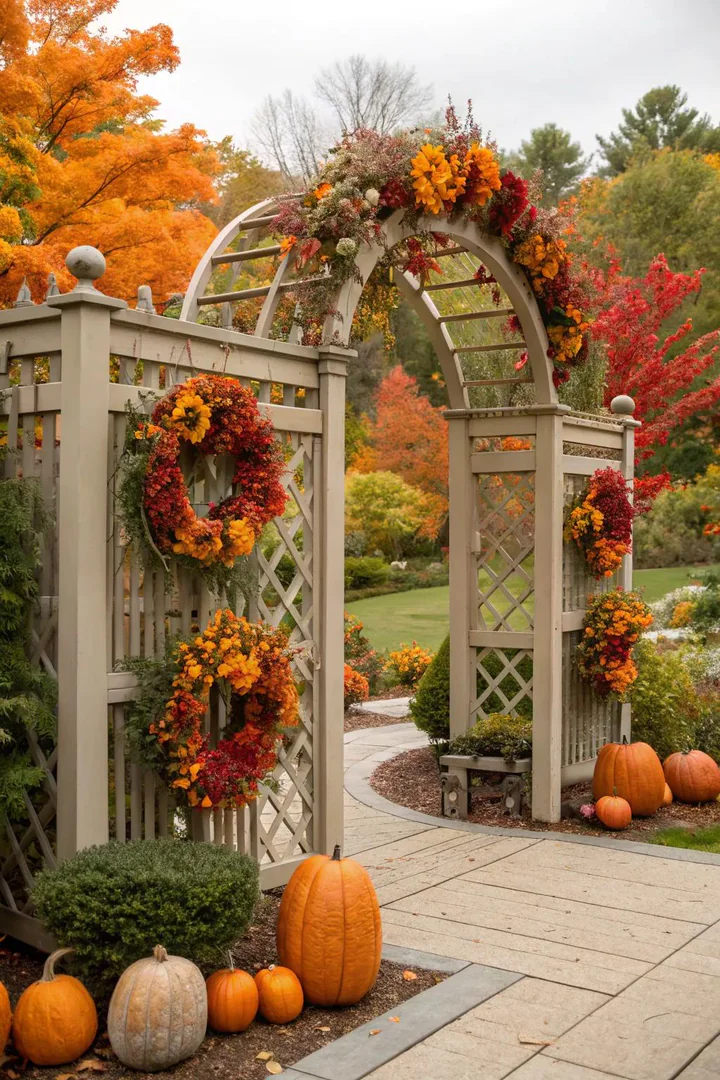
Using the arbor as a seasonal decoration platform (wreaths, garlands, ribbon, dried flowers, lanterns, ornaments, or holiday lights) keeps the structure visually relevant during the winter months when deciduous vines are dormant and the arbor frame is bare. Hang a seasonal wreath ($15 to $40 from a craft store or florist; or $5 to $15 in materials for a DIY wreath from grapevine, dried flowers, and ribbon) from the center of the arbor arch using a wreath hanger or a loop of wire.
Wrap the posts and beams with LED string lights ($15 to $30) for winter evening glow. Add dried corn stalks, pumpkins, and hay bales at the arbor base in fall. Hang paper lanterns or fabric bunting for summer garden parties. Attach fresh or dried flower garlands across the top beam for spring celebrations. A well-placed arbor near the front walkway or patio becomes the garden’s decorating anchor — the single structure that gets dressed up for each season while the rest of the garden remains as-is. See more decorating strategies at DIY backyard hammock ideas for backyard relaxation setups that complement a decorated arbor.
15. Fragrant Climbing Plant Arbor
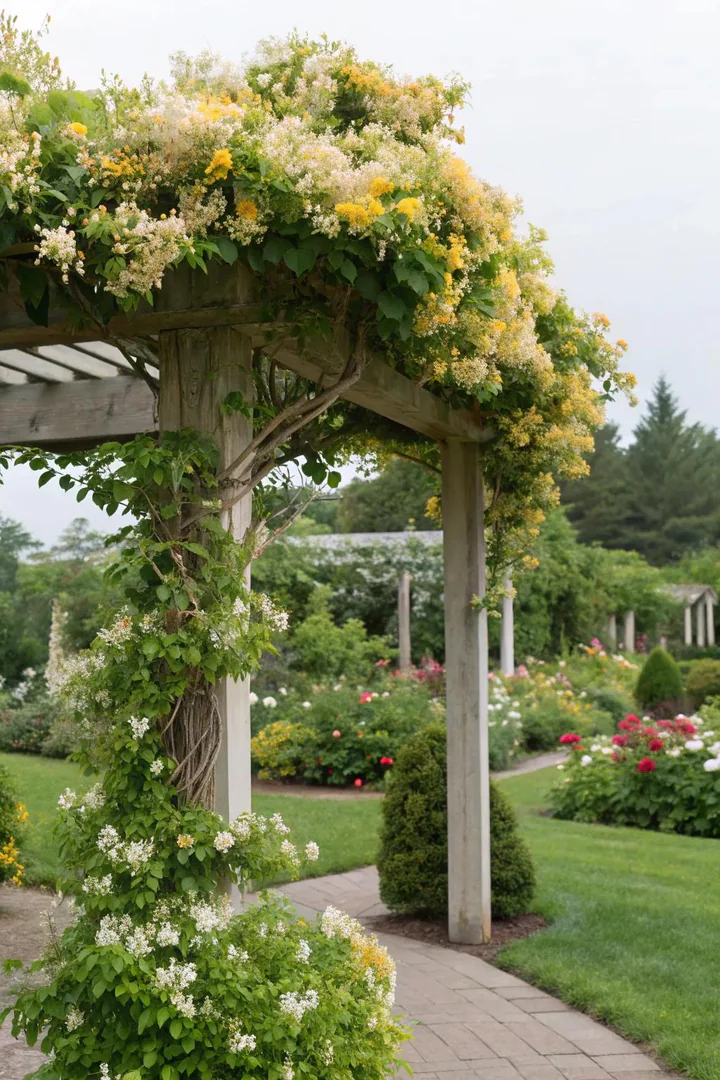
Choosing fragrant climbers for the arbor adds a scent dimension that makes passing through or sitting beneath the arbor a multi-sensory experience. The most intensely fragrant arbor vines: Star Jasmine (Trachelospermum jasminoides, $12 to $25, zones 8 to 11, white flowers, spring to summer, sweet perfume detectable 15 to 20 feet away), Honeysuckle (Lonicera periclymenum or L. japonica, $10 to $20, zones 4 to 9, tubular yellow-white flowers, sweet nectar scent), and Sweet Pea (Lathyrus odoratus, $3 per seed packet, annual, zones 2 to 11, spring to early summer, delicate floral perfume).
Position the fragrant arbor near a seating area, along a frequently walked path, or beside an open window where the scent drifts indoors on warm evenings. Night-blooming jasmine (Cestrum nocturnum, $12 to $20, zones 9 to 11) releases its strongest fragrance after dark, making it ideal for an arbor near an evening patio or outdoor dining area. Plant two or three different fragrant climbers on the same arbor (one spring-blooming, one summer-blooming, one fall-blooming) for a rotating fragrance calendar that spans the entire growing season.
16. Wedding or Event Ceremony Arch
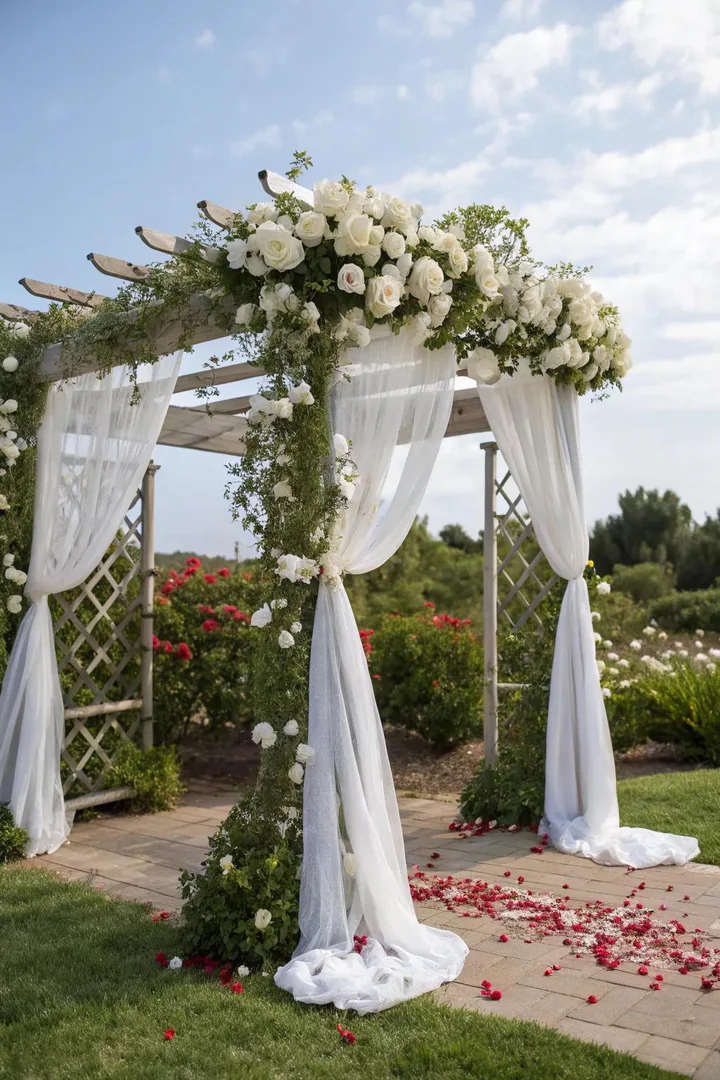
A garden arbor used as a ceremony arch for weddings, vow renewals, or garden parties provides a natural, green backdrop that requires no rental or professional florist installation when built from an existing garden arbor with fresh or faux floral additions. A simple wood or metal arbor ($50 to $200 for the structure) decorated with fresh flower garlands ($50 to $200 from a grocery-store floral department or DIY from bulk flowers at Costco or FiftyFlowers.com) and sheer fabric draping ($10 to $25 for 10 yards of organza, tulle, or chiffon from a fabric store) creates a ceremony backdrop for $100 to $400 total.
Build a portable ceremony arbor from two 8-foot 2×2 posts set in 5-gallon bucket bases (filled with concrete or sand, wrapped in burlap or fabric to hide the bucket) with a horizontal crossbeam or curved PVC arch connecting the tops. A portable arbor disassembles after the event and stores flat in a garage or shed for reuse. Attach fresh flowers with floral wire ($3 to $5 per spool) and zip ties ($5 for a pack of 100) the morning of the event — fresh flowers last 6 to 10 hours in warm weather before wilting, which is enough for a ceremony and photo session.
17. Garden Art Display Trellis
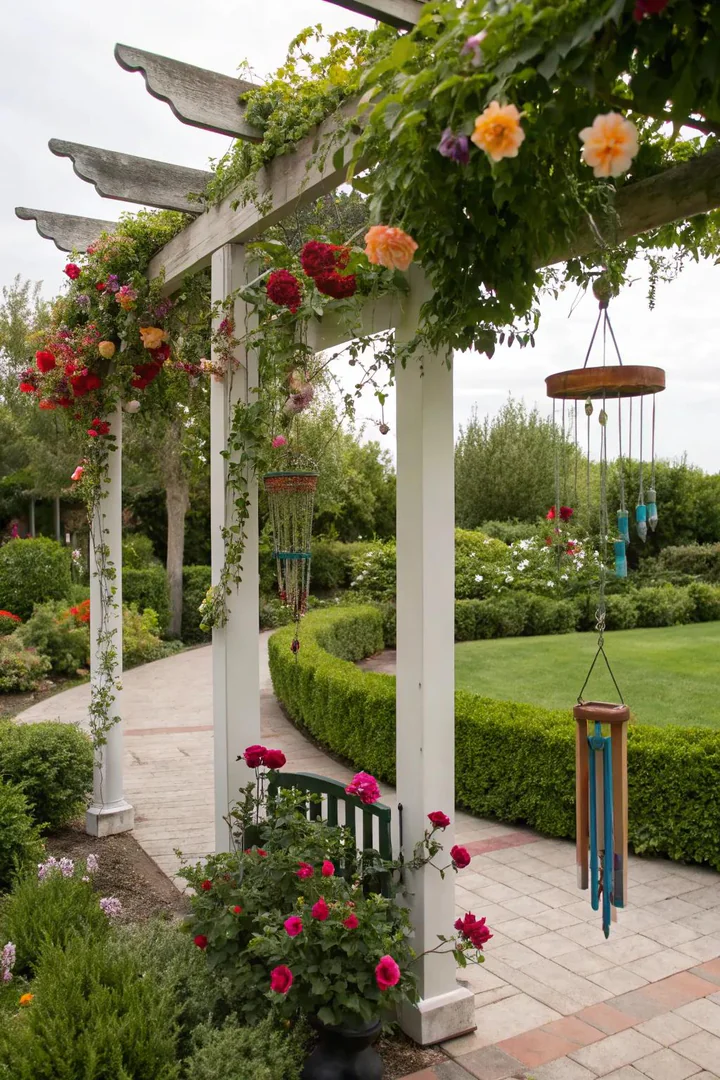
Using a trellis panel as a vertical display surface for garden art (metal sculptures, ceramic tiles, mosaic panels, painted signs, bird feeders, wind chimes, or hanging planters) creates a gallery wall in the garden that serves the same function as an indoor art wall. A freestanding lattice panel ($20 to $50 for a 4-by-8-foot panel) or a post-and-rail trellis (two posts with horizontal wire or rod between them) provides mounting points for hanging art at different heights.
Hang garden art from the trellis using S-hooks ($5 for a pack of 10), screw-in eye hooks ($3 for a pack of 6), or monofilament fishing line ($5 per spool, nearly invisible, supports up to 30 pounds per strand) for a floating effect. Rotate the art seasonally or as your collection grows. A trellis art wall works best against a solid background (a fence, a hedge, or the side of a building) where the art has a consistent backdrop rather than competing with a busy garden view behind it. Visit off grid outdoor kitchen ideas for outdoor structures that incorporate functional art and handmade elements.
18. Combined Pergola and Trellis
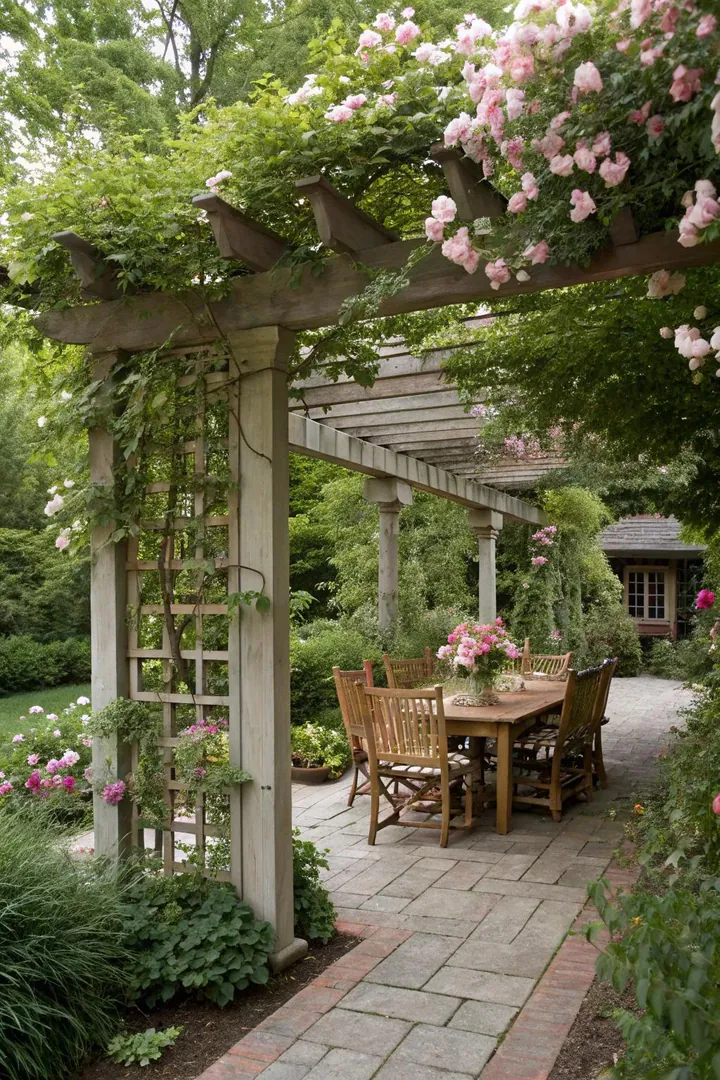
Attaching trellis panels to the sides and ends of a pergola converts the open-sided shade structure into a semi-enclosed garden room with living green walls. A standard 10-by-10 or 10-by-12 pergola ($200 to $600 for a kit from Home Depot, Lowe’s, or Wayfair) has four posts and an overhead beam-and-rafter grid but no side walls. Adding 4-by-8-foot lattice panels ($20 to $50 each) to one, two, or three sides of the pergola creates partial walls that support climbing plants, block wind from the prevailing direction, and screen the seating area from neighbors.
Leave at least one side completely open for entry and airflow. Train a grape vine (Concord, Flame Seedless, or Muscadine, $15 to $30 per vine) over the pergola roof for overhead shade and edible fruit in late summer. Train a different climber (clematis, jasmine, or passionflower) up the side trellis panels for vertical color and fragrance. A pergola-trellis combination provides the most complete outdoor room structure: shade overhead from the pergola rafters, screening on the sides from the trellis panels, and a furnished floor area beneath for dining, lounging, or entertaining. Browse The Designers Company for the full garden structure and outdoor living library.
How to Build a Trellis Arbor
1. Choose the Location and Measure the Space
Place the arbor where it will receive 6 or more hours of direct sunlight per day (most flowering climbers require full sun for maximum bloom production). Measure the available width (the arbor should be at least 3 feet wide for comfortable walk-through clearance; 4 to 5 feet for a pathway or ceremony arch) and mark the post locations with stakes and string. A 4-foot-wide arbor with 4×4 posts requires a 4-foot, 7-inch outside-to-outside width at the post centers (4 feet of clear opening plus 3.5 inches of post thickness on each side).
2. Set the Posts in the Ground
Dig four post holes, each 12 inches in diameter and 24 to 30 inches deep (below the frost line in cold-climate regions). Set the posts plumb (straight vertical, checked with a level on two adjacent sides), brace them with temporary 2×4 diagonal braces, and fill the holes with quick-set concrete ($5 per 50-pound bag, 1 to 2 bags per hole). Allow the concrete to cure for 24 to 48 hours before attaching the overhead beams and trellis panels. Use pressure-treated wood or cedar posts for ground contact, and coat the buried portion with a wood preservative ($10 to $15 per quart) for additional rot resistance.
3. Build the Overhead Frame and Attach Trellis Panels
Connect the posts at the top with 2×6 or 2×8 beams (notched, bolted, or lag-screwed to the posts) to form the overhead frame. Add cross rafters (2x4s or 2x2s spaced 6 to 12 inches apart) across the beams for a slatted roof that provides partial shade and gives overhead vines more surface to grip. Attach pre-made lattice panels ($15 to $40 per panel) or build custom trellis panels from 1×2 or 2×2 strips nailed or screwed in a diamond or grid pattern to the inside of the post-and-beam frame. Space the lattice openings 3 to 6 inches apart for most climbing plants.
4. Plant the Climbing Vines
Plant one climber at the base of each post (2 to 4 plants total for a standard 2-post or 4-post arbor), 6 to 12 inches away from the post base in amended, well-drained soil. Water deeply at planting and mulch with 2 to 3 inches of bark mulch or compost in a 12-inch radius around the plant base. Tie the young vine stems loosely to the lower trellis with soft garden twine or plant clips to guide initial growth upward. Most climbers reach the top of a 7-to-8-foot arbor in 1 to 3 growing seasons depending on the species, soil fertility, water, and sunlight.
Trellis Arbor Material Comparison
| Material | Cost (standard arbor) | Lifespan | Maintenance | Best For |
|---|---|---|---|---|
| Pressure-treated pine | $50–$150 | 10–20 years | Stain every 2–3 yr | Budget builds, vegetable gardens |
| Western red cedar | $100–$300 | 15–25 years | Optional oil annually | Natural color, rot resistance |
| Powder-coated steel | $50–$200 | 10–20 years | Touch up chips | Arched designs, lightweight |
| Vinyl (PVC) | $150–$350 | 20–30 years | Hose down yearly | Maintenance-free, white finish |
| Wrought iron | $200–$600 | 30–50+ years | Sand and repaint if rust | Formal gardens, heirloom look |
Frequently Asked Questions
What is the difference between a trellis and an arbor?
A trellis is a flat or slightly curved panel (lattice, grid, or wire mesh) that supports climbing plants on a vertical surface — mounted to a wall, fence, or freestanding posts. An arbor is a freestanding structure with an overhead element (arch or flat top) that you walk under or sit beneath. A trellis arbor combines both: it has an overhead arch or beam (arbor) with side panels (trellis) that support climbing plants. A pergola is a larger version of an arbor, typically 10 to 20 feet wide, with an open-rafter roof and no side panels (unless trellis is added).
What is the best climbing plant for a trellis arbor?
Clematis is the most versatile arbor climber because hundreds of varieties exist in nearly every color, bloom size (1 to 8 inches), and bloom season (spring, summer, or fall). Clematis twines with leaf-stem tendrils that grip thin supports (wire, twine, lattice) without suckering to walls or strangling host plants. Climbing roses provide the most dramatic flower display but require annual pruning and pest management (aphids, black spot). Star jasmine provides year-round evergreen coverage plus fragrant white flowers in spring. Choose the plant based on your hardiness zone, sun exposure, and desired maintenance level.
How deep should arbor posts be set?
Set arbor posts 24 to 30 inches deep in concrete footings for a 7-to-8-foot-tall arbor (the general rule is one-third of the total post length below ground for posts set without concrete; 24 inches minimum for concrete-set posts in non-freezing climates; below the frost line for cold climates). A 4×4 post set 24 inches deep in a 12-inch-diameter concrete footing supports a standard residential arbor with vine load in winds up to 50 to 60 mph. A larger arbor (10 feet or taller, 6 feet or wider) or a heavy vine (wisteria, grape, bougainvillea) requires 6×6 posts and 30-to-36-inch-deep footings.
Can you build a trellis arbor without digging?
A no-dig arbor anchors to the ground with ground-spike post bases ($15 to $25 each from Home Depot; a metal spike with a post cup on top, driven into the ground with a sledgehammer), surface-mount post brackets ($8 to $15 each, bolted to an existing concrete pad), or weighted planter bases (each post set in a large planter filled with concrete or gravel, 50 to 80 pounds per planter). A planter-base arbor is fully portable and works on patios, decks, or rental properties where digging is not permitted.
How long does a wood trellis arbor last?
A pressure-treated pine arbor lasts 10 to 20 years with periodic staining or sealing (every 2 to 3 years). A Western red cedar arbor lasts 15 to 25 years because cedar’s natural oils resist rot, insects, and fungal decay without chemical treatment. An untreated pine or fir arbor lasts only 3 to 7 years before ground-contact rot weakens the posts. A vinyl (PVC) arbor lasts 20 to 30 years with zero maintenance. A metal arbor (powder-coated steel or wrought iron) lasts 10 to 50+ years depending on the coating quality and whether rust is addressed promptly when it appears.