Deck Privacy Ideas: 18 Brilliant Ways to Create Your Retreat

An open deck with no screening leaves you exposed to every passing neighbor and street-level sightline. The right deck privacy setup blocks those views while keeping airflow and natural light intact, so you actually spend time outside instead of retreating indoors.
Privacy solutions range from $20 bamboo rolls you can hang in an afternoon to $4,000+ motorized awning systems that retract at the push of a button. Your best pick depends on how much coverage you need, whether you rent or own, and how permanent you want the fix to be.
Below are 18 deck privacy ideas that cover every budget and skill level, from fast weekend fixes to long-term planting plans that fill in over a few seasons.
1. Install Tall Fencing
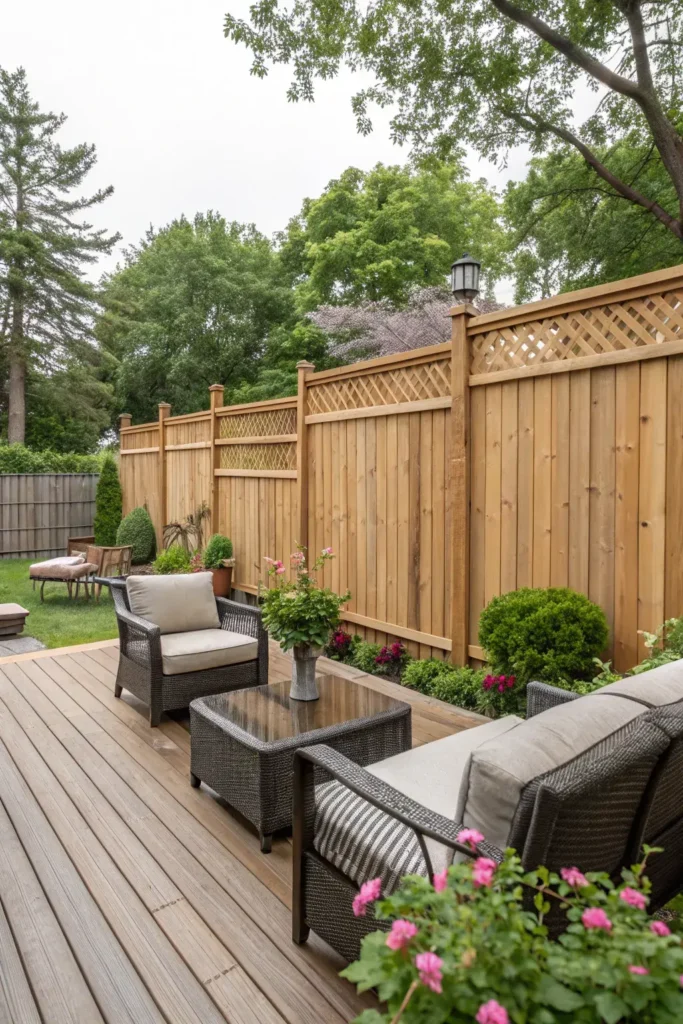
A 6-to-8-foot cedar or pressure-treated pine fence along one or two sides of your deck delivers near-total seclusion. Horizontal slats give a modern look that pairs well with composite decking from Trex or TimberTech, while vertical board-on-board construction blocks sightlines from every angle. Expect to pay $15 to $45 per linear foot installed, depending on wood species and local labor rates.
Attach the fence posts directly to the deck’s substructure or to concrete footings poured beside the deck frame. Use Simpson Strong-Tie post bases rated for lateral loads, and apply Thompson’s WaterSeal or Sikkens Cetol within 30 days of installation. A stained cedar fence lasts 15 to 20 years with a fresh coat every 3 to 4 years.
2. Add a Privacy Screen
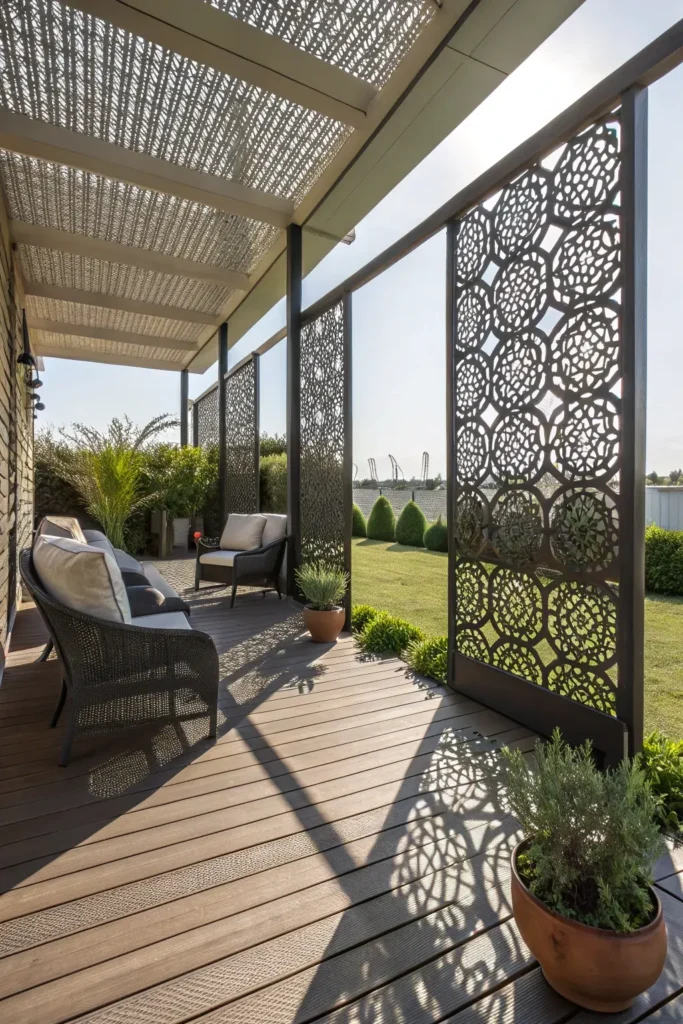
Pre-built privacy screen panels mount directly to your deck railing or posts and go up in under an hour. Enclo Privacy Screens sells HDPE (high-density polyethylene) and wood-composite panels in 3-to-6-foot heights for $50 to $200 each. The WoodTek line has a slatted design that lets breeze through while blocking 80% of the view from street level.
Space the panels 1 to 2 inches apart to allow wind to pass between sections, which reduces the load on your railing posts during storms. Stainless steel lag bolts or GRK RSS structural screws hold the panels securely to 4×4 or 6×6 posts. For renters, freestanding screen panels on weighted bases offer the same coverage without drilling into the deck.
3. Hang Outdoor Curtains
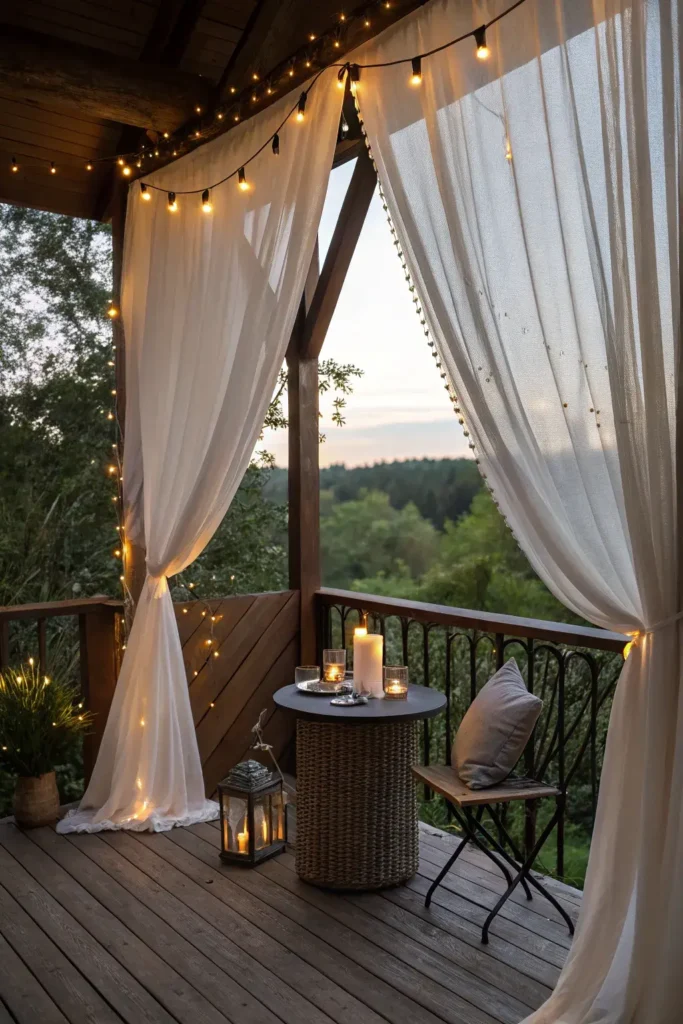
Sunbrella and Coolaroo outdoor curtain panels resist UV fading, mildew, and water for 5+ years without needing replacement. A single 50×108-inch panel costs $30 to $80, and you can string them on stainless steel cable wire or a galvanized curtain rod mounted between pergola posts or wall brackets. Grommet-top panels slide easily and can be tied back during the day.
Run the cable or rod 7 to 8 feet above the deck surface so the curtains clear standard furniture. Anchor each end into a structural post or a lag eye bolt rated for 200+ pounds. Curtains work especially well on covered decks where rain drains off a roof rather than pooling on the fabric.
4. Build a Pergola with Climbing Vines
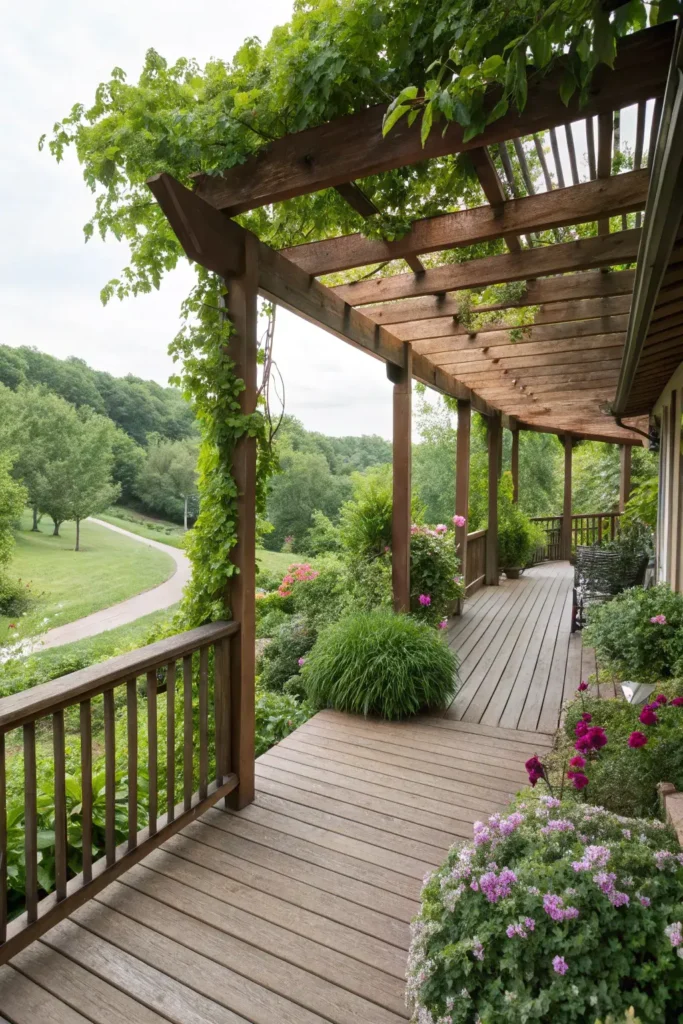
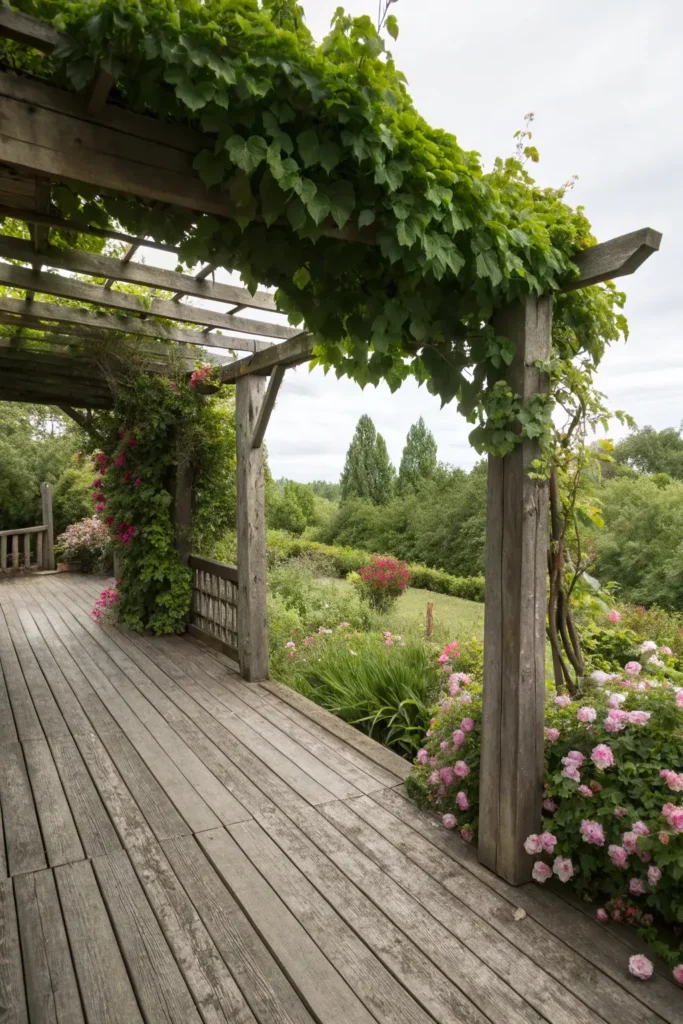
A cedar or redwood pergola with 6×6 posts and 2×8 rafters creates an overhead frame that climbing plants fill in over one or two growing seasons. Wisteria, clematis, and star jasmine are the top three choices for USDA zones 5 through 9. A 10×12-foot DIY pergola runs $2,000 to $4,500 in materials, while a contractor-built version with footings costs $5,000 to $8,000.
Pair the pergola with a side lattice panel or two to block horizontal sightlines while the vines mature. For enclosed comfort during cooler months, a glass sunroom adds full weather protection and year-round use. Treat all cut ends with Copper Green wood preservative before assembly, and check vine growth monthly so tendrils don’t pry apart joints.
5. Use Bamboo Screens
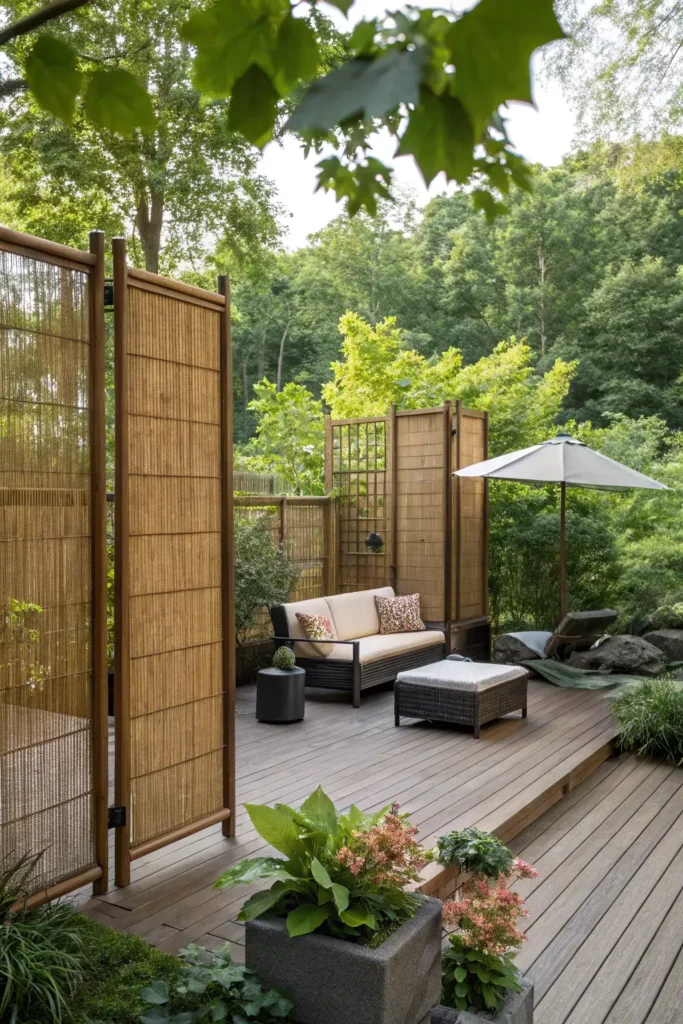
Rolled bamboo fencing from Cali Bamboo or Forever Bamboo costs $20 to $50 per 6×16-foot roll and attaches to existing railings or posts with zip ties or galvanized wire. The tight pole spacing blocks 85 to 90% of sightlines while allowing air to flow between the canes. Choose carbonized (dark brown) bamboo for a modern look or natural blonde for a tropical feel.
Bamboo rolls typically last 3 to 5 years outdoors without treatment, and applying Total Wood Protectant or marine-grade spar varnish extends that to 7+ years. Secure the top and bottom edges to prevent the roll from curling in high winds. Double up two rolls for full opacity on ground-level decks where neighbors are close.
6. Plant Tall Hedges
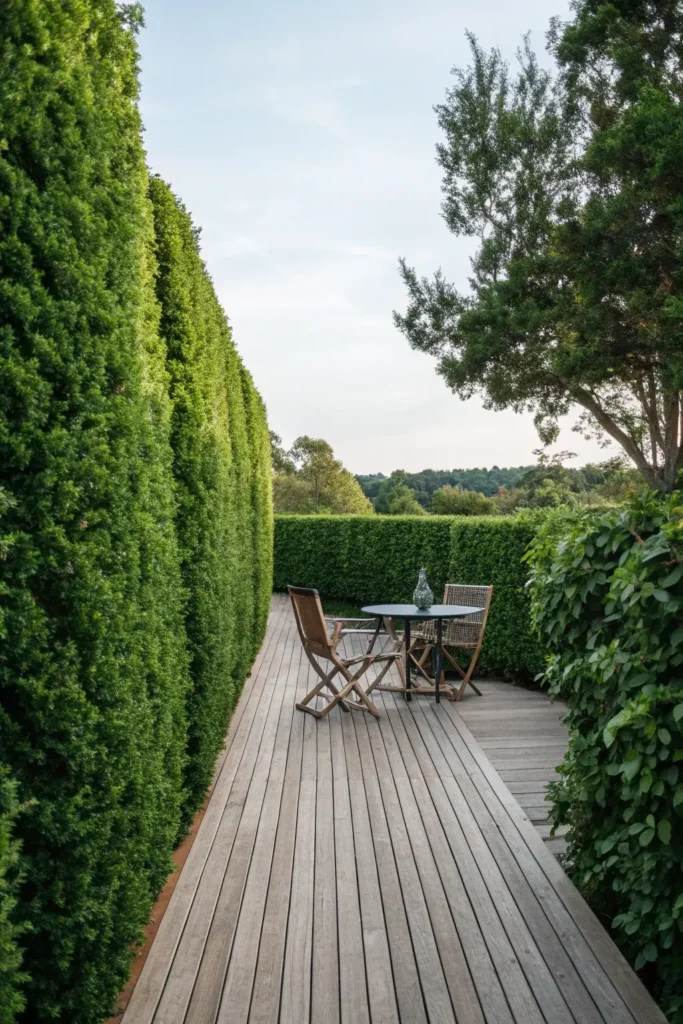
Thuja Green Giant arborvitae grows 3 to 5 feet per year and reaches 30+ feet at maturity, making it one of the fastest natural privacy barriers available. Plant 3 to 4 feet apart in a row along the deck perimeter for a dense green wall within 2 to 3 years. Leyland cypress and privet offer similar speed in zones 6 through 9, and 5-gallon specimens start at $25 to $50 each from wholesale nurseries.
Dig each hole twice as wide as the root ball and mix in Espoma Bio-Tone starter fertilizer at planting time. Water deeply twice per week during the first growing season, then back off to once per week. Prune the tops once per year in late winter to keep the hedge at your target height and encourage thick lateral branching.
7. Create a Living Wall
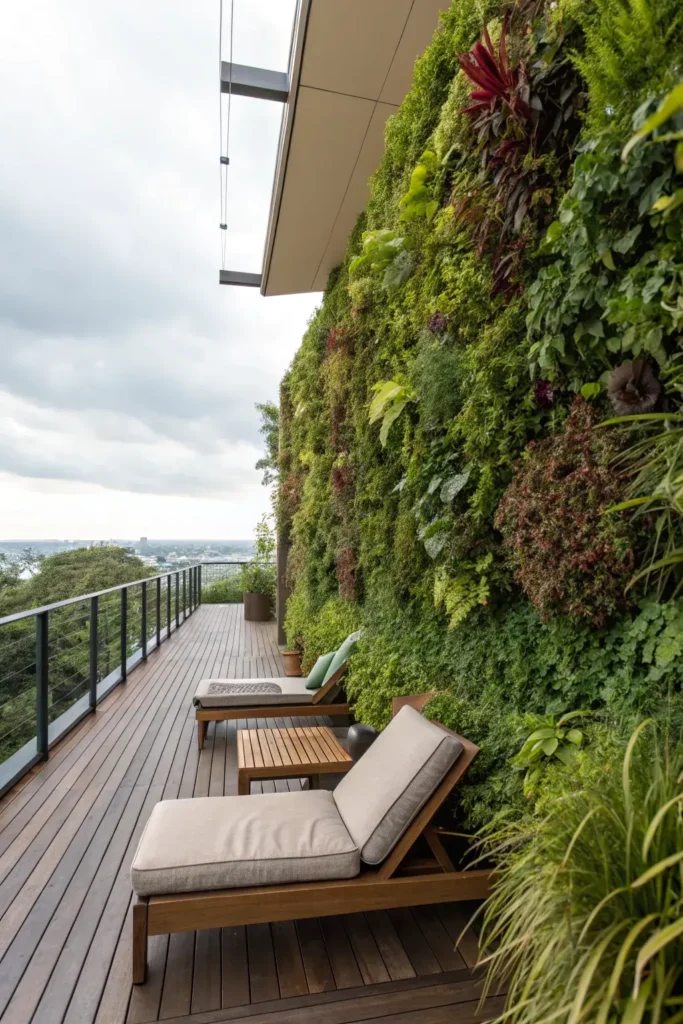
Vertical garden systems like Florafelt and LiveWall mount flat against a fence, wall, or freestanding frame and hold dozens of plants in felt pockets or modular trays. Fill the pockets with ferns, succulents, creeping jenny, and trailing herbs like rosemary or thyme. A 4×6-foot living wall costs $200 to $600 for the frame and planting media, plus $50 to $100 in starter plants.
Connect a drip irrigation line to a battery-powered timer so the wall stays watered without daily attention. A Rain Bird drip kit with 1/4-inch tubing runs $30 to $50 and covers up to 50 pockets. Place shade-tolerant species (Boston fern, pothos) on north-facing walls, and sun-loving plants (sedum, hens-and-chicks) on south or west exposures.
8. Install Lattice Panels
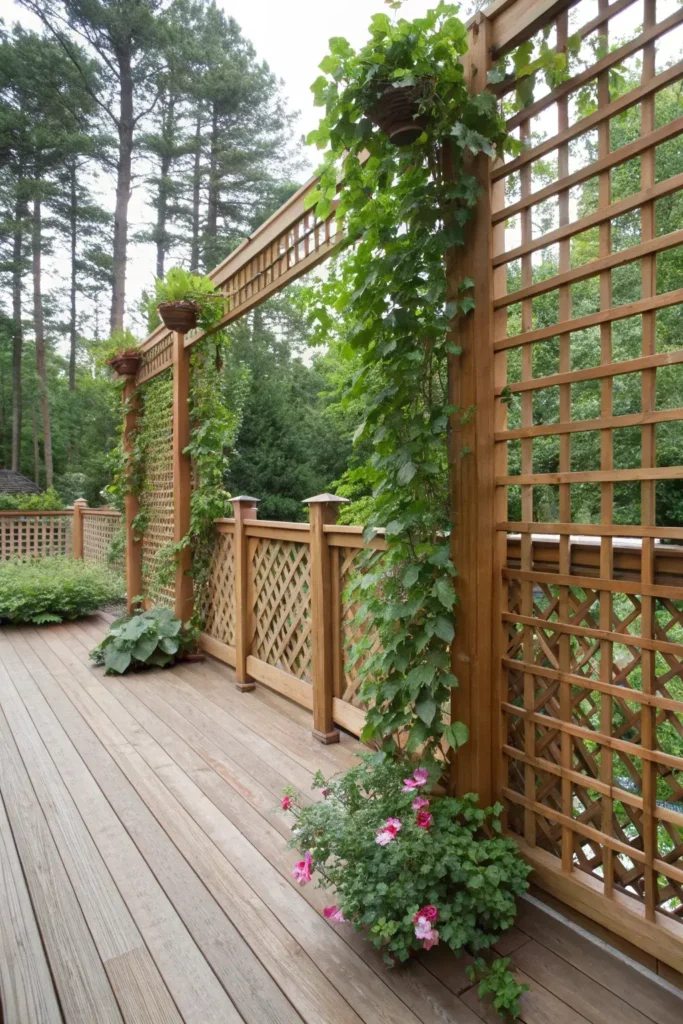
A 4×8-foot lattice panel in cedar or vinyl costs $15 to $40 at any home center and provides partial screening without blocking all light and air. Diamond-pattern lattice filters about 50% of the view, while square or privacy-weave lattice blocks 70 to 80%. Frame each panel with 1×4 trim boards to prevent warping and give the edges a finished look.
Attach the framed panels between 4×4 posts using Kreg pocket-hole screws or exterior-grade L-brackets. Stain or paint the lattice to match your railing color for a pulled-together look. Pairing a freshly painted lattice with a painted deck railing in a coordinating shade ties the whole structure together. Grow climbing roses or sweet pea vines up the lattice for a privacy layer that fills in by midsummer.
9. Incorporate Tall Planters
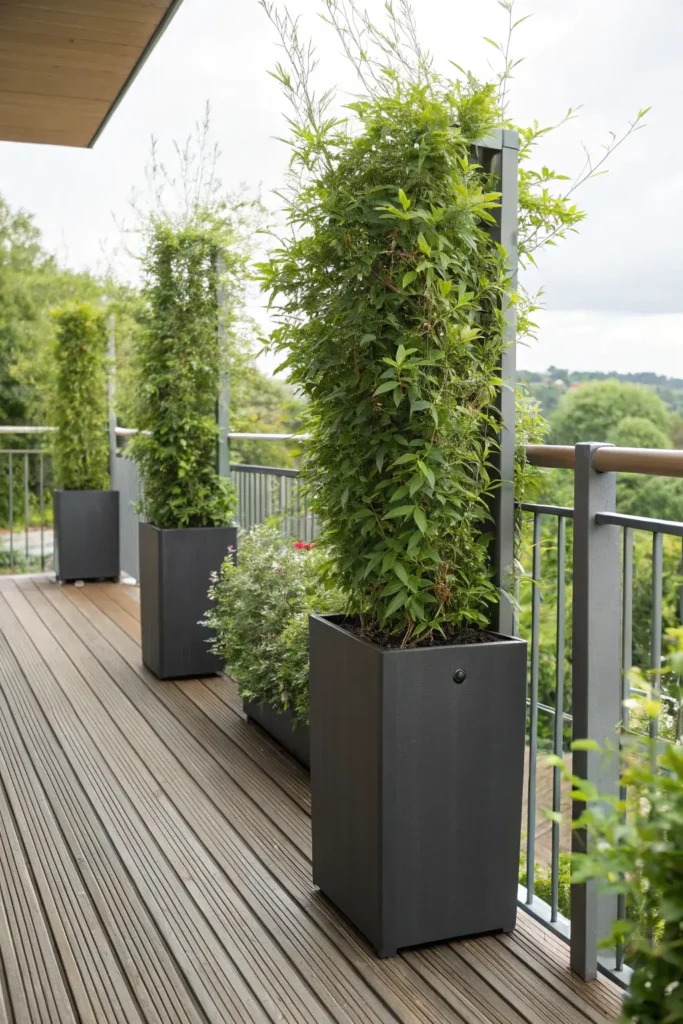
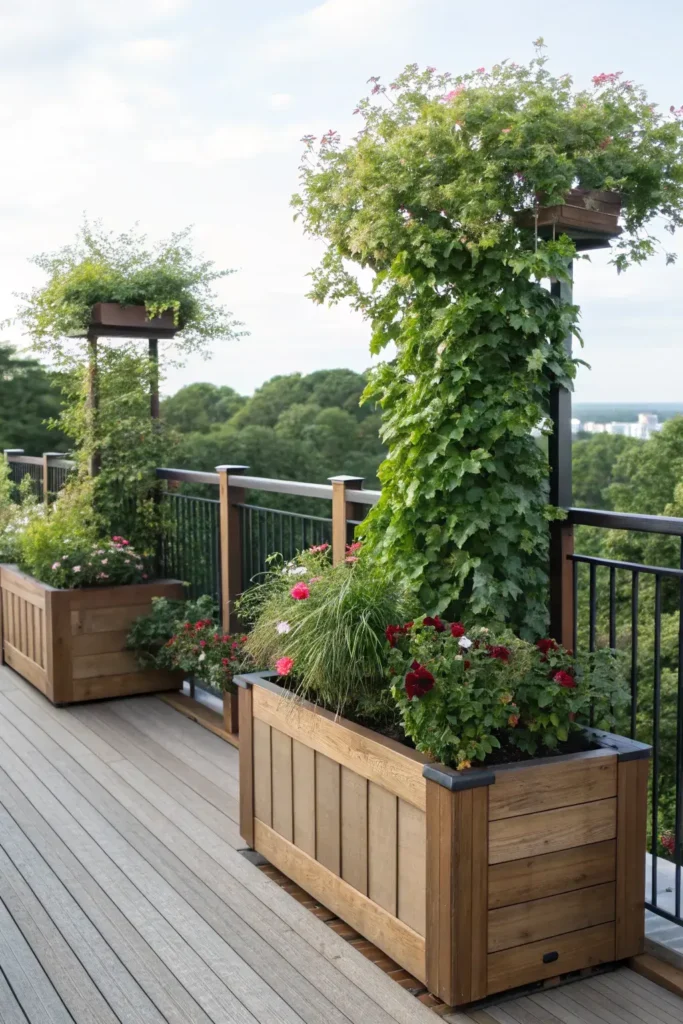
Tall planter boxes in the 36-to-48-inch height range act as a privacy wall when filled with ornamental grasses like Miscanthus sinensis or Karl Foerster feather reed grass. Veradek and Crescent Garden make lightweight fiberglass and resin planters that look like concrete but weigh a fraction as much, so your deck framing doesn’t need extra reinforcement.
Space the planters 12 to 18 inches apart and fill the gaps with shorter flowering plants for a layered effect. Each planter needs drainage holes drilled in the bottom and a 2-inch gravel layer before adding potting soil. FoxFarm Ocean Forest potting mix keeps grasses healthy for a full season, and a slow-release pellet fertilizer like Osmocote handles feeding for 4 months.
10. Use a Shade Sail
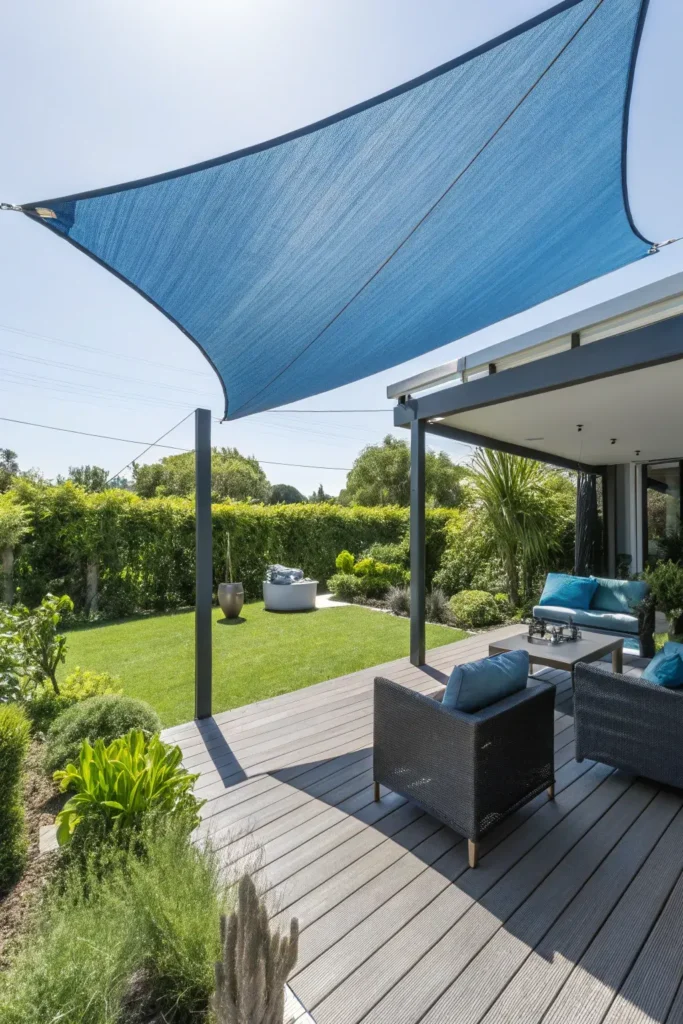
A triangle or rectangle HDPE shade sail from Coolaroo or Windscreen4less blocks 90 to 95% of UV rays and creates a visual barrier when angled between anchor points at different heights. Mount one corner at 10 feet on a house wall and the opposite corners at 7 feet on steel posts, so the fabric slopes downward and screens the deck from second-story windows nearby. Sails cost $25 to $80 for a 12×12-foot size.
Shade sails are a common fixture on Australian-style decks, where strong sun and open sightlines make overhead screening a daily need. Use stainless steel turnbuckles and snap hooks rated for 300+ pounds at each attachment point, and tension the fabric until all wrinkles disappear. Remove the sail before heavy snow or ice storms to prevent tearing at the grommets.
11. Add a Water Feature
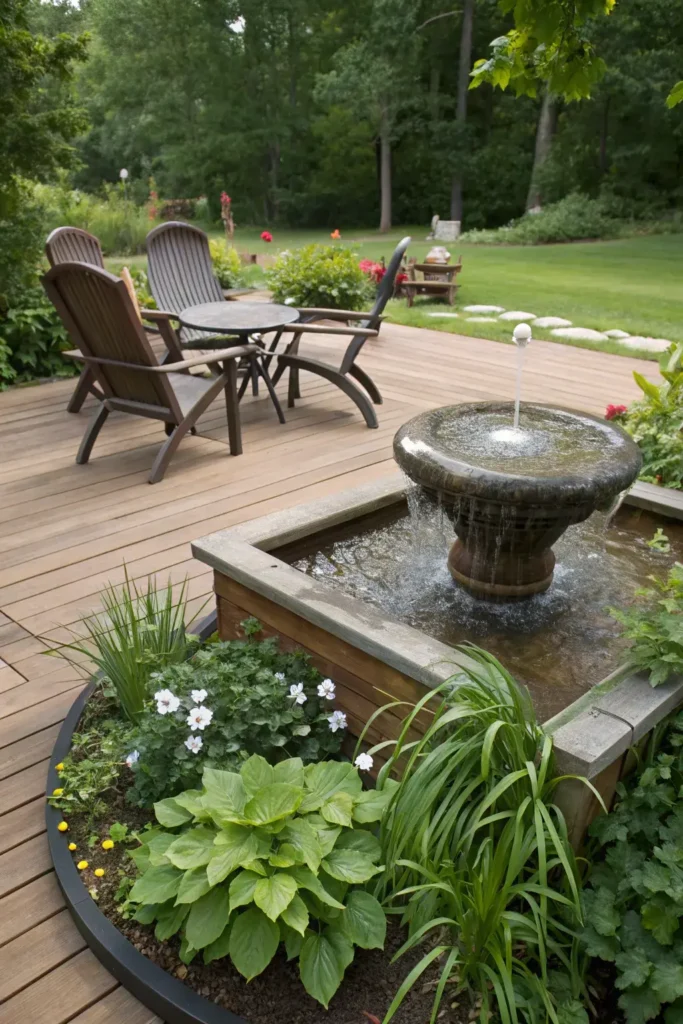
A deck-mounted fountain or cascading water wall creates white noise that masks conversations and reduces the feeling of being overheard. Sunnydaze Decor and Alpine Corporation sell 3-tier and wall-mounted models for $100 to $500 that run on a recirculating pump and a standard outdoor outlet. The sound of moving water carries 10 to 15 feet, covering most mid-size deck areas.
Position the fountain between your seating area and the neighbor’s property line for maximum sound coverage. A submersible pump rated at 200 GPH (gallons per hour) keeps a 3-tier fountain flowing without splashing outside the basin. Add a few drops of Fountec algaecide weekly to keep the water clear, and unplug the pump before temperatures drop below freezing.
12. Hang Bamboo Shades
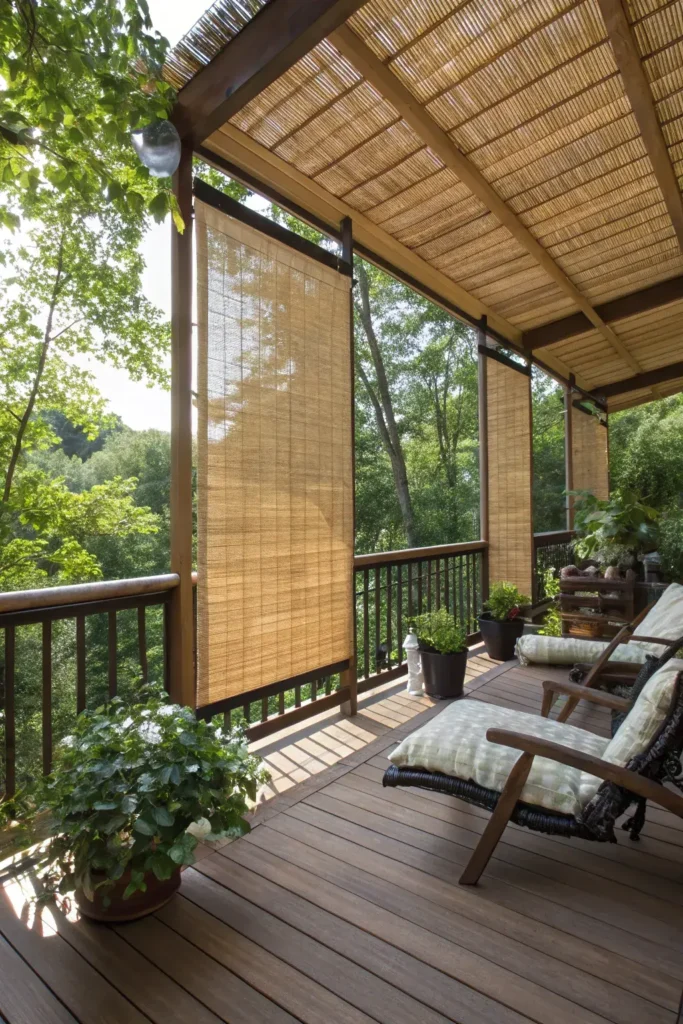
Roll-up bamboo blinds mount inside a pergola opening or under a porch roof and drop down when you need privacy. Standard 6-foot-wide shades cost $30 to $70 each and come in matchstick (light filtering) or full-slat (room-darkening) weaves. Radiance and Lewis Hyman are the two most common brands at home improvement stores, and both offer cordless lift options.
Screw the mounting brackets directly into a pergola beam or header board using #10 stainless steel screws at least 2 inches long. Bamboo shades roll up tight when not in use, keeping the deck feeling open during the day. Replace the shades every 3 to 4 years if they stay outdoors year-round, or bring them inside during winter to double their lifespan.
13. Surround with Evergreens
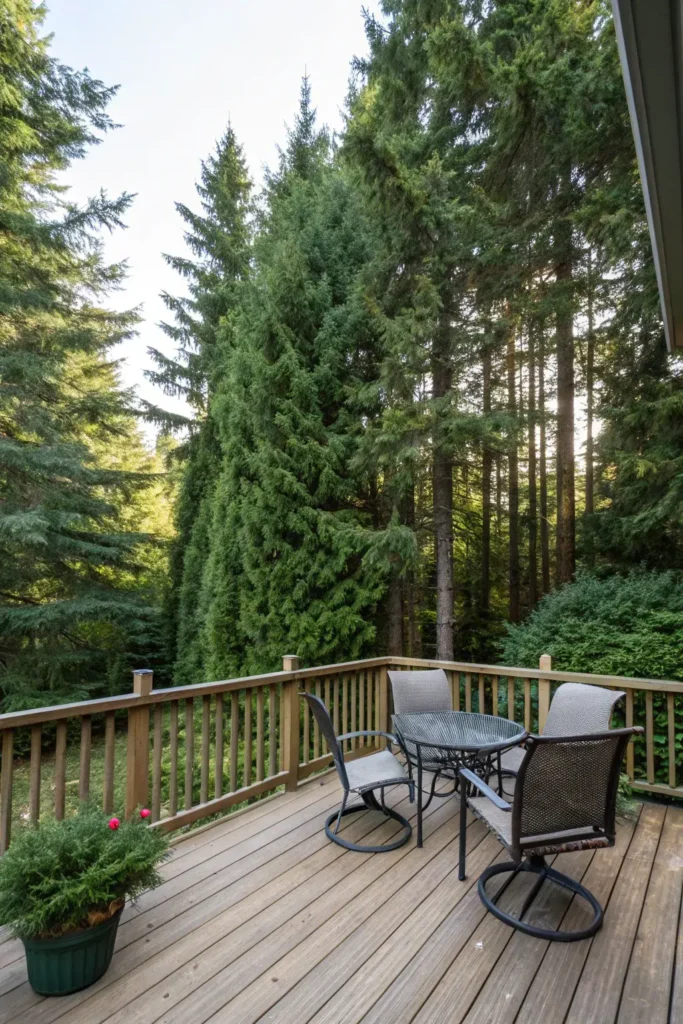
Evergreen trees and shrubs provide 12-month coverage without dropping leaves and exposing your deck every fall. Emerald Green arborvitae, Nellie Stevens holly, and Blue Point juniper all stay dense from ground level to the canopy tips. Plant them 4 to 6 feet from the deck edge so root growth doesn’t push against footings, and space each tree 3 to 5 feet apart for a continuous screen within 2 to 3 years.
Water newly planted evergreens with 1 inch per week through the first two growing seasons. Apply a 3-inch layer of shredded hardwood mulch around each trunk, keeping the mulch 4 inches from the bark to prevent rot. Feed once in early spring with Holly-Tone or a similar acidic fertilizer that supports needle retention and deep green color year-round.
14. Use Existing Structures
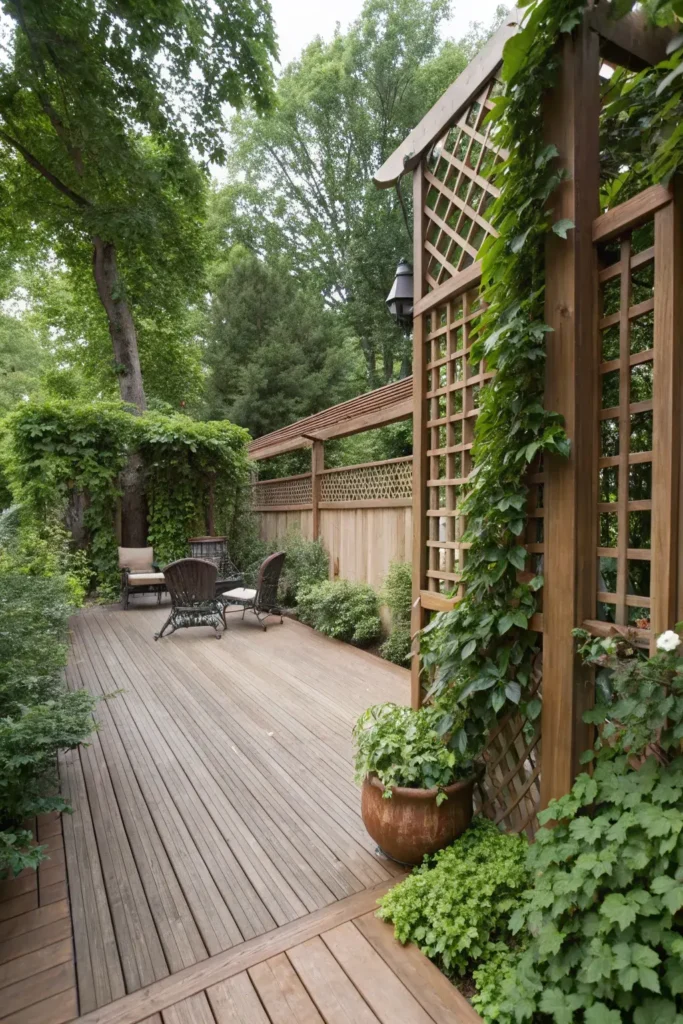
Your garage wall, house siding, or an existing fence already blocks part of the sightline, and adding screening only to the exposed sides saves time and money. Mount planter brackets, curtain rods, or lattice panels directly to the existing structure using lag bolts into studs or masonry anchors into brick. A detached patio layout near a garage or shed wall creates a naturally enclosed space that needs screening on just one or two open sides.
Paint or stain the screening additions to match the structure they attach to, so the privacy layer blends rather than standing out. Check for overhead utilities, dryer vents, and HVAC units before mounting anything to an exterior wall. Leave at least 12 inches of clearance around any vent or exhaust opening to maintain proper airflow and code compliance.
15. Incorporate a Trellis
A 6-to-8-foot cedar or powder-coated steel trellis panel provides a vertical frame for climbing plants to fill in and block views naturally. Clematis, morning glory, trumpet vine, and climbing hydrangea all grip trellis openings and cover a 4×8-foot panel in a single growing season. Pre-made trellis panels cost $30 to $150 each, while a DIY version from cedar 1×2 strips runs about $15 in materials.
Anchor the trellis 2 inches off the wall or fence using spacer blocks, so air circulates behind the vines and prevents moisture damage to the surface underneath. Secure the base into a concrete footing or bolt directly to the deck frame for wind resistance. Prune climbing plants in late winter to remove dead stems and direct new growth across bare spots in the trellis face.
16. Add Height with Planters
Placing standard 18-to-24-inch planters on tiered plant stands or raised shelves pushes the foliage line up to 5 or 6 feet, well above most railing heights. Gardener’s Supply Company and Plow and Hearth sell powder-coated steel plant stands in 3-tier and 5-tier configurations for $60 to $150. Fill each pot with tall, upright plants like snake plant (Sansevieria), dracaena, or bamboo palm for maximum height per planter.
Bolt the plant stand base to the deck surface with stainless lag screws so wind gusts don’t topple the whole stack. Group three or four stands side by side to form a green wall section, and fill the upper tiers with trailing plants like English ivy or sweet potato vine that drape down and close the gaps between shelves.
17. Use a Combination of Solutions
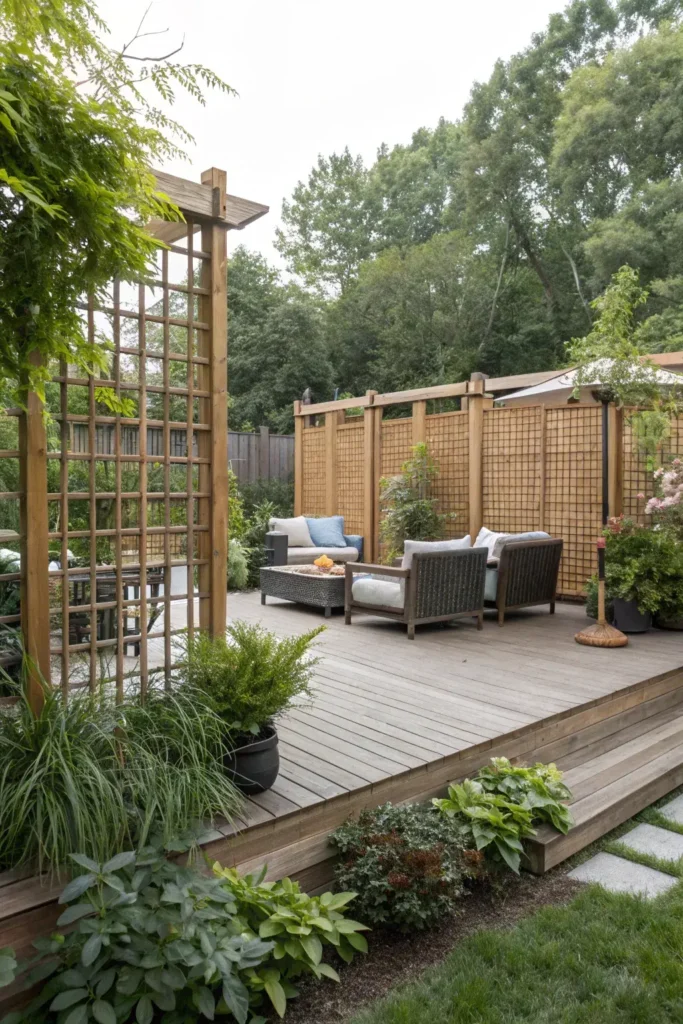
No single method covers every angle, so layering two or three privacy elements gives the best results. A lattice panel on the north side paired with tall planters along the east railing and curtains on the south creates overlapping coverage without making the deck feel boxed in. Budget $200 to $600 for a three-method setup on a typical 12×16-foot deck.
Start with the permanent fix (fence, lattice, or hedge) on the side with the worst exposure, then add portable items (curtains, planters, shade sails) on the remaining sides. Mix hard and soft materials for visual variety, and keep at least one side partially open so the deck doesn’t lose airflow. Test each layer from the neighbor’s vantage point before finalizing placement.
18. Opt for Retractable Awnings
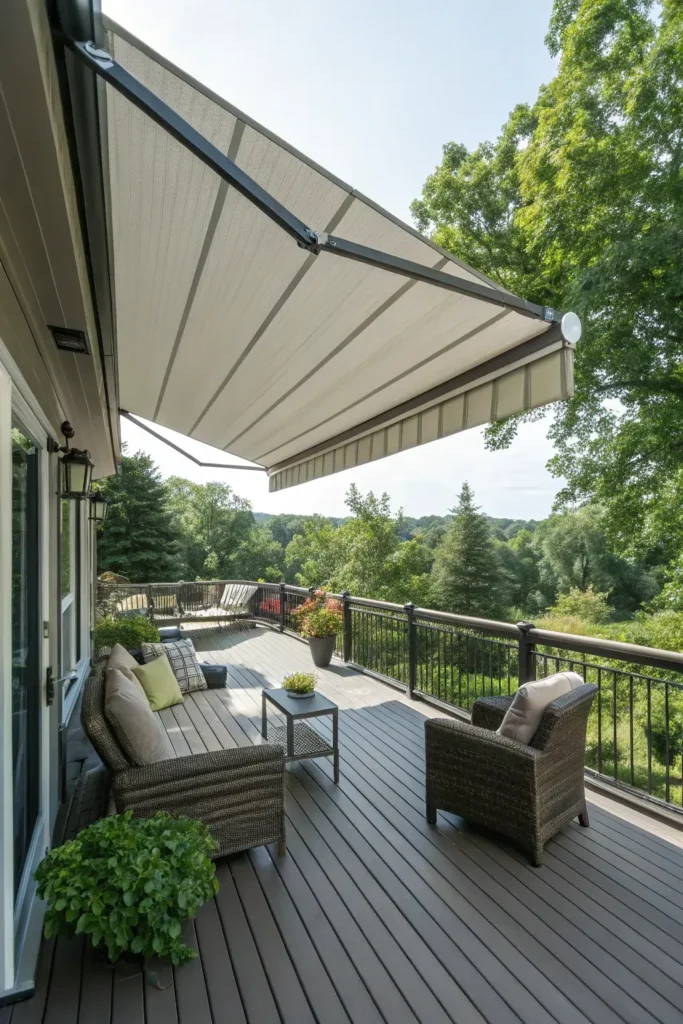
A motorized retractable awning from Sunsetter or Advaning extends 8 to 14 feet from your house wall and creates both shade and overhead privacy from upper-floor windows. Manual-crank models start around $1,500 for a 10-foot width, while motorized versions with wind sensors and remote controls run $2,500 to $4,000. Sunbrella acrylic fabric in the awning canopy resists fading for 10+ years.
Mount the awning bracket into the house’s rim joist or a structural header, not just into siding, using GRK RSS 5/16-inch structural screws rated for 500+ pounds of withdrawal force. Set the pitch at 15 to 20 degrees so rainwater runs off instead of pooling. Retract the awning during winds above 25 mph to prevent frame damage, and hose off the fabric twice per season to remove pollen and tree sap.
How to Build a Simple Deck Privacy Screen
1. Measure and Plan the Layout
Measure the length of each side you want to screen, and decide on the panel height. Most deck privacy screens stand 5 to 6 feet tall above the deck surface. Sketch the layout on paper and mark where each post will go, spacing them 4 to 6 feet apart. Buy 4×4 cedar or pressure-treated posts, 1×6 horizontal boards, and #8 exterior deck screws in 2.5-inch and 3-inch lengths.
2. Set the Posts
Bolt each 4×4 post to the outside face of your deck’s rim joist using two 3/8×6-inch carriage bolts with washers and nuts. Drill pilot holes through the rim joist first using a 3/8-inch drill bit, then slide the bolts through from the inside and tighten with a socket wrench. Use a level to plumb each post before fully torquing the nuts. Space the posts evenly along the run, and cut each one to the same height using a circular saw.
3. Attach the Horizontal Boards
Starting 2 inches above the deck surface, screw the first 1×6 board across two posts using 2.5-inch exterior screws, two per connection point. Leave a 1/2-inch gap between boards for airflow and wood expansion, and work your way up to the top of the posts. Use a spacer block cut from scrap wood to keep the gaps consistent. Pre-drill each screw hole to prevent splitting near the board ends.
4. Sand and Finish
Run 120-grit sandpaper over all exposed surfaces and edges to remove splinters and saw marks. Apply two coats of Cabot Australian Timber Oil or Ready Seal stain using a 4-inch brush, allowing 24 hours between coats. Both products penetrate the wood grain and resist peeling, unlike surface-film stains that flake within a year. Cover nearby plants with drop cloths during application to protect them from stain drips.
5. Add Finishing Touches
Cap each post with a flat or pyramid-style post cap to prevent water from soaking into the end grain. Maine Ornamental and Deckorators sell copper, stainless, and composite post caps for $8 to $25 each. Hang a small planter or hook on alternating posts for trailing plants or string lights. Step back and check the screen from several angles, including from the neighbor’s yard, to confirm full coverage.
Deck Privacy Solutions Comparison
| Method | Cost Range | Privacy Level | DIY Difficulty | Lifespan |
|---|---|---|---|---|
| Tall Fencing (cedar) | $15–$45/linear ft | 90–100% | Moderate | 15–20 years |
| Pre-built Privacy Screen | $50–$200/panel | 70–90% | Easy | 10–15 years |
| Outdoor Curtains | $30–$80/panel | 80–95% | Easy | 5–7 years |
| Pergola + Vines | $2,000–$8,000 | 60–80% | Hard | 20+ years |
| Bamboo Screens | $20–$50/roll | 85–90% | Easy | 3–7 years |
| Tall Hedges | $25–$50/plant | 90–100% | Moderate | 30+ years |
| Living Wall | $250–$700 | 60–75% | Moderate | 5–10 years |
| Lattice Panels | $15–$40/panel | 50–80% | Easy | 10–15 years |
| Shade Sail | $25–$80 | 50–70% | Moderate | 5–8 years |
| Retractable Awning | $1,500–$4,000 | 60–80% | Hard | 10–15 years |
Frequently Asked Questions
What is the cheapest way to add privacy to a deck?
Rolled bamboo fencing at $20 to $30 per 6×16-foot roll is the least expensive option that provides real coverage. Zip-tie a bamboo roll to your existing railing or fence, and the job takes under 30 minutes per section. Outdoor curtain panels from Coolaroo at $30 each are the next cheapest, and both options work for renters because neither requires permanent fasteners.
How tall should a deck privacy screen be?
A screen between 5 and 6 feet above the deck surface blocks sightlines for anyone standing at ground level nearby. Go to 7 or 8 feet for ground-level decks where neighbors sit on second-floor balconies or raised porches. Check your local building code before exceeding 6 feet, because some municipalities require a permit for freestanding structures above that height.
Do privacy screens reduce airflow on a deck?
Solid panels and board-on-board fences block 80 to 100% of wind, which can make a deck feel stuffy in warm weather. Slatted screens, lattice, and bamboo rolls let 15 to 30% of air pass through while still blocking most sightlines. Position solid screening on the side facing the worst exposure, and leave at least one open side or use a permeable material on the remaining sides.
Can you add privacy to a deck without building a permanent structure?
Freestanding planter boxes, potted ornamental grasses, portable curtain stands, and weighted shade sail bases all provide privacy without any drilling, bolting, or footings. Veradek self-watering planters and Sunbrella curtain panels on freestanding rod systems are popular rental-friendly options. Move these items into a garage or shed for winter storage, and set them back out each spring.
What plants grow fastest for deck privacy?
Thuja Green Giant arborvitae leads the list at 3 to 5 feet of vertical growth per year in full sun and moist, well-drained soil. Leyland cypress matches that pace in zones 6 through 10, and clumping bamboo (Bambusa multiplex) adds 3 to 4 feet annually without spreading runners into your neighbor’s yard. Container-grown ornamental grasses like Miscanthus reach 6 to 8 feet in a single season when fed monthly with a balanced 10-10-10 fertilizer.
How do you block a neighbor’s view from a second-story window?
Overhead elements work best for blocking downward sightlines. A pergola with a fabric canopy, a retractable awning angled at 15 to 20 degrees, or a shade sail mounted at different heights all interrupt the view from above. Pair the overhead cover with tall planters or evergreen trees that reach 10+ feet at maturity for full 360-degree screening over time. Browse more outdoor living ideas at The Designers Company for additional setups that combine overhead and side coverage.