
Decoration Above Kitchen Cabinets: 21 Stunning Ways to Fill Space
Decoration above kitchen cabinets addresses the 12-to-18-inch gap between the top of standard upper cabinets and the ceiling — a strip of visible wall space that collects dust, looks unfinished, and wastes vertical real estate in kitchens where the cabinets do not extend to the ceiling line. This dead zone exists in most kitchens built with standard 30-inch or 36-inch upper cabinets installed below 8-foot, 9-foot, or 10-foot ceilings, and filling it with intentional decor transforms an awkward gap into a design feature.
The 21 decoration above kitchen cabinets ideas below range from simple display arrangements (baskets, boards, bowls) to architectural treatments (wainscoting, extended backsplashes, built-in niches) that permanently close the gap. Each idea includes specific product sources, arrangement techniques, and styling guidelines so you can fill the space above your cabinets with purpose rather than afterthought.
1. Showcase a Collection of Vintage Frames
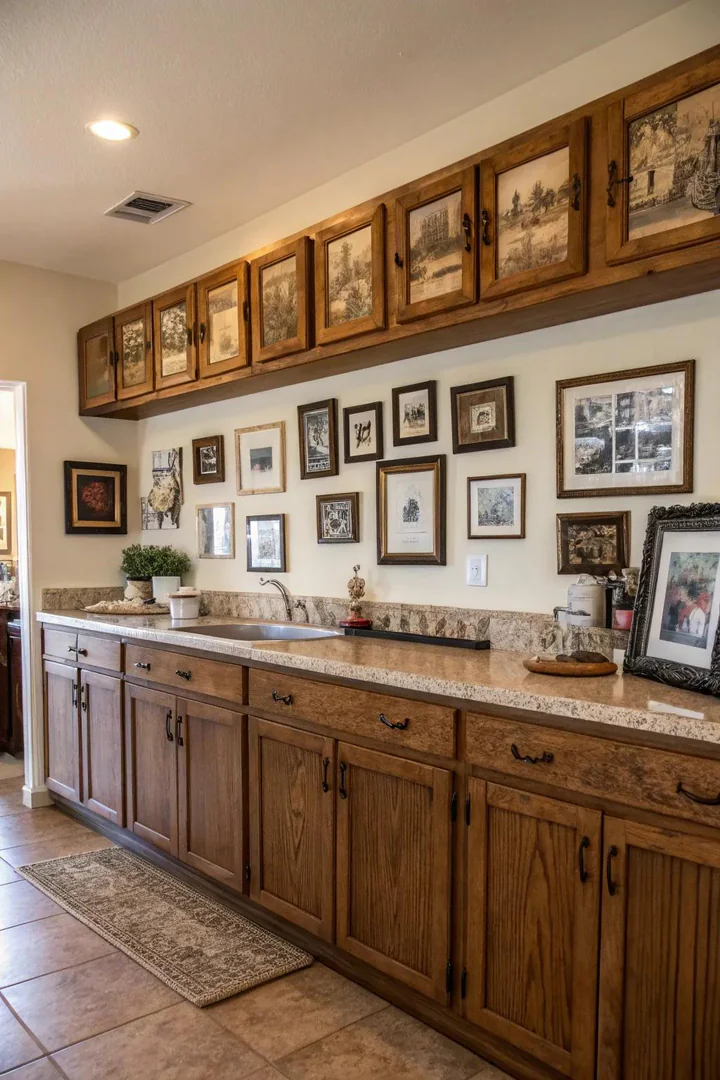
A collection of vintage frames — empty frames, framed botanical prints, framed family photographs, or framed vintage advertisements — leaned against the wall above the cabinets creates a gallery-like display that adds personality and visual interest to the otherwise blank wall strip. The frames fill the vertical space with color, pattern, and nostalgia while being lightweight enough to place directly on the cabinet tops without structural concerns.
Collect vintage frames from thrift stores (Goodwill, Salvation Army), estate sales, antique malls, or online sources (Etsy, eBay, Chairish). Mix frame sizes (8×10, 11×14, 5×7) and finishes (gold, silver, black, natural wood) for a collected, eclectic look, or match all frames in a single finish (all gold or all black) for a more curated, intentional display. Lean the frames overlapping rather than spacing them evenly — the overlapping arrangement reads as casual and collected, while evenly spaced frames look stiff and staged at that height.
2. Incorporate a Coastal Basket Collection
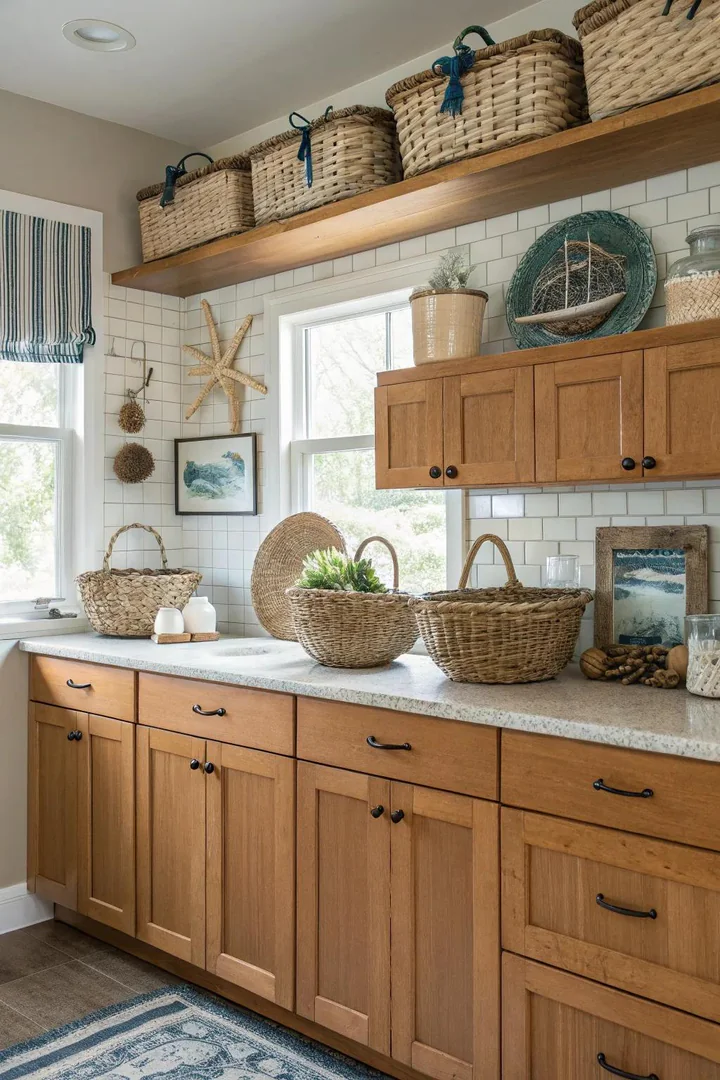
Woven baskets — sea grass, rattan, bamboo, or wicker — placed above the cabinets bring organic texture, warm neutral color, and a relaxed coastal or bohemian mood to the kitchen. Baskets are one of the most popular above-cabinet decorating choices because they are lightweight, inexpensive, available in a wide range of shapes and sizes, and their natural material suits nearly every kitchen style from farmhouse to modern coastal.
Arrange three to seven baskets of varying sizes, shapes, and weave patterns across the top of the cabinets. Mix round, oval, and rectangular shapes. Vary the weave textures (tight rattan, loose sea grass, coiled jute) for visual diversity within the neutral color family. Source baskets from Target (Threshold and Hearth & Hand lines), World Market, IKEA, TJ Maxx, and HomeGoods. Space the baskets in clusters of two or three rather than evenly across the entire run — the clustered arrangement looks more intentional and less like a warehouse shelf.
3. Farmhouse Cutting Boards with Layers
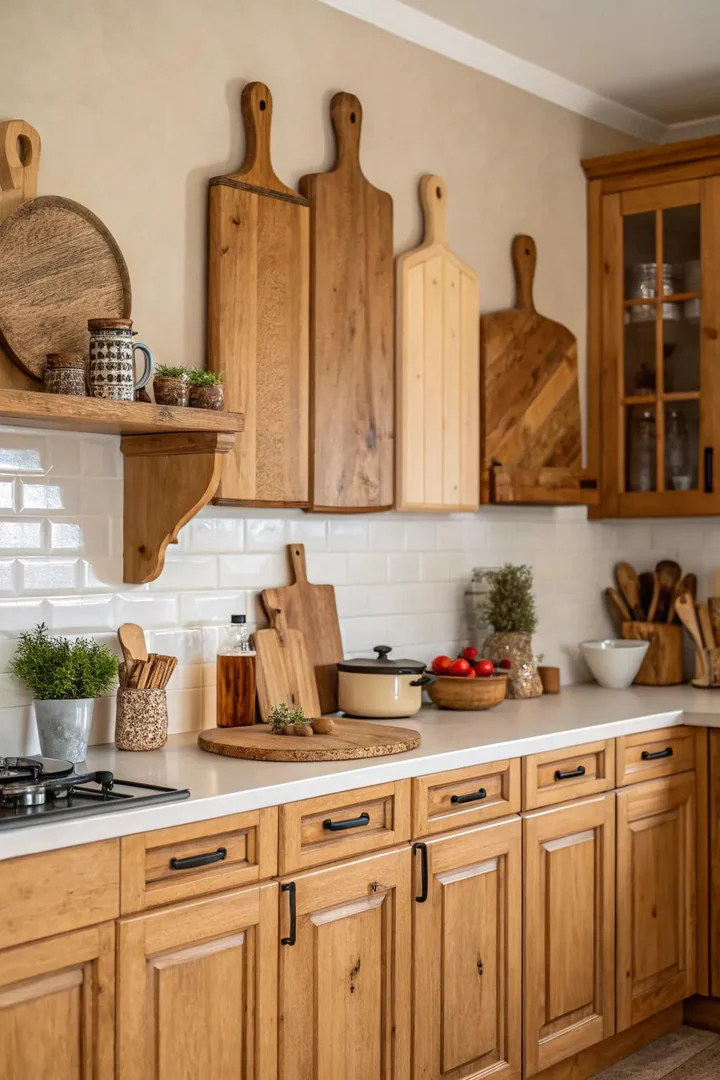
Layered cutting boards — a collection of wooden breadboards, cheese boards, and oversized cutting boards leaned overlapping against the wall — create a warm, farmhouse-inspired display that connects the above-cabinet space to the cooking function of the kitchen below. The varied wood tones (light maple, medium walnut, dark cherry) and organic shapes (round, rectangular, paddle-shaped) add visual richness without introducing any color that clashes with the kitchen palette.
Collect boards in three to five different sizes and shapes. Stand them vertically, leaned against the wall at slight angles, with the larger boards in the back and the smaller boards overlapping in front. Add one or two non-wood elements to the arrangement (a white ceramic pitcher, a small green plant, a vintage scale) to break the wood-on-wood monotony. Source vintage and handmade boards from Etsy, local craft fairs, thrift stores, or kitchen retailers like Williams Sonoma and Crate & Barrel. For more farmhouse-style ideas, see our farmhouse kitchen cabinet guide.
4. Combine Contemporary and Classic Features
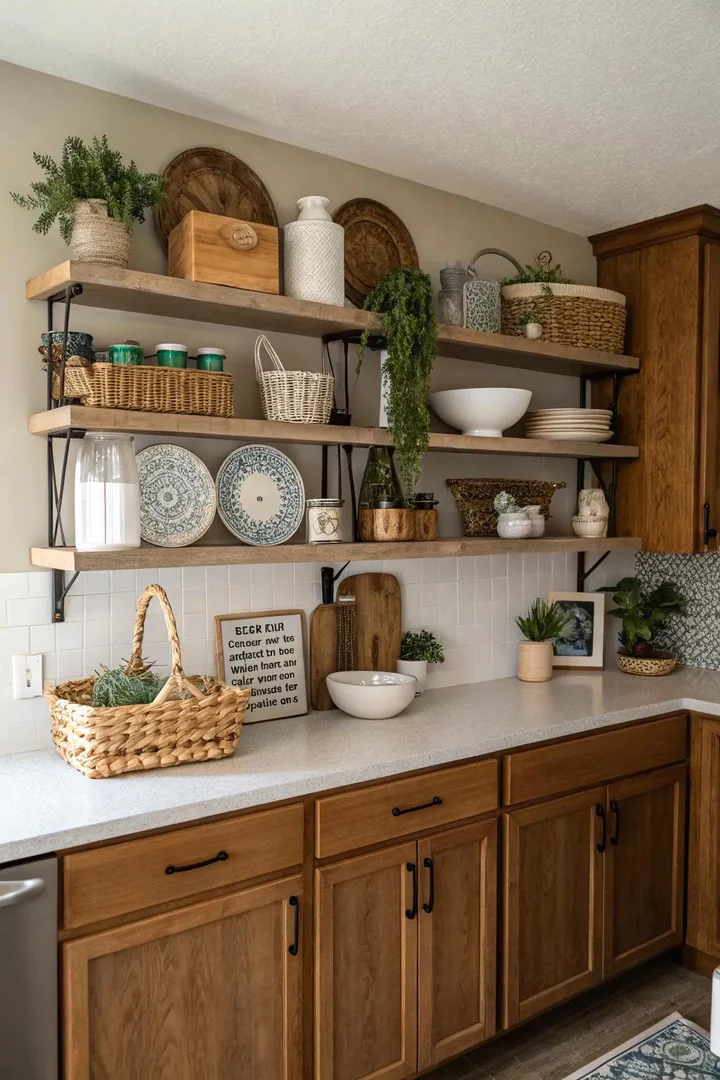
Mixing contemporary and traditional objects above the cabinets — a modern abstract sculpture next to a vintage crock, a sleek black vase beside a woven basket, a geometric metal object paired with a rustic wooden bowl — creates a curated, collected display that avoids looking like a single-theme tableau. The contrast between modern and traditional pieces adds visual tension and sophistication that a uniform collection cannot achieve.
Start with a traditional base element (a pair of vintage crocks, a stack of old books, or a woven basket) and add one contemporary accent (a matte black ceramic vase from CB2, a geometric brass object from West Elm, or a modern art print in a simple frame). The ratio should be approximately 60 percent traditional and 40 percent modern for a transitional, balanced look. Avoid placing too many objects in a single group — three to five items per cluster reads as curated; seven or more reads as cluttered.
5. Add Artificial Plants and Foliage
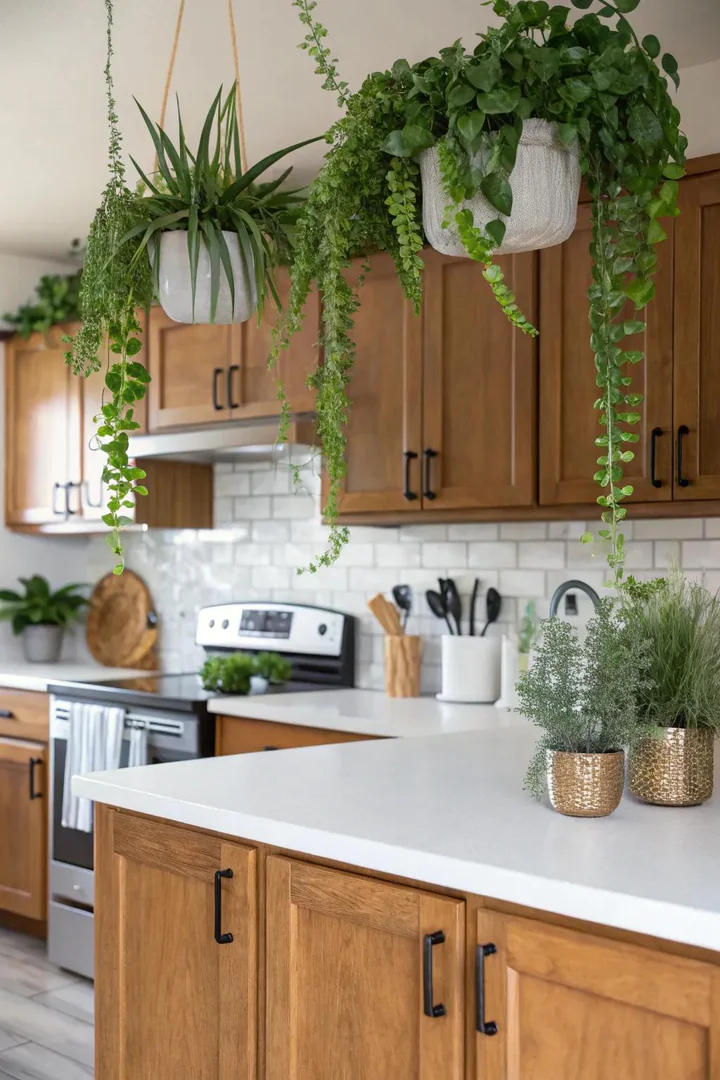
Faux greenery — artificial eucalyptus garlands, trailing pothos vines, boxwood topiaries, or preserved dried stems — fills the above-cabinet space with organic, green softness that makes the kitchen feel alive and connected to nature. The space above cabinets receives little natural light and is difficult to water, making faux plants the practical choice over live plants for most kitchens.
Trailing plants (faux pothos, faux ivy, or faux eucalyptus vines from Pottery Barn, Target, or Amazon) draped over the cabinet edge create a lush, cascading effect. Upright faux topiaries (boxwood balls on stems, or dried pampas grass in vases) add height and structure. Preserved dried eucalyptus and dried pampas grass (from Etsy or West Elm) provide a natural, non-plastic option that lasts 1 to 2 years before fading. Dust faux plants every two to three months with a soft brush or compressed air to prevent grease buildup from cooking.
6. Use Wooden Bowls for Added Texture
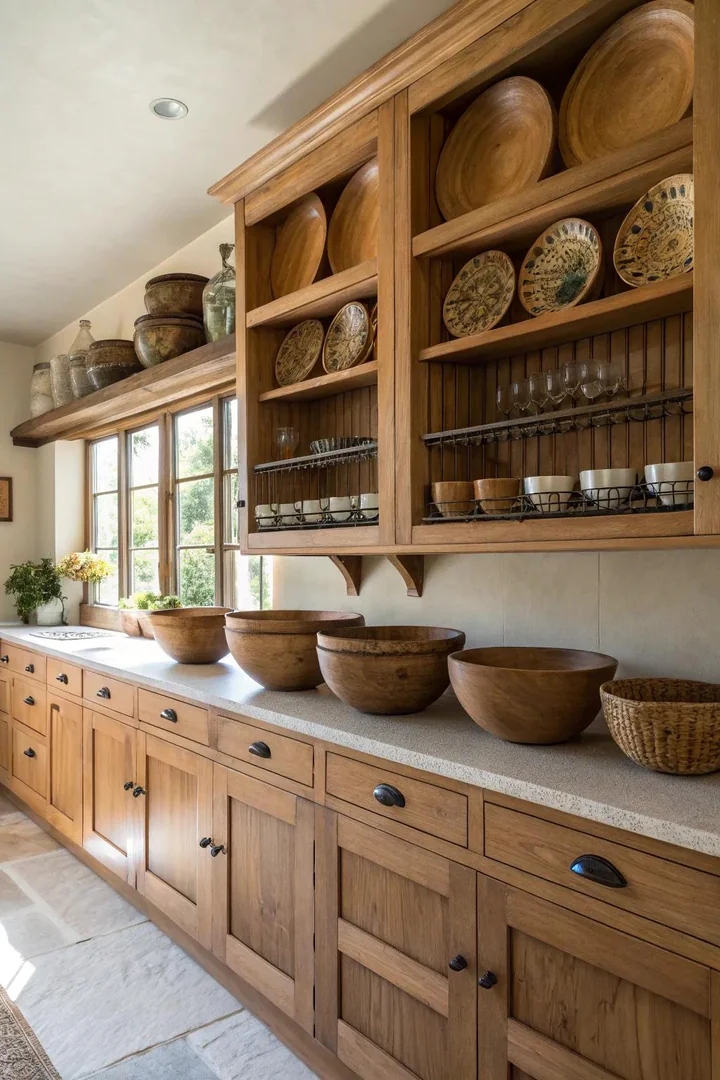
Large wooden bowls — hand-turned dough bowls, carved teak bowls, or rustic burl bowls — placed above the cabinets add sculptural, organic shapes that reference the handcrafted and the natural. Wooden bowls have enough visual weight and three-dimensional form to hold their own in the above-cabinet space without looking lost or insignificant the way smaller objects can at that height.
Choose bowls that are large enough to read from floor level (12 inches in diameter or larger). Stand oval dough bowls vertically against the wall for a dramatic, elongated silhouette. Place round bowls flat with a single accent item inside (a stack of decorative balls, a cluster of dried artichokes, or a few faux pears). Mix wood tones (light maple, medium walnut, dark teak) across three to five bowls for a collected look. Source hand-carved bowls from HomeGoods, TJ Maxx, Etsy, or specialty shops like Crate & Barrel and Pottery Barn.
7. Display a Collection of Cookbooks
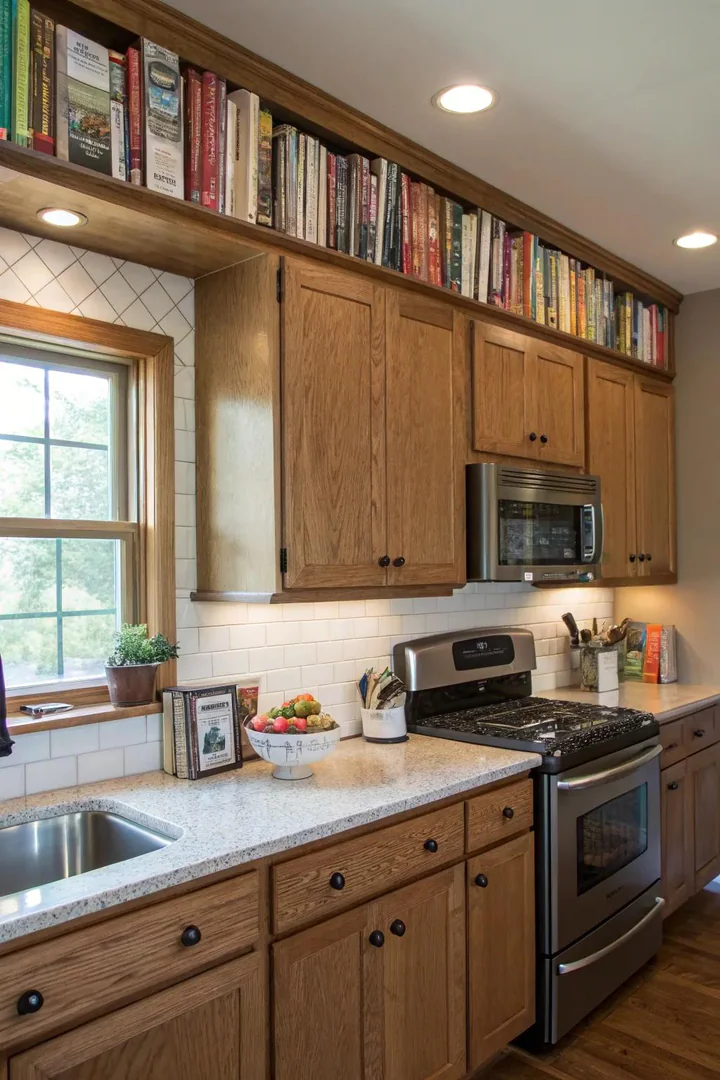
Cookbooks displayed above the cabinets connect the decorative display to the kitchen’s primary function — cooking — in a way that baskets and vases cannot. A row of beautifully photographed cookbooks (spine out or cover facing forward) adds color, personal taste, and intellectual character to the above-cabinet space while keeping the books accessible for occasional retrieval with a step stool.
Select cookbooks with attractive spines or covers in a coordinated color palette. Alternate between stacking books horizontally (three to five books in a stack) and standing books vertically for visual variety. Break up the book display with a non-book object every 12 to 18 inches — a small plant, a ceramic vase, or a decorative bookend. Oversized coffee-table-format cookbooks (from Phaidon, Assouline, or Taschen) make the strongest visual impression at above-cabinet height because their larger size reads clearly from below.
8. Design a Showcase Using Cake Stands
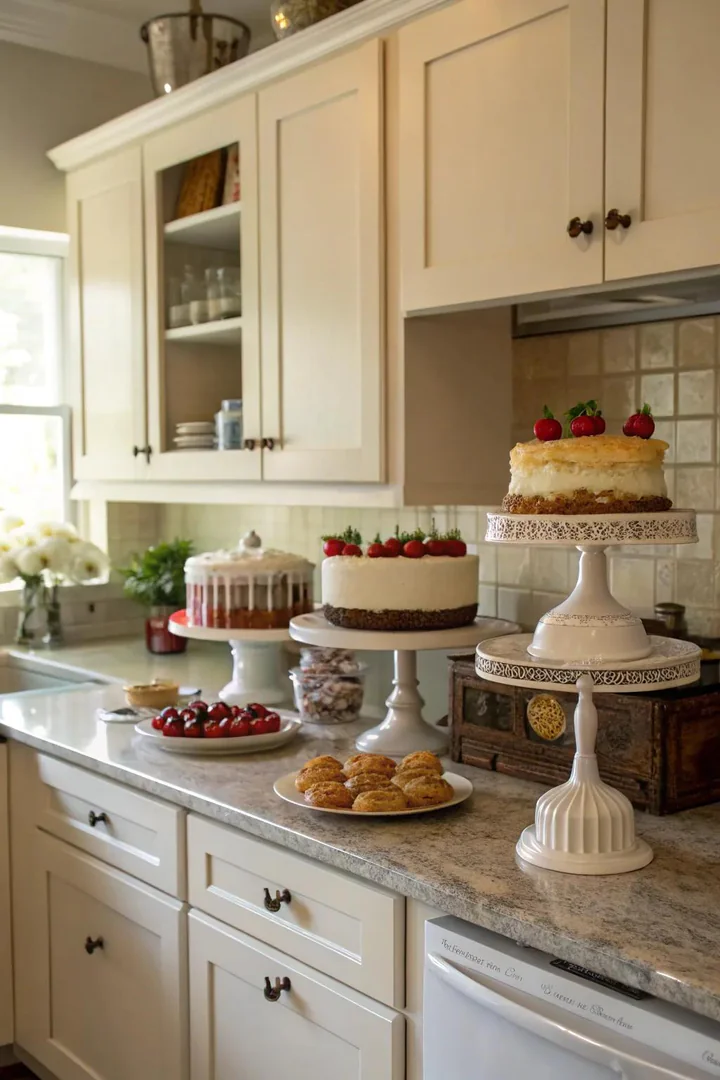
Cake stands placed above the cabinets add height, pedestal-like elevation, and a sculptural silhouette that other flat objects cannot provide. The pedestal form lifts whatever sits on top of the stand (a small plant, a candle, a decorative sphere) up to eye level when viewed from below, making the display more visible and more intentional than items placed flat on the cabinet top.
Collect cake stands in varying heights (short, medium, and tall) and materials (white ceramic, clear glass, marble, wood) from HomeGoods, Anthropologie, Target, or vintage shops. Place a decorative object on each stand — a glass cloche over a small faux plant, a stack of decorative books, a ceramic bird, or a seasonal accent (mini pumpkins in fall, pinecones in winter). Group three stands of staggered heights together for a vignette that reads as a composed, intentional display.
9. Add Vintage Crocks for a Farmhouse Atmosphere
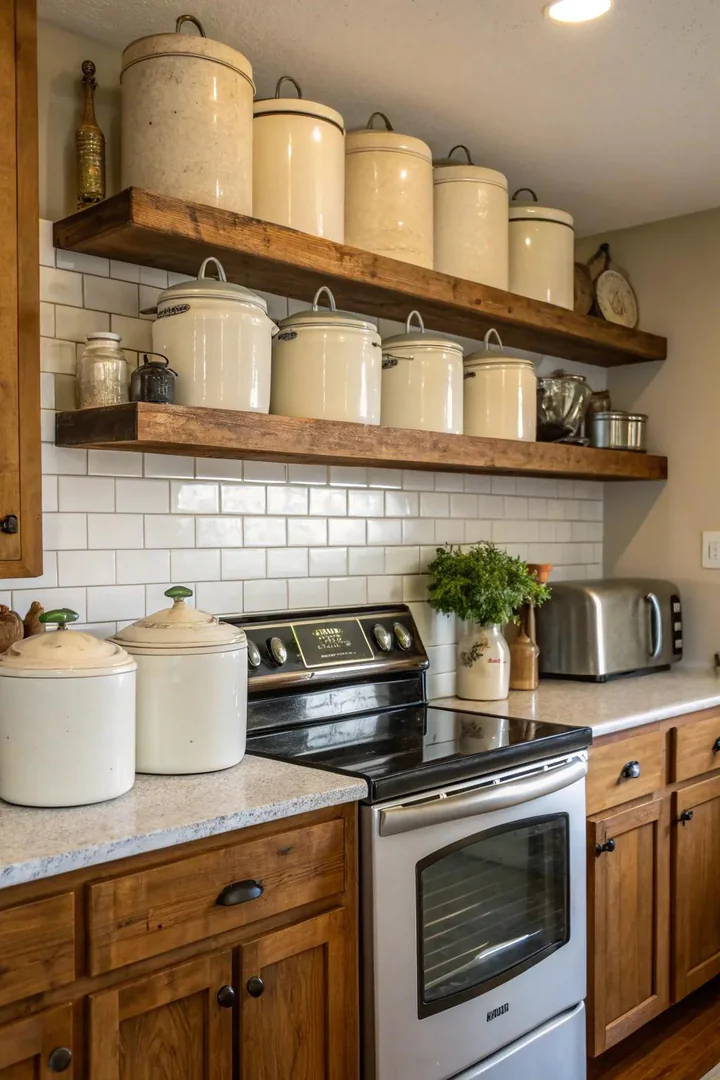
Vintage stoneware crocks — the salt-glazed, cobalt-blue-numbered vessels originally used for pickling, fermenting, and food storage in 19th and early 20th century American kitchens — are the quintessential farmhouse above-cabinet display piece. Their cylindrical form, neutral grey-tan glaze, and hand-painted blue numbers create a visually cohesive collection that looks authentic and historically grounded.
Collect crocks in ascending sizes (1-gallon through 6-gallon, identified by the blue numbers on the front) from antique malls, flea markets, estate sales, or online dealers on eBay and Etsy. Authentic crocks from makers like Red Wing, Western Stoneware, and Robinson Ransbottom are the most collectible and valuable. Reproduction crocks (from Rowe Pottery or Beaumont Brothers) provide the same visual effect at a lower cost. Arrange three to seven crocks in a graduated row from smallest to largest, or cluster them in groups of varying sizes for a more collected look.
10. Enhance Appeal Using Wooden Crates
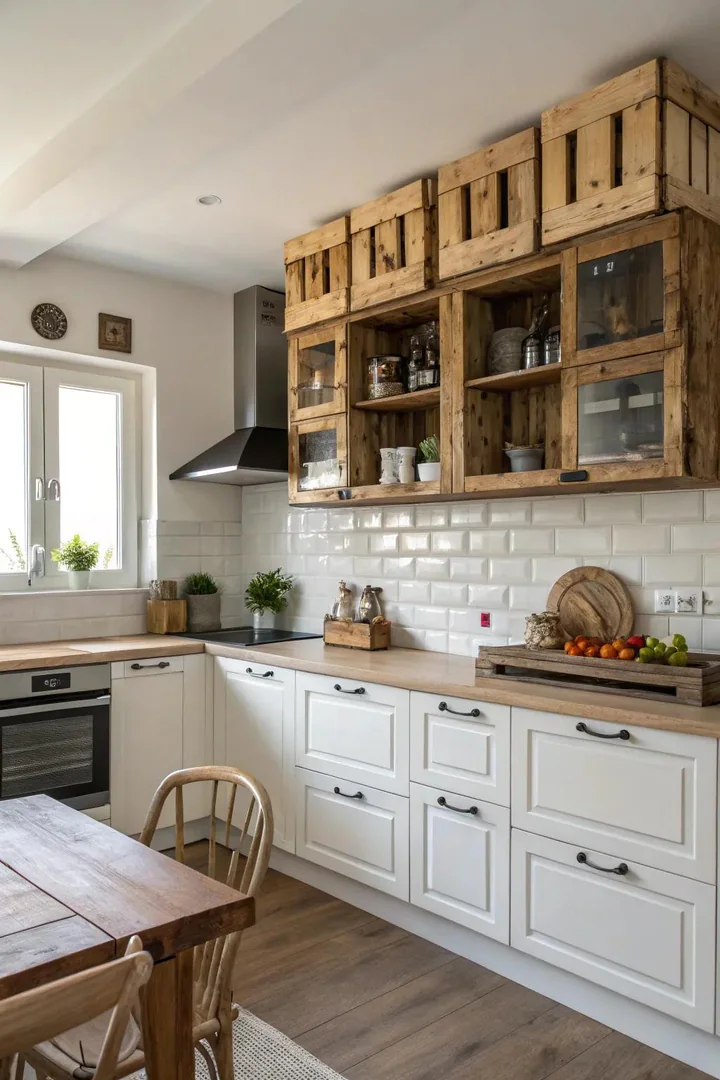
Vintage wooden crates — old fruit crates, wine boxes, milk crates, or ammunition boxes — placed above the cabinets add industrial, rustic, or agricultural character and provide a box-like structure that can hold smaller objects (bottles, jars, small plants) within a contained, organized display. The printed labels and weathered wood of vintage crates carry a specific history and provenance that new decor objects cannot match.
Stand crates vertically (open face out) to create shelf-like compartments that can display small objects within each crate. Lay crates horizontally for a more casual, stacked look. Mix crate sizes and label styles for a collected, eclectic display. Source vintage crates from flea markets, antique malls, architectural salvage shops, or Etsy. New reproduction crates (from Michael’s, Hobby Lobby, or Amazon) provide the same look at a lower cost for those who prefer consistency in size and finish.
11. Employ a Big Sign for Effect
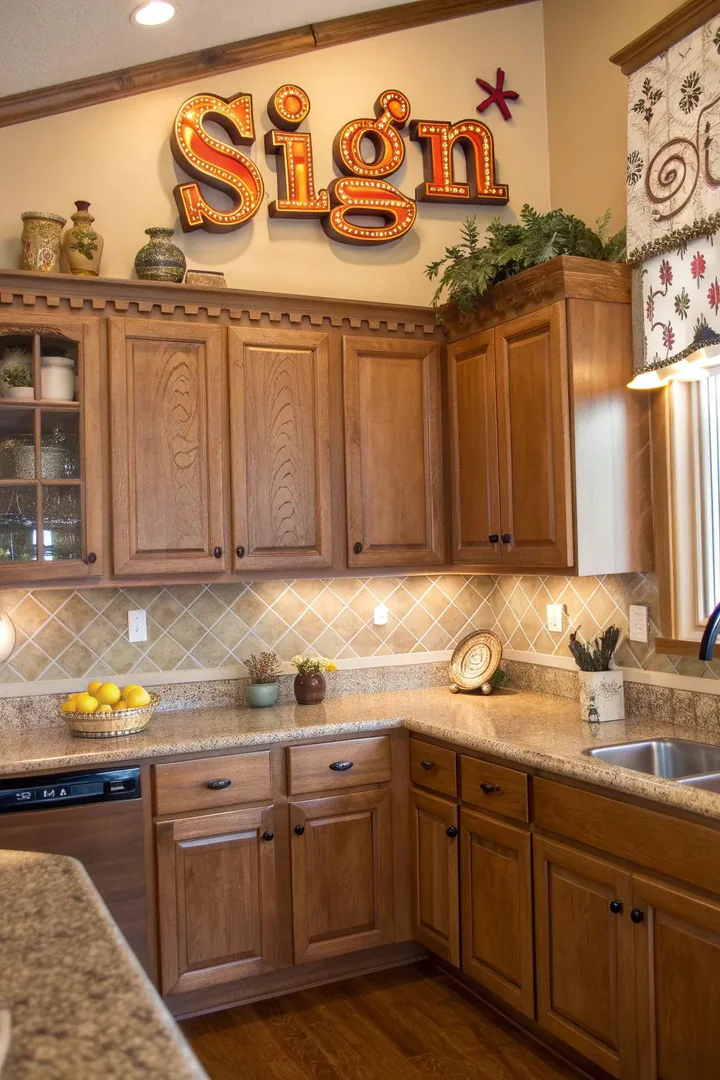
A single oversized sign — a vintage painted wood sign, a metal market sign, a letter board, or a custom typography piece — fills the entire above-cabinet space with one bold graphic statement rather than a collection of smaller objects. The single-sign approach works best in kitchens where the above-cabinet space runs continuously above a long bank of cabinets, providing a wide, horizontal canvas for a single large piece.
Choose signs that reference food, cooking, or gathering: “Kitchen,” “Gather,” “Eat,” market-style signs (“Fresh Baked,” “Farmer’s Market”), or family-name signs. Vintage and reproduction signs are available from Magnolia Market, Pottery Barn, Etsy, and local sign shops. The sign should span at least 3 to 4 feet horizontally to have enough visual weight to command the space. Place the sign centered above the longest continuous run of cabinets, resting directly on the cabinet top and leaning against the wall.
12. Display White Pitchers
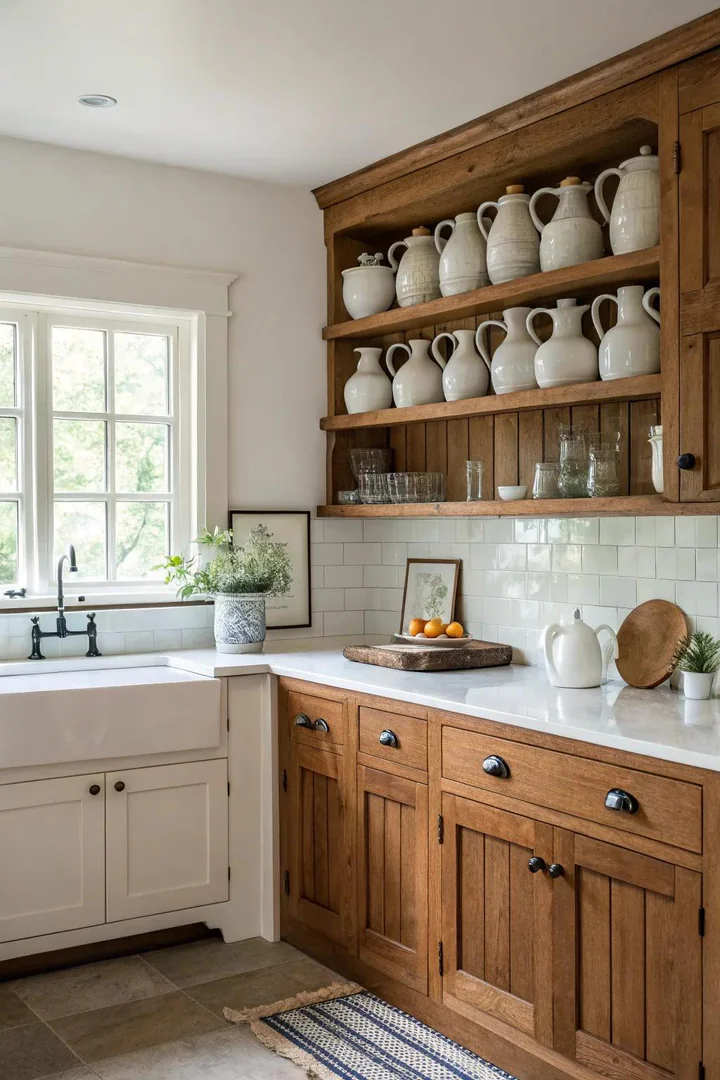
A collection of white pitchers — ironstone, ceramic, porcelain, or milk glass in varying sizes and shapes — creates a monochromatic, sculptural display that looks both collected and cohesive. The uniform white color unifies the collection despite the varying shapes, while the different pitcher forms (tall and slim, short and round, tapered waist, straight-sided) add visual variety within the consistent color palette.
Collect white pitchers from antique shops, thrift stores, estate sales, and online sources. Ironstone pitchers (from Johnson Bros, Meakin, or unmarked English ironstone) are the most classic farmhouse choice. Mix five to nine pitchers of different sizes, grouping them in clusters of two or three with small gaps between clusters. Place the tallest pitchers toward the center or back and the shorter pitchers toward the edges for a balanced silhouette. Add a single green plant or a small cutting board to one cluster to break the all-white monotony.
13. Showcase Vibrant Mason Jars
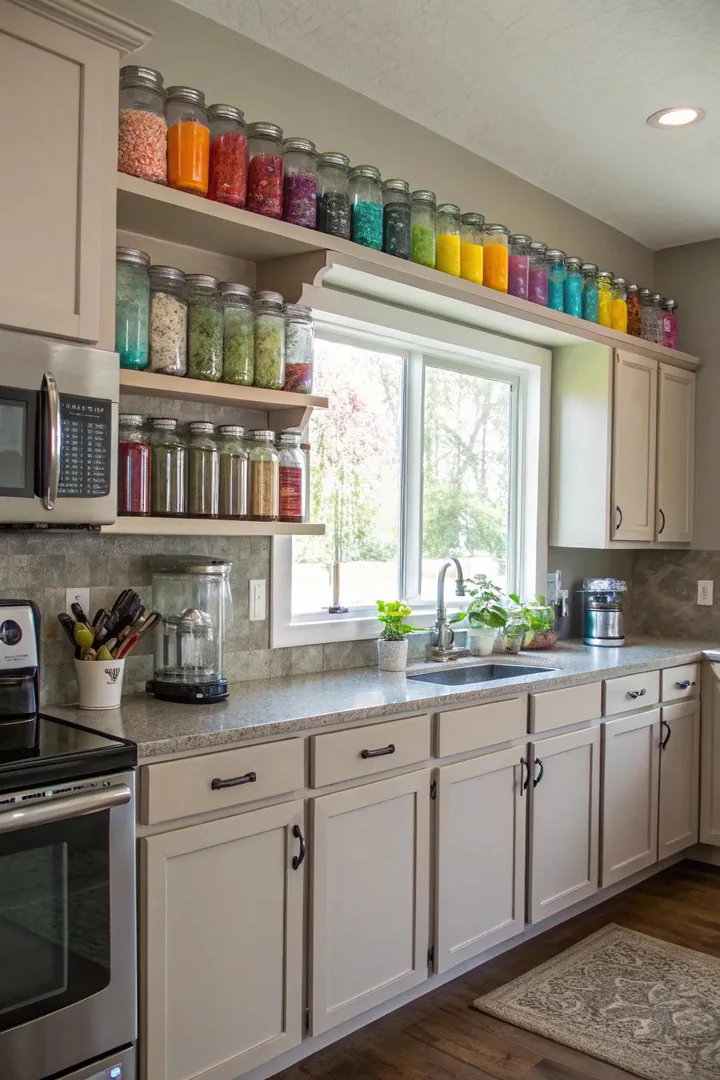
Colored mason jars — vintage Ball jars in aqua blue, amber, and clear glass, or new painted mason jars in custom colors — add transparent, light-catching color to the above-cabinet display. Glass jars catch and refract light from the ceiling and windows, creating a luminous, sparkling effect that opaque objects like crocks and baskets cannot provide.
Vintage blue Ball jars (produced from the 1890s through the 1930s) are the most collectible and recognizable mason jars, available in half-pint, pint, quart, and half-gallon sizes from antique malls, flea markets, and eBay. Arrange the jars in a graduated row from smallest to largest, or group them in clusters with a non-glass accent (a small wooden box, a white pitcher, or a green plant) to break the monotony. Fill some jars with dried flowers, dried herbs, or twine for added visual interest.
14. Make Use of Picnic Baskets
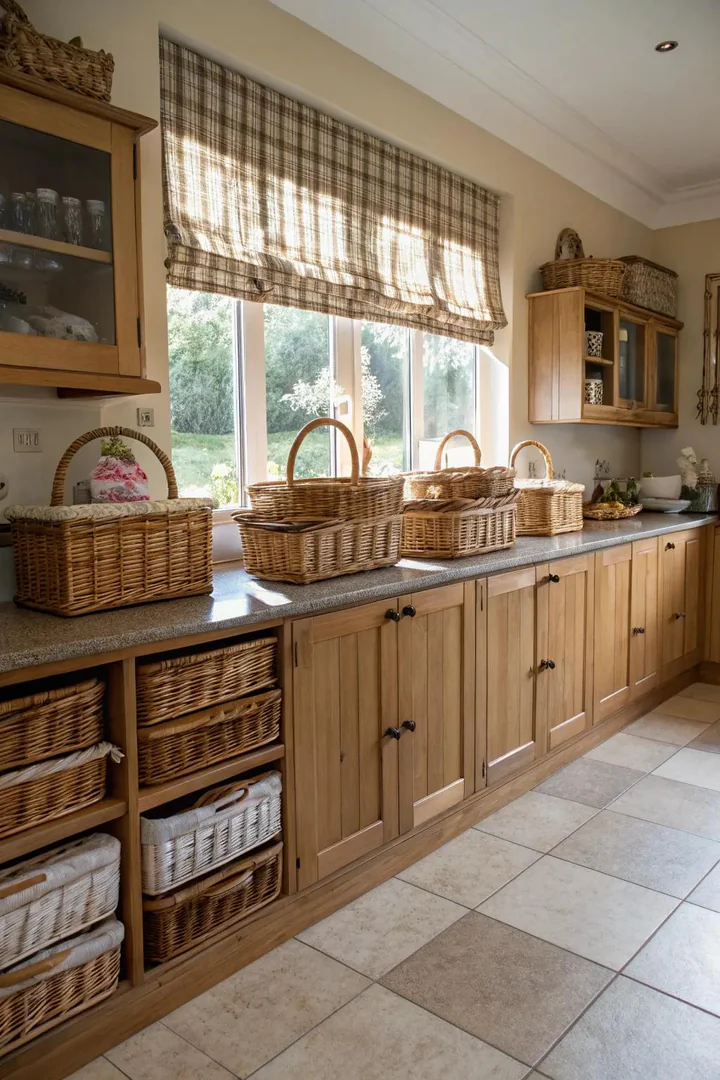
Vintage picnic baskets — the woven wicker hamper-style baskets with hinged lids and leather straps that were standard outdoor dining equipment from the 1940s through the 1970s — add a specific, nostalgic character to the above-cabinet space. Picnic baskets are larger than decorative baskets, so they fill more visual space with fewer pieces, and their structured rectangular form creates a strong, geometric silhouette.
Stack two or three picnic baskets of different sizes (small lunch basket, medium picnic hamper, large family hamper) for a graduated display. Alternate the orientation — one horizontal, one angled, one with the lid propped open — for visual variety. Source vintage picnic baskets from thrift stores, estate sales, and Etsy. The wicker patina and leather strap wear on older baskets add authenticity that new reproductions lack. Place a single accent item on top of or beside the basket stack (a linen napkin, a small green plant, or a vintage thermos) to complete the vignette.
15. Set Up Statement Lighting
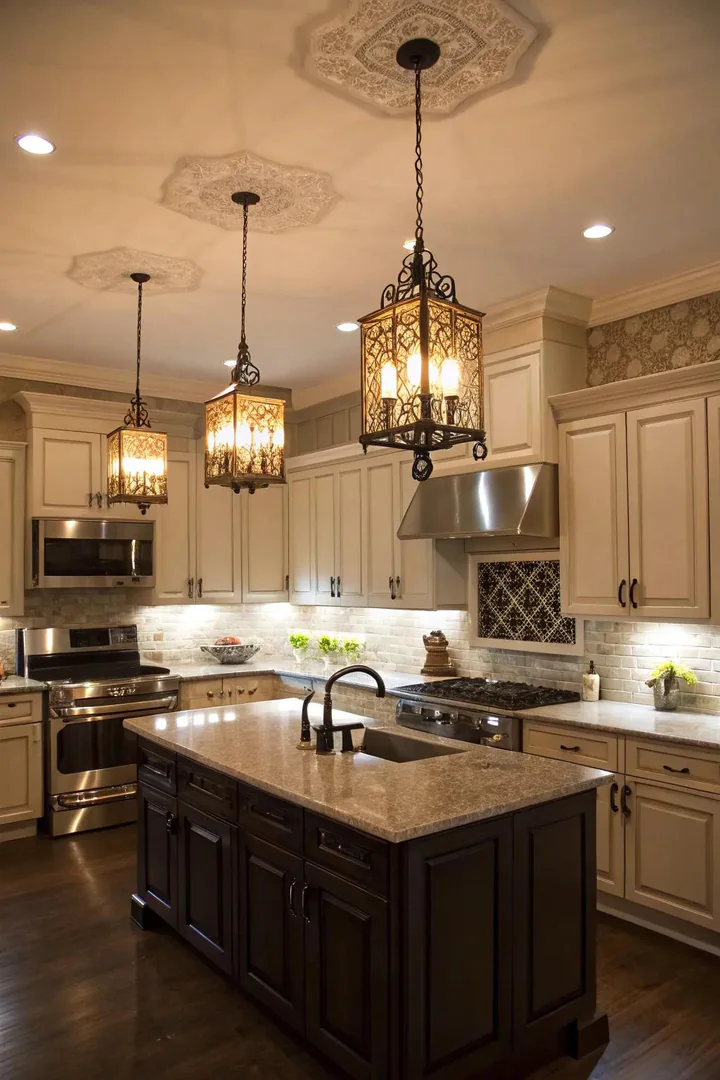
LED strip lights, rope lights, or puck lights installed on top of the cabinets (pointing upward toward the ceiling) create a warm, ambient glow that illuminates the wall and ceiling above the cabinets and transforms the dead zone into a glowing accent feature. The uplighting effect is especially dramatic in the evening, when the warm glow above the cabinets creates a floating, halo-like effect that makes the kitchen feel taller and more atmospheric.
Install warm-white LED strip lights (2700K, from Philips Hue, GE, or HitLights) along the back edge of the cabinet tops, pointing upward. Use adhesive-backed LED strips for easy installation — no electrician required. Connect the strips to a smart plug (TP-Link Kasa or Amazon Smart Plug) so you can control them by voice or app. Add a dimmer for adjustable brightness. For more accent and task lighting strategies, see our kitchen lighting ideas guide. The uplighting can stand alone as the above-cabinet treatment, or it can serve as a backdrop for decorative objects (baskets, crocks, plants) that are now highlighted by the warm glow behind them.
16. Connect Areas Using Wainscoting
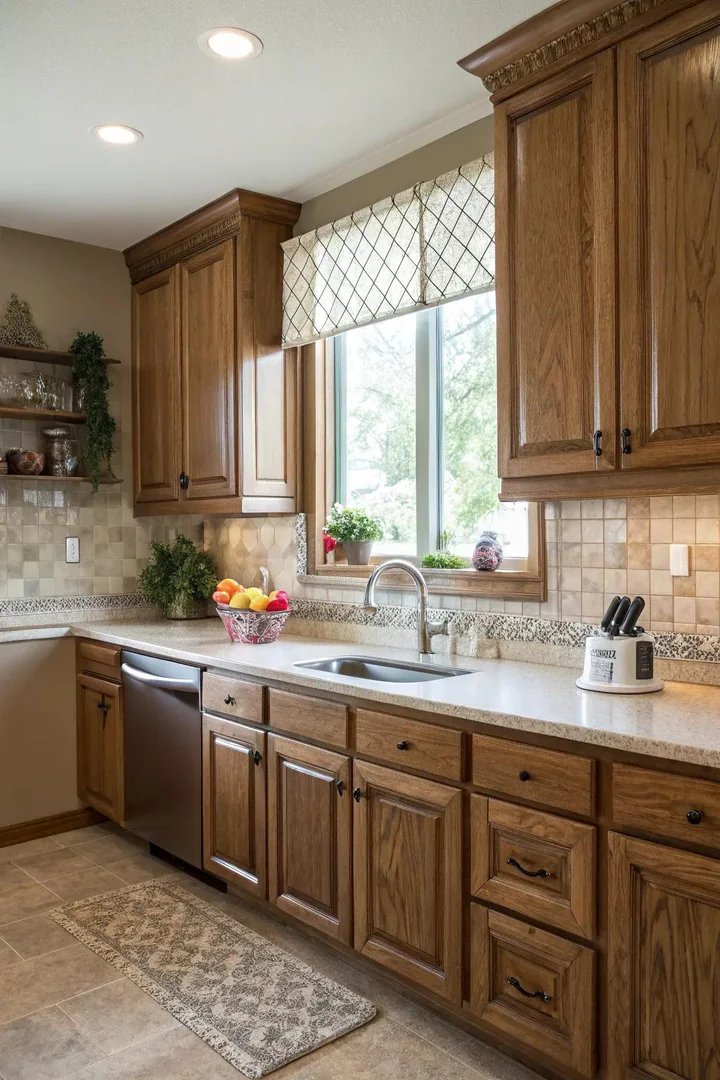
Wainscoting — beadboard panels, shiplap boards, or board-and-batten trim — installed on the wall above the cabinets and continuing up to the ceiling transforms the blank wall strip into an architectural feature that adds texture, depth, and character. Wainscoting is a permanent treatment that eliminates the dead zone entirely, replacing it with a finished, intentional wall surface that integrates the cabinets with the ceiling.
Beadboard (tongue-and-groove panels with a narrow vertical groove pattern) is the most classic kitchen wainscoting option — available in sheet form (4×8 panels from Home Depot or Lowe’s) for easy installation. Shiplap (horizontal boards with a visible gap between each board) creates a modern farmhouse look. Paint the wainscoting the same color as the cabinet face for a seamless, built-in look, or paint it a contrasting color (white wainscoting above colored cabinets) for a defined, two-toned wall.
17. Raise the Backsplash Higher
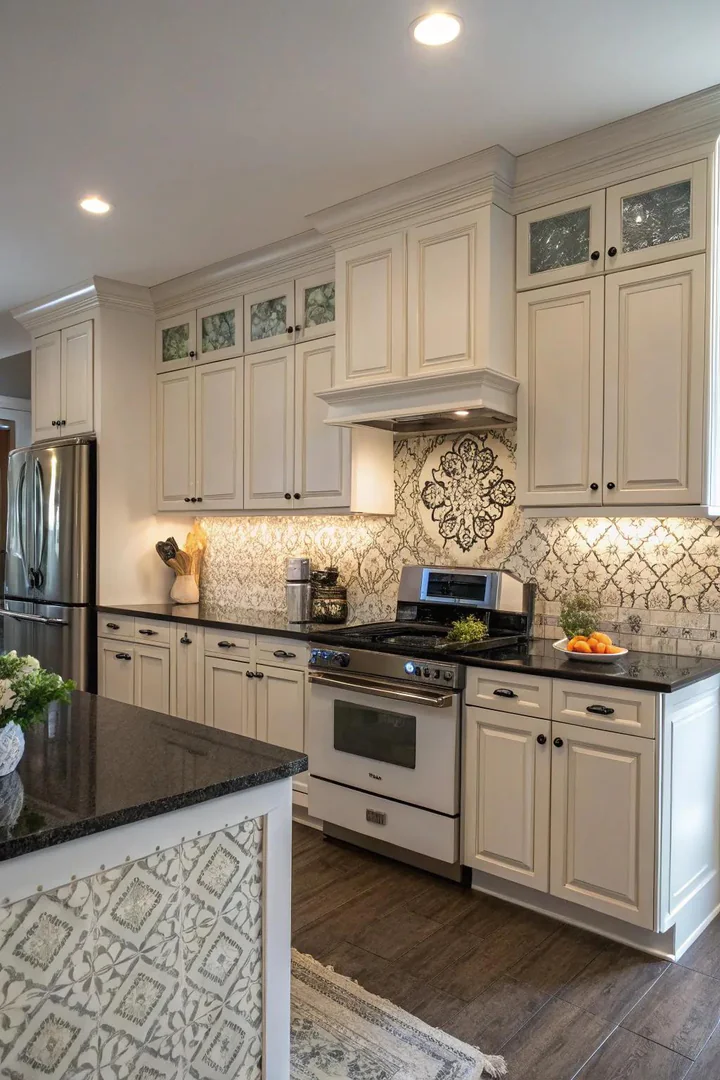
Extending the backsplash tile from behind the cabinets upward past the cabinet tops all the way to the ceiling creates a floor-to-ceiling tile wall that eliminates the dead zone above the cabinets by making the tile the dominant wall finish rather than paint. This approach works best with dramatic tile (marble slab, patterned cement tile, or colorful zellige) that benefits from the expanded surface area to showcase its pattern.
The extended backsplash creates a unified, gallery-wall effect that makes the kitchen feel taller and more finished. Use the same tile above the cabinets as behind them for a seamless continuous surface. Subway tile, zellige tile (from Clé or Fireclay Tile), and marble slab are the most common choices for extended backsplash treatments. For more kitchen styling ideas, browse our kitchen decor guide.
18. Establish a Niche for Collections
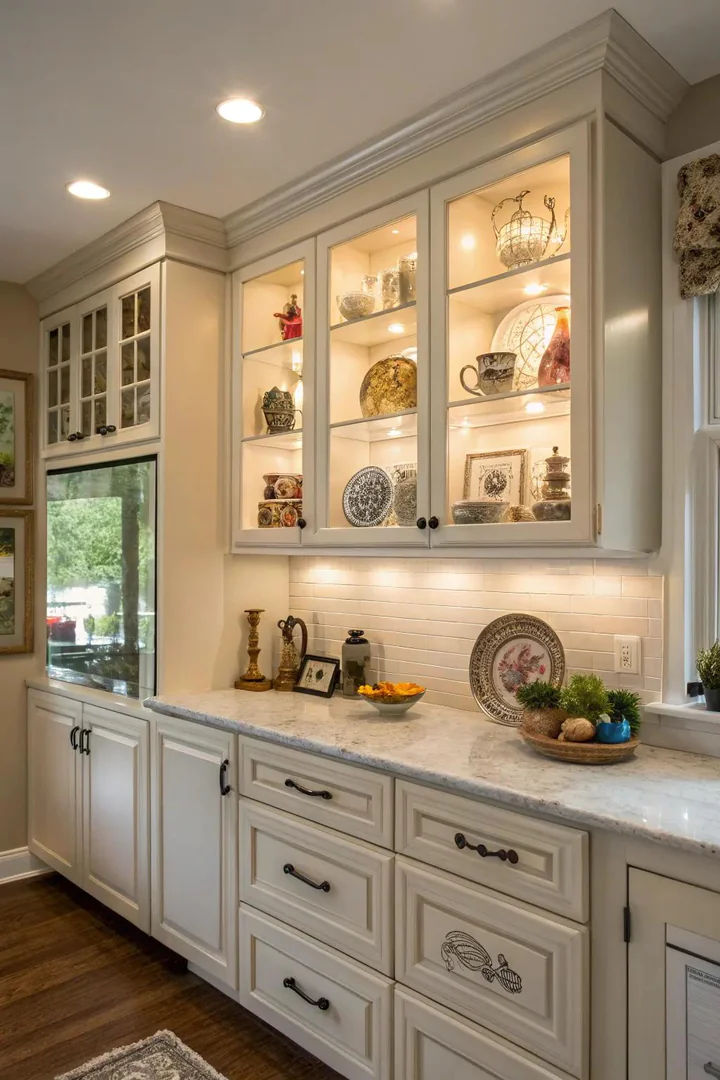
A recessed wall niche — a shallow, framed opening cut into the wall between the cabinet tops and the ceiling — creates a built-in display alcove with a defined frame that makes whatever is placed inside it look intentional, featured, and museum-like. Niches transform the flat, anonymous wall strip into an architectural feature with depth and shadow.
A niche typically measures 12 to 18 inches tall, 12 to 36 inches wide, and 4 to 6 inches deep — shallow enough to fit within a standard 2×4 wall cavity without requiring structural modification. Frame the niche with trim (the same molding profile used on the cabinets) and paint the niche interior a contrasting color (a shade darker than the wall, or a bold accent color) to create visual depth. Add a small LED puck light at the top of the niche to spotlight the displayed item. Display a single strong piece (a sculptural object, a piece of pottery, a small painting) rather than a collection of small items.
19. Use Cubbies for Additional Storage
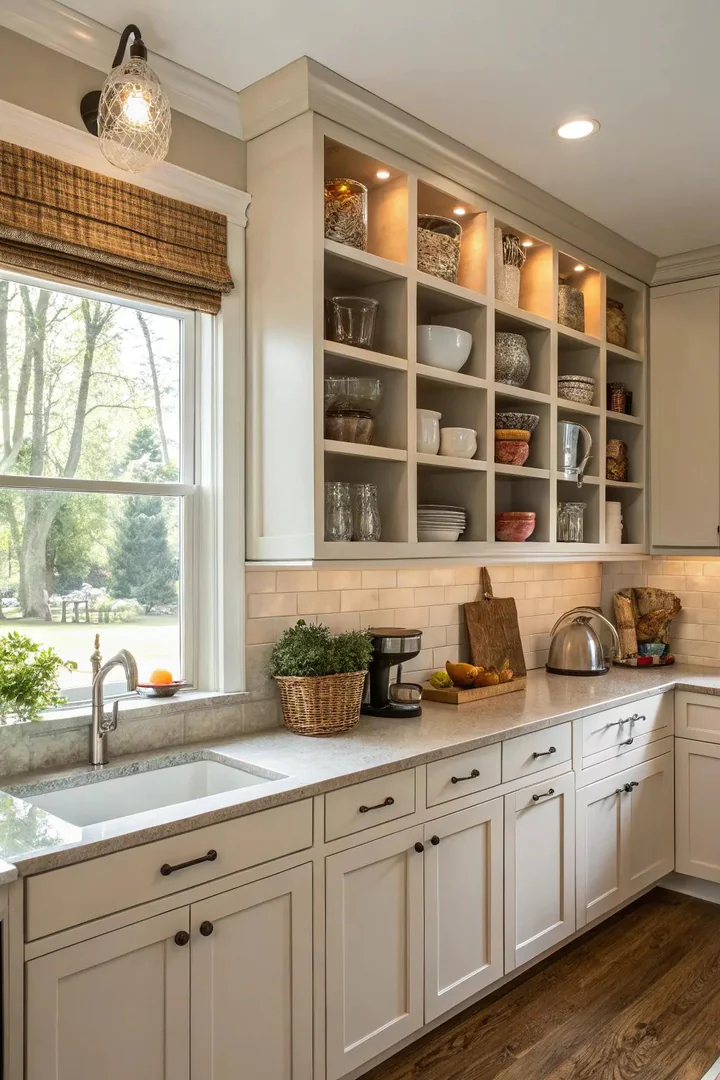
Open cubby units — small, open-front box shelves — installed above the cabinets provide both display space and functional storage in a structured, organized format. Each cubby frames its contents individually, creating a grid-like display system that looks more orderly and architectural than objects placed loosely on the cabinet top.
Build or purchase cubby units sized to fit the height of the above-cabinet space (typically 12 to 16 inches tall). IKEA KALLAX shelf inserts, small EKET modules, or custom-built wooden cubby frames all work at this scale. Fill each cubby with a single category of item — baskets in one, books in another, ceramic objects in a third — for an organized, intentional display. Alternate filled cubbies with empty cubbies for visual breathing room. Paint the cubby units the same color as the cabinets for a built-in look, or leave them natural wood for contrast.
20. Display Heirloom Recipes
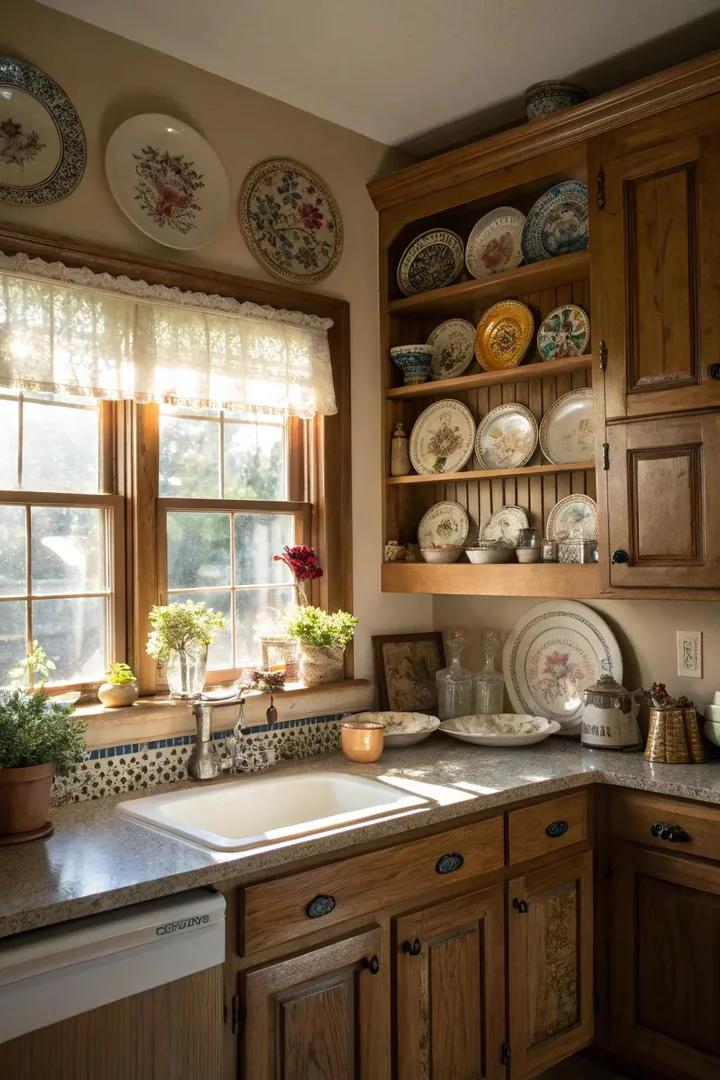
Heirloom dishes — grandmother’s china, inherited serving platters, family transferware, or vintage Fiesta ware — displayed above the cabinets honor family history and personal heritage while adding color, pattern, and sentimental value that store-bought decor cannot provide. Inherited pieces carry stories and memories that make the kitchen display personally meaningful rather than purely decorative.
Display plates and platters on small tabletop plate stands or plate easels (from Amazon, Michael’s, or Pier 1) so the decorative face is visible from below. Group plates by pattern, color, or family origin. Mix in one or two non-plate items (a pitcher, a tureen, a teapot) from the same service to create a three-dimensional display rather than a flat row of plates. For more kitchen styling strategies, see our kitchen cabinet color ideas guide for coordinating display pieces with cabinet tones.
21. Establish a Link with Shelves
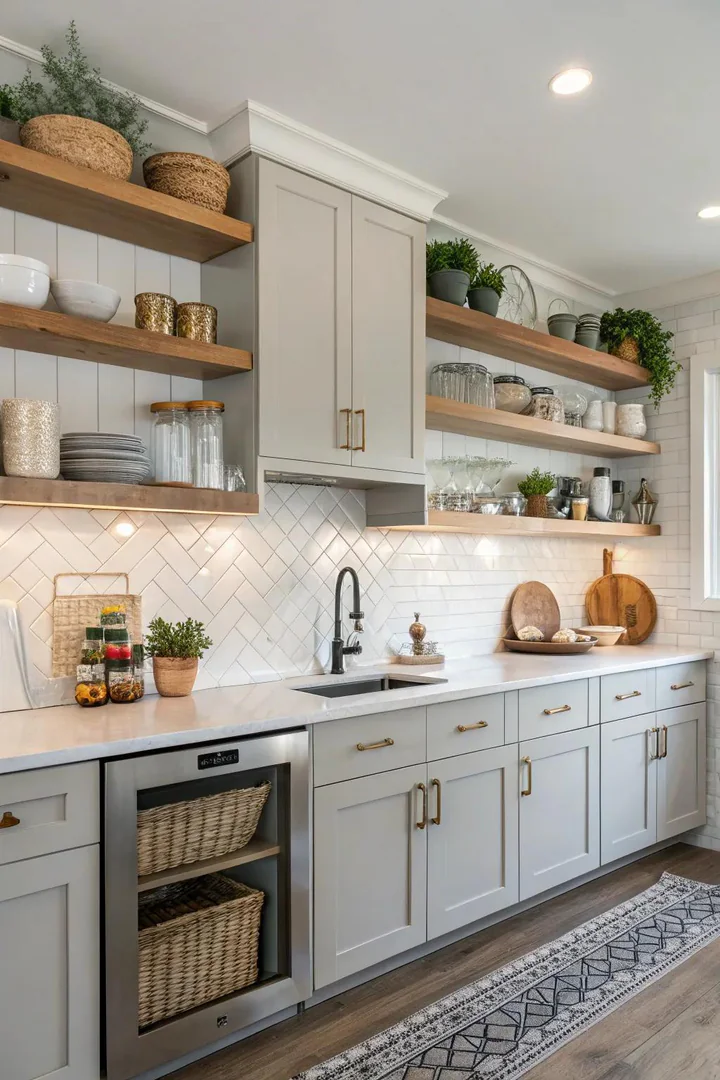
A continuous shelf installed across the top of the cabinets — either a single floating shelf or a pair of stacked shelves — creates a defined, leveled display surface with a visible front edge that looks more finished and intentional than objects placed directly on the uneven cabinet tops. The shelf unifies the display area and provides a consistent baseline from which objects are arranged.
Install a 1.5-to-2-inch-thick floating shelf (from Shelfology, IKEA LACK, or custom millwork) in a finish that matches or complements the cabinets. A white shelf on white cabinets creates a seamless, built-in look. A natural wood shelf on painted cabinets adds warmth and contrast. Display objects on the shelf using the “rule of three” — groups of three items of varying height, material, and shape. Leave 30 to 40 percent of the shelf surface empty to prevent the display from looking crowded. Visit The Designers Company for more kitchen decor and above-cabinet styling inspiration.
How to Style the Space Above Kitchen Cabinets
Planning Your Display Layout
Before placing anything above the cabinets, measure the height of the space (from cabinet top to ceiling) and the depth of the cabinet top (typically 12 to 13 inches). Objects taller than the available height will not fit; objects placed too far back will be invisible from floor level. Arrange the display on a table or countertop first to test the composition before climbing a ladder. Use odd numbers (3, 5, 7) of objects per grouping — odd numbers create more dynamic, asymmetrical compositions than even numbers.
Choosing a Consistent Theme
The strongest above-cabinet displays use a single unifying element — one material (all baskets, all ceramics, all wood), one color (all white, all blue, all neutral), or one category (all kitchen-related, all vintage, all botanical). A display with too many unrelated themes looks like a storage shelf rather than a curated arrangement. Pick one theme and commit to it across the entire above-cabinet run.
Maintaining and Cleaning Above-Cabinet Decor
The space above kitchen cabinets collects cooking grease, dust, and airborne particles faster than any other surface in the kitchen because rising heat and steam carry these particles upward. Clean the cabinet tops and displayed objects every three to four months with a damp cloth and mild degreaser (Method All-Purpose or Simple Green). Faux plants and woven baskets are the hardest to clean — use compressed air or a soft-bristle brush. Place a layer of wax paper or parchment paper on the cabinet tops before placing objects — the paper catches grease and dust, and you can replace it during cleaning without scrubbing the cabinet surface.
Above-Cabinet Decor Ideas Comparison
| Decor Type | Difficulty | Cost | Best Kitchen Style |
|---|---|---|---|
| Woven baskets | Easy | $30-100 | Coastal, farmhouse, bohemian |
| Faux greenery | Easy | $20-80 | Modern, transitional, any |
| Vintage crocks | Easy | $50-300 | Farmhouse, rustic, traditional |
| LED uplighting | Moderate | $30-80 | Modern, contemporary |
| Extended backsplash | Hard (pro install) | $500-3,000 | Modern, transitional |
| Wainscoting | Moderate-hard | $100-500 | Farmhouse, traditional, coastal |
Common Mistakes When Decorating Above Cabinets
Overcrowding the space. Placing too many objects above the cabinets creates visual clutter that makes the kitchen feel busy, unorganized, and dusty. Leave 30 to 40 percent of the surface empty. Group objects in clusters of three to five with visible gaps between clusters. Less is more at that height — the eye needs negative space to read the individual pieces clearly.
Using objects that are too small. Items smaller than 6 inches in any dimension disappear when viewed from 7 to 8 feet below. Choose objects that are large enough to have visual impact at a distance — 10 inches tall or taller for vertical pieces, 8 inches in diameter or larger for bowls and baskets. A single large basket has more visual impact than five small vases.
Ignoring dust and grease buildup. The above-cabinet space accumulates cooking grease and dust faster than any other kitchen surface. Objects placed above the cabinets and never cleaned develop a sticky, grey film within months. Clean the display every three to four months, and choose materials that are easy to wipe (ceramic, metal, glass) over materials that trap grease (unfinished wicker, fabric, paper).
Creating a display that clashes with the kitchen style. A row of neon-colored mason jars above stained-wood traditional cabinets, or a collection of rustic crocks above sleek modern flat-panel cabinets, creates a style mismatch that makes the display look random. Match the above-cabinet decor to the kitchen’s existing style — rustic objects for rustic kitchens, clean-lined objects for modern kitchens, collected antiques for traditional kitchens.
Frequently Asked Questions
Should I decorate above kitchen cabinets or close the gap?
If the gap is 6 inches or less, close it with crown molding, a soffit, or a filler board — the space is too narrow for meaningful decor. If the gap is 12 inches or more, you have enough room for a deliberate display. If the gap is 6 to 12 inches, either close it with trim or use flat, low-profile objects (framed prints leaning against the wall, low baskets, or LED uplighting). Closing the gap permanently eliminates the dust-collecting surface but also eliminates the display opportunity.
What should I avoid putting above kitchen cabinets?
Avoid real plants (insufficient light and impossible to water), anything heat-sensitive (candles, vinyl records, wax-based decor) that the rising kitchen heat will damage, anything too heavy for the cabinet structure (cast iron pots, stone sculptures weighing more than 10-15 pounds per item), and anything too small to see from floor level. Avoid paper and fabric items that absorb cooking grease and become discolored within months.
How do I clean the tops of kitchen cabinets?
Remove all objects. Spray the cabinet tops with a kitchen degreaser (Method, Simple Green, or a solution of warm water and dish soap). Let the degreaser sit for 5 minutes. Wipe with a damp microfiber cloth, scrubbing stubborn grease spots with a non-abrasive sponge. Dry with a clean cloth. Replace the liner paper or parchment paper on the cabinet surface before returning the objects. Clean every three to four months to prevent grease buildup from becoming permanent.
How do I keep dust from collecting above kitchen cabinets?
Line the cabinet tops with wax paper, parchment paper, or shelf liner before placing decor. The paper catches dust and grease, and you can replace it every few months without scrubbing the cabinet surface. Reduce dust accumulation by choosing smooth, wipeable materials (ceramic, glass, metal) over textured, porous materials (unfinished wicker, fabric, paper). A kitchen range hood that vents to the exterior (rather than recirculating) significantly reduces the grease particles that settle above the cabinets.
Can I put real plants above kitchen cabinets?
Real plants can survive above kitchen cabinets only if the location receives direct or bright indirect natural light from a nearby window or skylight. Most above-cabinet positions receive too little light for plants to thrive. Pothos, philodendron, and snake plants are the most tolerant of low-light, high-heat above-cabinet conditions. Watering is the primary challenge — you will need a step stool and a small watering can. For most kitchens, high-quality faux plants are the more practical choice.
Is it outdated to decorate above kitchen cabinets?
Decorating above kitchen cabinets is not inherently outdated — the execution determines whether it looks current or dated. Dated looks include dusty artificial ivy garlands, themed rooster collections, and symmetrical rows of identical items. Current looks include curated collections of natural materials (baskets, wood, ceramics), LED uplighting, extended backsplash treatments, and architectural additions (wainscoting, built-in niches). The trend in recent years has been toward cleaner, less-is-more displays with fewer, larger objects rather than crowded, themed collections.
Conclusion
The space above kitchen cabinets is too visible to ignore and too large to fill with random objects. Whether you choose a simple display of woven baskets and vintage crocks, a permanent architectural treatment like wainscoting or an extended backsplash, or a combination of LED uplighting and curated objects, the key is to approach the above-cabinet zone with the same intentionality you bring to every other design decision in the kitchen.
Start with the kitchen’s existing style (farmhouse, modern, transitional) and choose above-cabinet decor that reinforces that style. Use odd-numbered groupings, leave negative space between clusters, and choose objects large enough to read from 7 to 8 feet below. Clean the display every three to four months to prevent grease and dust accumulation. The result is a kitchen where every surface — from floor to ceiling — looks designed, finished, and purposeful.

