
Clay Kitchen Wall Hook Ideas: 14 Stunning Designs to Transform Walls
Clay kitchen wall hook ideas turn a basic wall-mounted hook — the hardware-store kind in chrome, brass, or plastic — into a handmade, decorative object that doubles as functional storage and an art piece on your kitchen wall. Polymer clay, air-dry clay, and kiln-fired stoneware all accept the sculpting, texturing, stamping, and painting techniques that allow you to build a hook in any shape, color, pattern, or style to match your kitchen exactly.
The 14 clay kitchen wall hook ideas below cover geometric designs, personalized name hooks, vintage tile patterns, leaf shapes, impressionist-inspired painted finishes, pastel tones, marble effects, bold primaries, rustic speckled textures, plant hanger hooks, clay-and-wood combinations, macramé-and-clay pairings, monochrome finishes, and earth-tone natural palettes. Each idea includes specific clay types, tools, techniques, and installation methods so you can make and mount these hooks yourself.
1. Clay Hooks with Geometric Designs

Geometric clay hooks — circles, hexagons, arches, half-moons, and angular abstract shapes — bring a clean, Scandinavian-inspired simplicity to the kitchen wall. The geometric form gives the hook a modern, intentional look that reads as wall art rather than hardware, making it appropriate for kitchens where visible hooks might otherwise look utilitarian or messy.
Roll air-dry clay (DAS or Crayola Air-Dry) or polymer clay (Sculpey III or Fimo) to a uniform 1/4-inch thickness. Cut geometric shapes with a craft knife, ruler, and circle cutter. Embed a small brass or stainless steel cup hook (available at Home Depot or Amazon in packs of 10) into the bottom edge of the shape before the clay hardens. Sand the edges smooth after drying, then paint with acrylic craft paint in matte white, black, terracotta, or sage green. Seal with a clear matte acrylic sealer spray (Krylon or Mod Podge) to protect the finish from kitchen moisture and grease.
2. Personalized Name Hooks
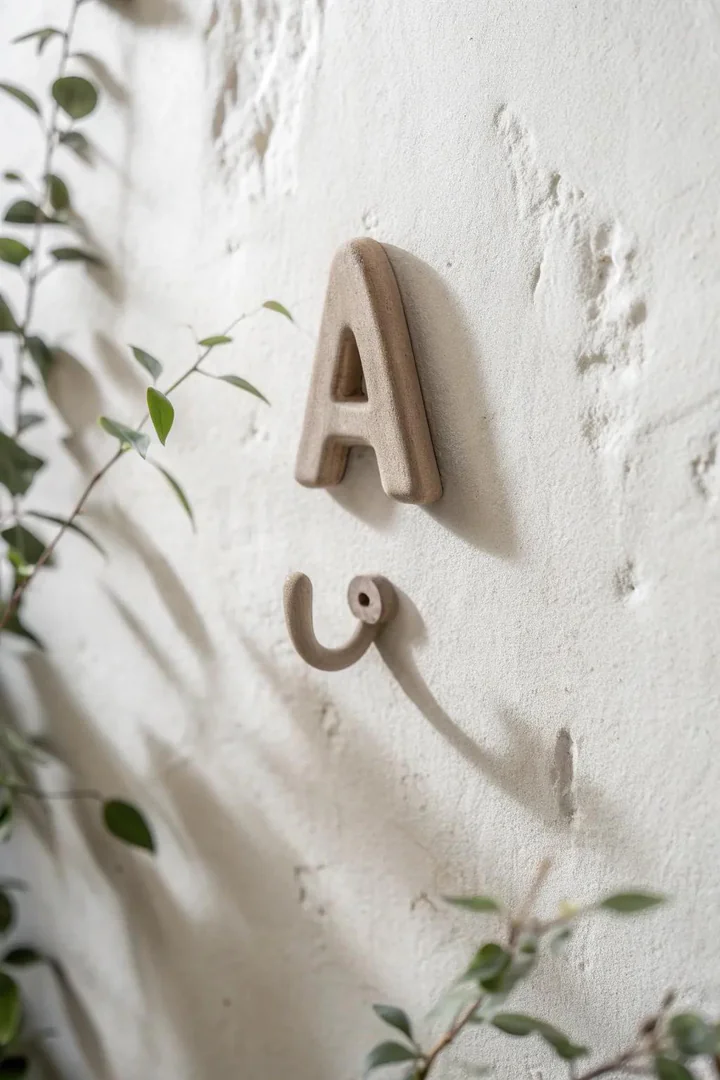
Personalized name hooks — clay plaques stamped, carved, or painted with a family member’s name, a pet’s name, or a label (“Apron,” “Keys,” “Towels”) — add a playful, organized, personal touch to the kitchen wall. Each person or item gets their own labeled hook, turning the hook rail into a family-specific organization system that visitors notice and comment on.
Roll a slab of white polymer clay (Sculpey Premo or Fimo Professional) to 1/4-inch thickness and cut rectangular plaques (approximately 2 x 4 inches). Stamp each plaque with alphabet stamps (available from Etsy or Amazon in various fonts) before baking, or use a fine-tip paint pen (Posca or Sakura) after baking to hand-letter each name. Embed a cup hook at the bottom edge before baking. Bake polymer clay at 275°F for 15 minutes per 1/4-inch thickness. Finish with a matte sealer. Hang the hooks in a horizontal row at a consistent height for a coordinated, intentional look.
3. Classic Tile Designs
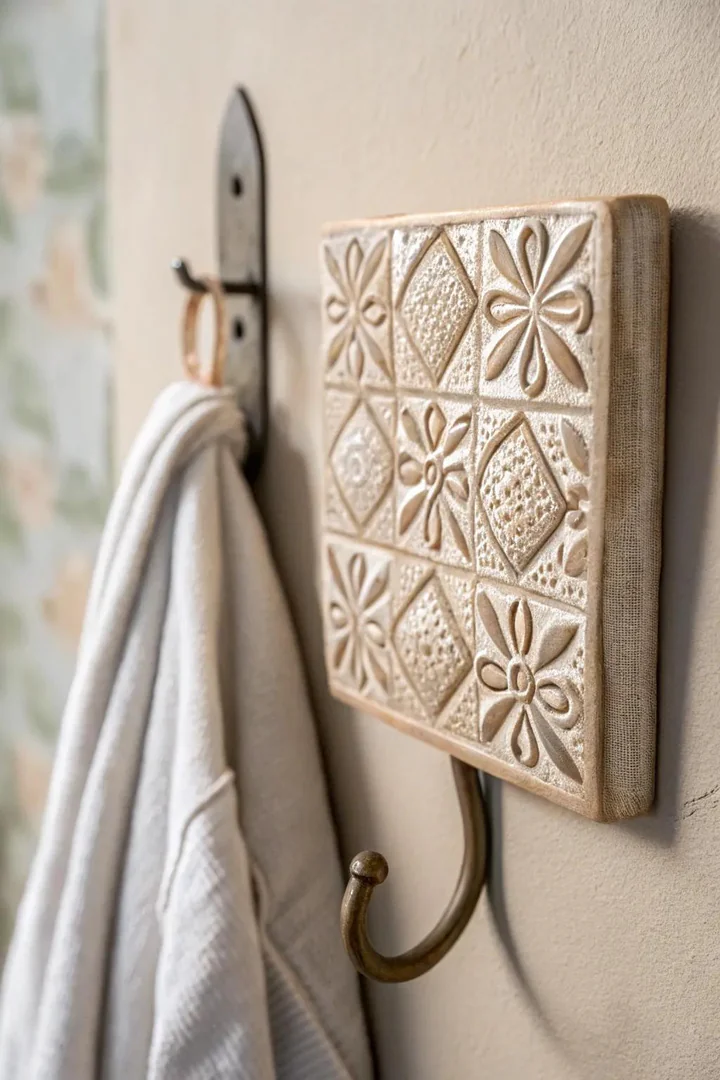
Clay hooks shaped and painted to resemble vintage ceramic tiles — Moroccan zellige, Portuguese azulejo, Mexican Talavera, or Italian majolica patterns — bring the decorative richness of hand-painted tiles to the kitchen wall without the cost or commitment of a full tile installation. Each hook becomes a miniature tile that references a specific historic ceramic tradition.
Roll polymer clay (Sculpey Premo in white) into 3-inch square tiles, 1/4-inch thick. After baking and cooling, paint each tile with detailed patterns using fine-point acrylic paint brushes or Posca paint pens in traditional tile colors — cobalt blue, turquoise, yellow, and terracotta on a white ground. Reference actual tile patterns from books or Pinterest boards for authentic motifs (stars, arabesques, florals, medallions). Seal each painted tile with two coats of gloss acrylic sealer to mimic the glazed sheen of real ceramic tile. Attach a cup hook at the bottom center.
4. Leaf Hooks Inspired by Nature
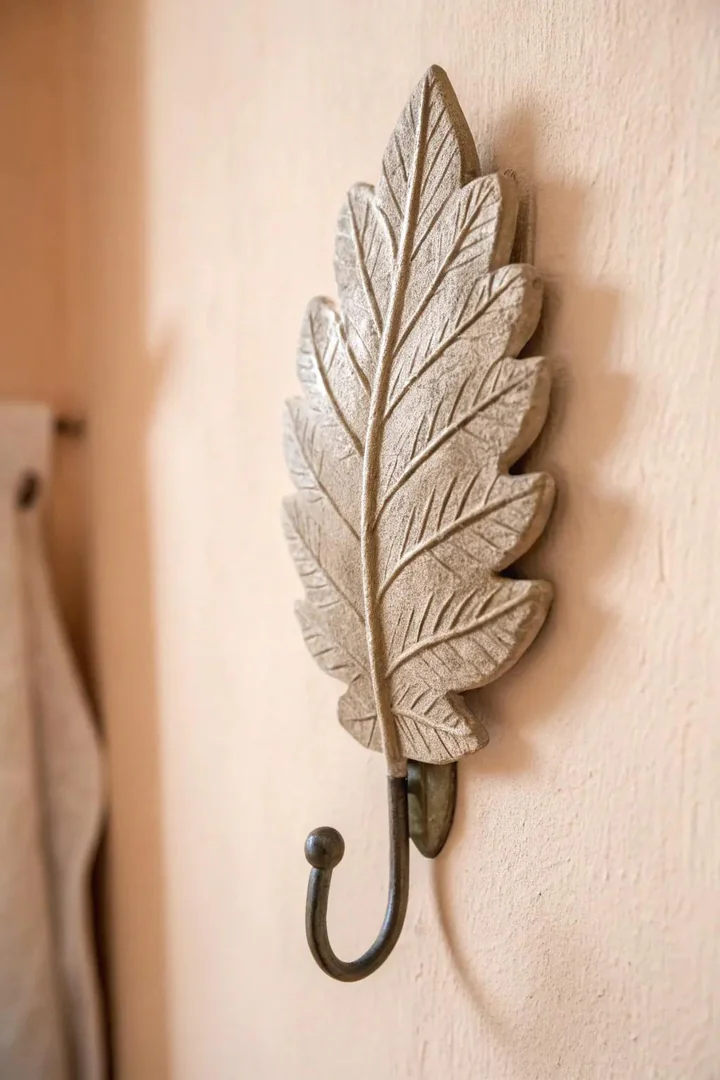
Leaf-shaped clay hooks — pressed from real leaves (monstera, fig, eucalyptus, maple) or sculpted freehand — bring organic, botanical forms to the kitchen wall. The leaf veining, irregular edges, and natural curves create a biophilic, garden-inspired accent that softens the hard surfaces (tile, stone, stainless steel) that dominate most kitchens.
Press a real leaf (monstera or fig leaf work best because of their size and distinct vein pattern) into a rolled slab of air-dry clay or polymer clay, pressing firmly to transfer the vein texture. Cut around the leaf outline with a craft knife, leaving a 1/4-inch border. Remove the real leaf and refine the edges. Embed a cup hook at the leaf stem end. After drying or baking, paint with green or gold acrylic paint, or leave the natural clay color and seal with matte acrylic spray. A row of three to five different leaf species hung in a horizontal line creates a botanical gallery wall above the kitchen counter.
5. Hooks Inspired by Impressionism
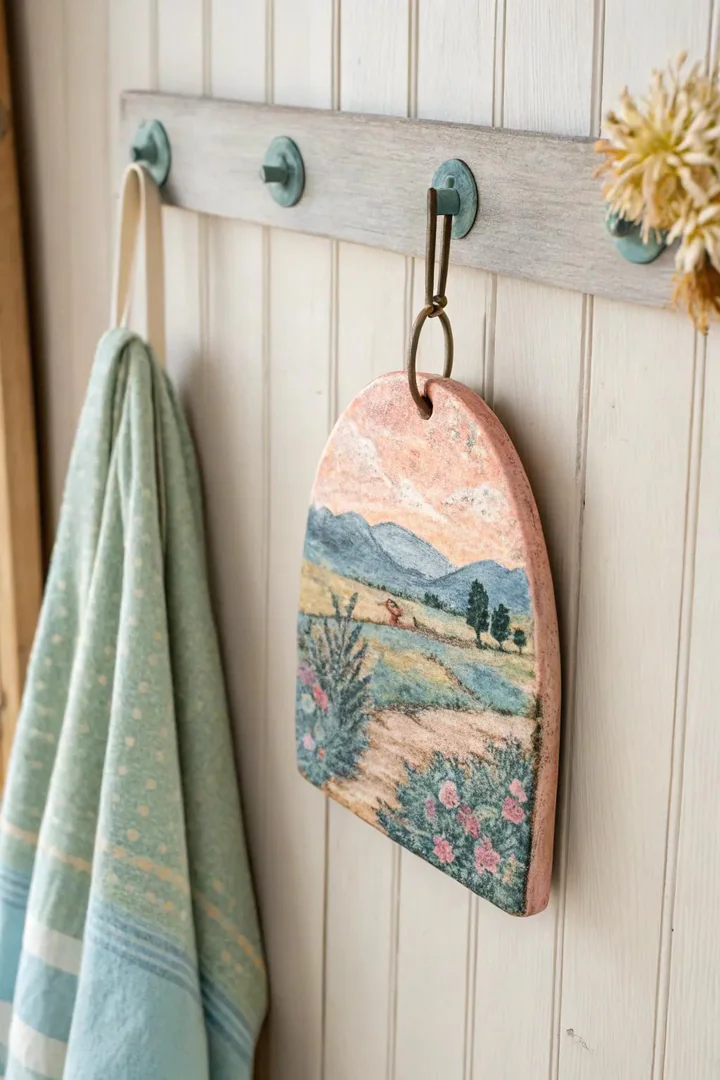
Impressionist-inspired clay hooks feature painterly, textured surfaces with blended, dappled colors that reference the visible brushstroke technique of Monet, Renoir, and Pissarro. Rather than crisp lines and flat colors, these hooks show color mixed directly on the surface — blues melting into greens, pinks bleeding into lavender — creating a miniature painting on each hook.
Shape polymer clay into round or oval medallions (3 to 4 inches in diameter). After baking, apply acrylic paint in Impressionist color palettes — Monet’s water lily colors (blue, green, pink, white), Renoir’s warm tones (peach, gold, coral), or Van Gogh’s bold strokes (cobalt blue, sunflower yellow, emerald green). Use a stiff brush and dab the paint in short, visible strokes rather than blending smoothly. Apply three to four overlapping colors per hook for depth. Seal with gloss acrylic sealer. For more inspiration on bringing art and personality into your kitchen, explore our kitchen decor ideas gallery.
6. Harmony Hooks in Pastel
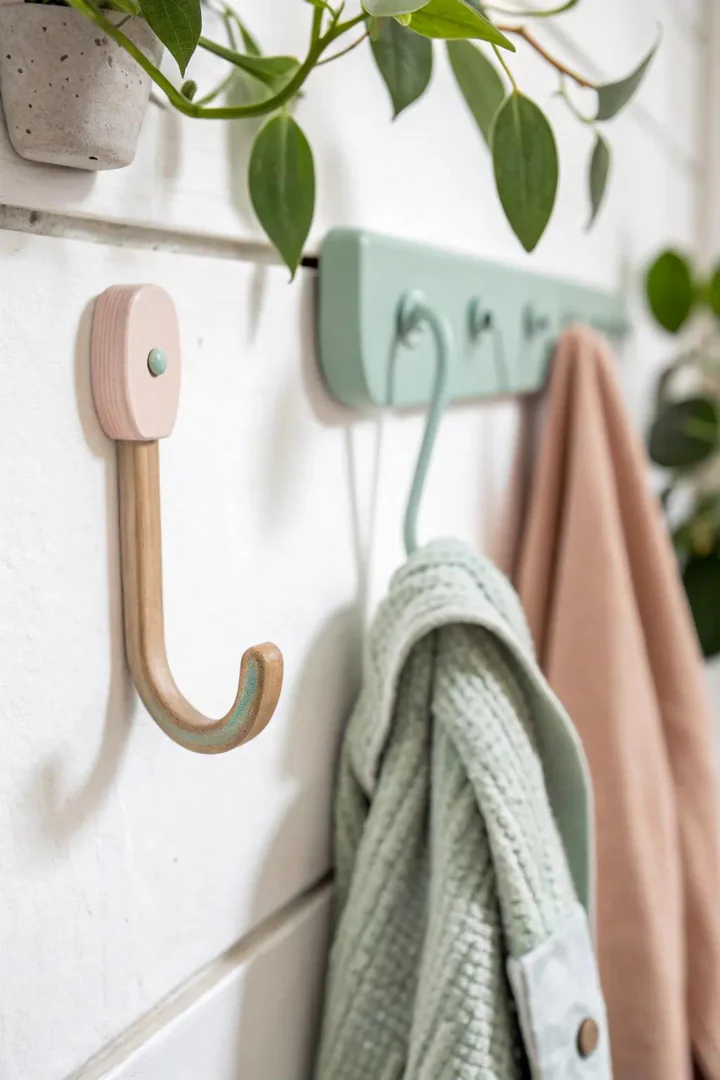
Pastel-toned clay hooks — soft pink, lavender, mint green, butter yellow, and powder blue — bring gentle, calming color to the kitchen wall without the visual intensity of saturated primary colors. Pastel hooks work particularly well in white, cream, or light grey kitchens where they add color interest while maintaining the kitchen’s bright, airy feel.
Mix pastel colors directly into white polymer clay by kneading small amounts of colored clay (Sculpey Premo in Blush, Lavender, Mint) into a white base until the color is uniform but pale. This produces a through-body color that will not chip or wear like surface paint. Shape the tinted clay into simple, minimalist forms — circles, ovals, or arches — and embed cup hooks before baking. The through-body color approach means the hook looks finished without any painting or sealing, although a matte sealer adds moisture protection in the humid kitchen environment.
7. Simple Marble Aesthetic
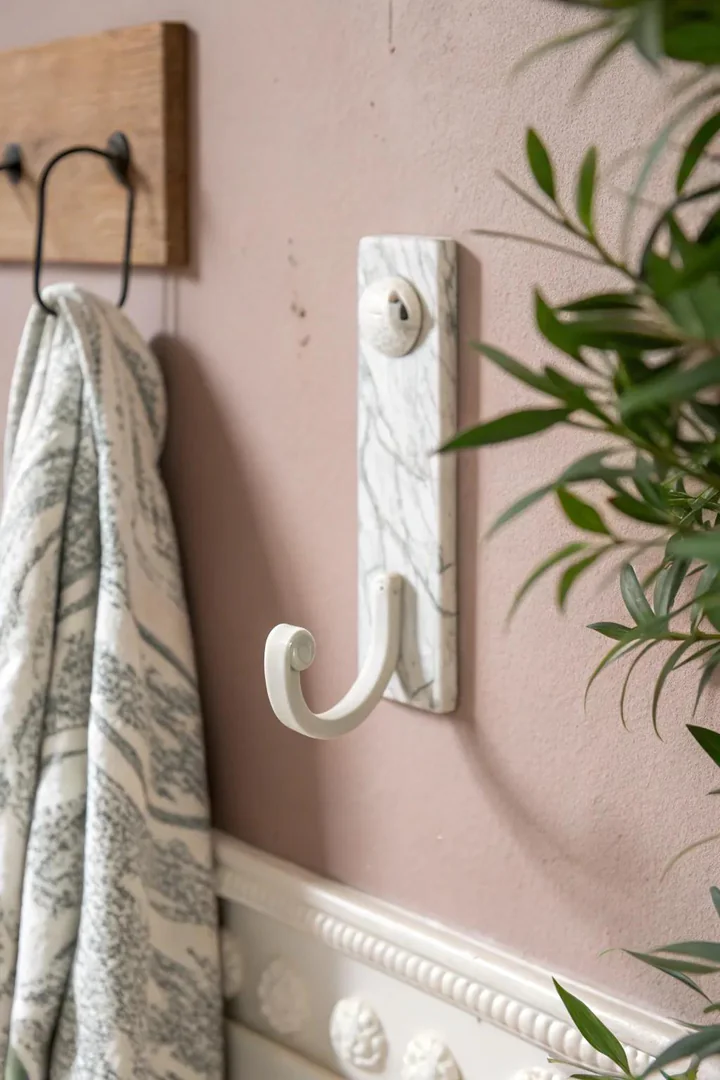
Marble-effect clay hooks mimic the veined, layered appearance of Carrara, Calacatta, or Nero Marquina marble using a simple color-mixing technique that produces organic, stone-like swirls in the clay body. The marble look adds a refined, high-end feel to the kitchen wall that references real stone surfaces (marble countertops, marble backsplashes) found in many kitchens.
Combine white polymer clay with thin ropes of black or grey polymer clay (Sculpey Premo in Black and Silver). Fold and twist the clays together two to three times — overworking will blend the colors to a uniform grey rather than maintaining distinct veins. Roll the marbled clay into a slab and cut your hook shape. The random, organic veining pattern will be different on every hook, making each one unique. For a Calacatta gold effect, add thin ropes of gold or champagne-colored clay alongside the grey. Seal with a high-gloss acrylic sealer to mimic the polished surface of real marble.
8. Vivid and Daring
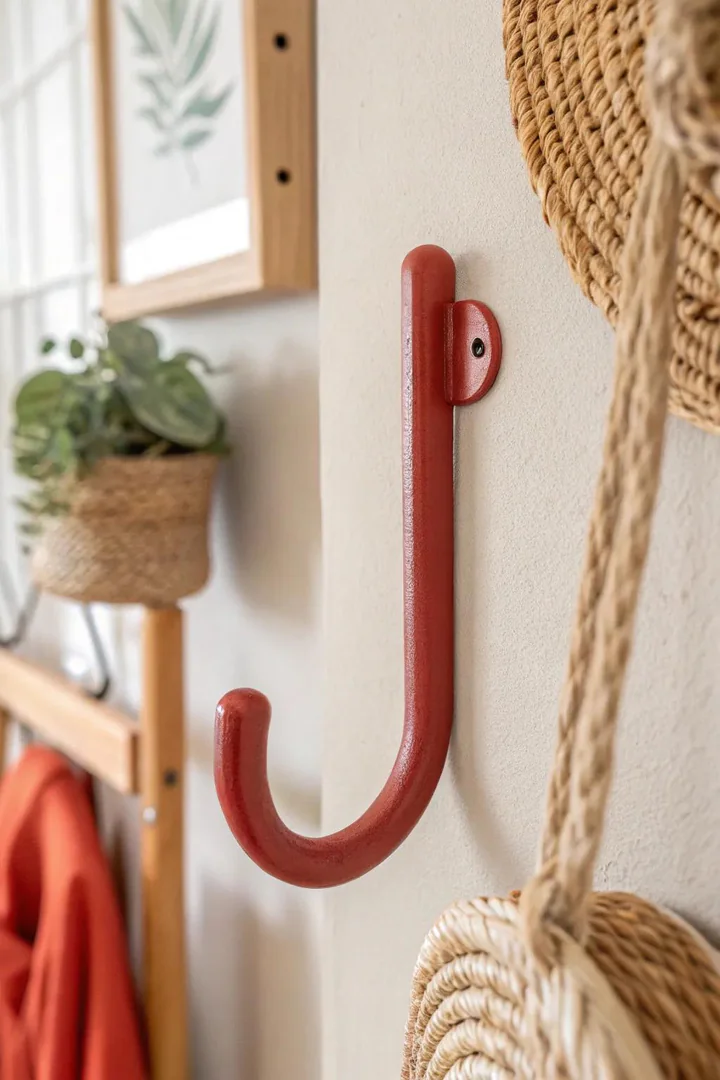
Bold, saturated-color clay hooks — deep cobalt blue, cherry red, sunflower yellow, emerald green, or electric orange — make a deliberate, confident color statement on the kitchen wall. Where pastel hooks whisper color, bold hooks shout it, making them the right choice for kitchens that already have strong color in the cabinets, tile, or accessories and need the hooks to hold their own visually.
Use pre-colored polymer clay in saturated shades (Sculpey Premo in Cadmium Red, Cobalt Blue, Sunshine, or Jade) for through-body color that is richer and more consistent than surface paint. Shape the clay into simple, bold forms — large circles, thick arches, or chunky rectangles — that give the color enough surface area to make a visual impact. A set of three or four hooks in different bold colors creates a color-block effect on the wall. Match one of the hook colors to an existing kitchen accent (a colored mixer, a set of canisters, a patterned backsplash) to tie the hooks into the overall kitchen color scheme.
9. Clay Hooks with a Rustic Speckled Finish
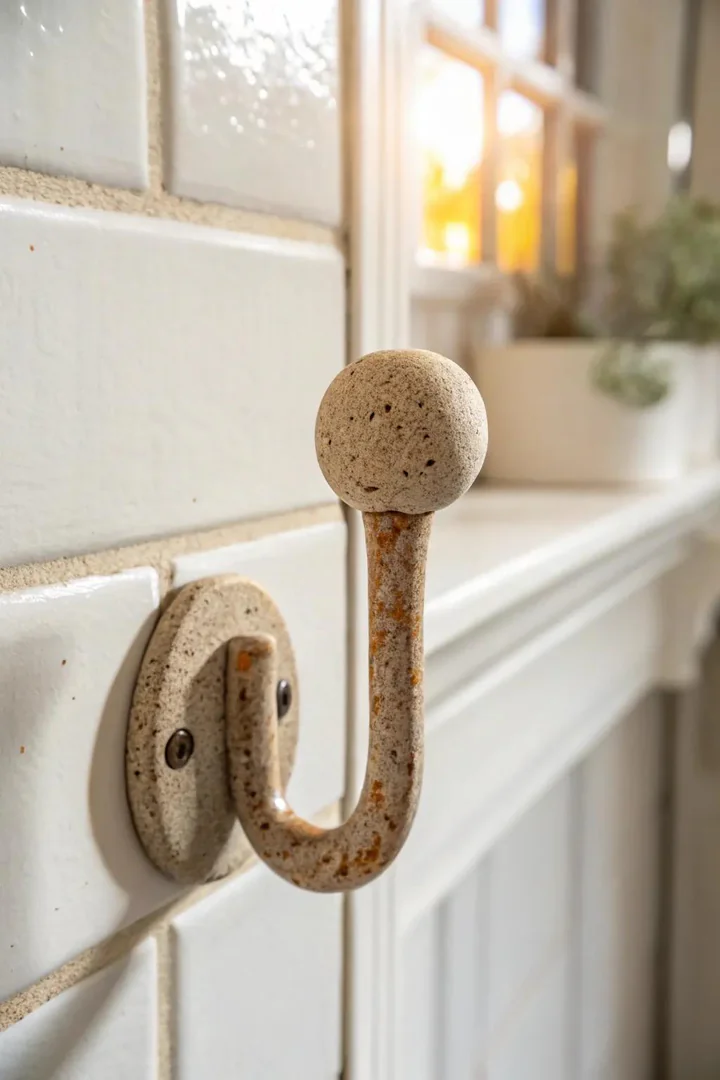
Speckled clay hooks — clay with visible flecks of contrasting color mixed into the body, resembling the speckled glaze of handmade stoneware pottery — add a rustic, artisanal, handmade quality to the kitchen wall. The speckled texture references the raw, earthy surfaces of wheel-thrown ceramics and Japanese wabi-sabi pottery, making these hooks appropriate for farmhouse, rustic, and organic-modern kitchens.
Create the speckled effect by mixing tiny pieces of contrasting-color polymer clay (dark brown, black, or terracotta crumbles) into a light-colored base (white, cream, or light grey). Do not blend fully — the goal is visible flecks, not a uniform color. Alternatively, use air-dry clay and press ground coffee, dried herbs, or fine sand into the surface before drying for a genuine organic speckle. Shape the speckled clay into simple, thick, organic forms — slightly irregular circles, pebble shapes, or rounded rectangles — that reinforce the handmade, imperfect aesthetic. For more ways to bring color and texture into your kitchen walls, see our kitchen color ideas guide.
10. Hooks for Plant Hangers
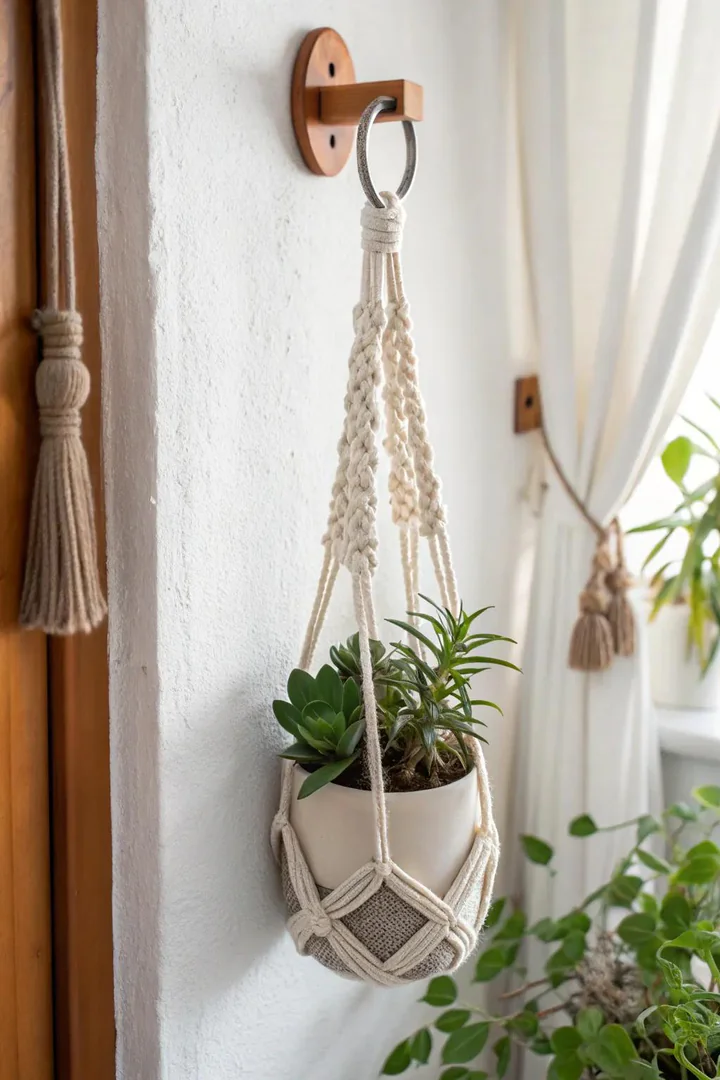
Clay hooks designed specifically for hanging small potted plants — in macramé plant hangers, small hanging planters, or propagation tubes — combine wall storage function with living greenery, bringing plants into the kitchen without taking up counter or windowsill space. The clay base plate adds decorative substance to what would otherwise be a bare metal hook on the wall.
Design the clay base plate large enough (4 to 5 inches) to provide visual balance for the hanging plant below. Shape the plate as a circle, arch, sun, or leaf to complement the plant. Use a heavy-duty hook or screw-in hook (rated for at least 5 pounds) embedded into the clay and anchored into a wall stud or drywall anchor, because the weight of a potted plant in soil is significantly more than a towel or apron. Suitable hanging plants for kitchen hooks include pothos, string of pearls, small ferns, and trailing succulents in 3-to-4-inch pots.
11. Fusion of Clay and Wood
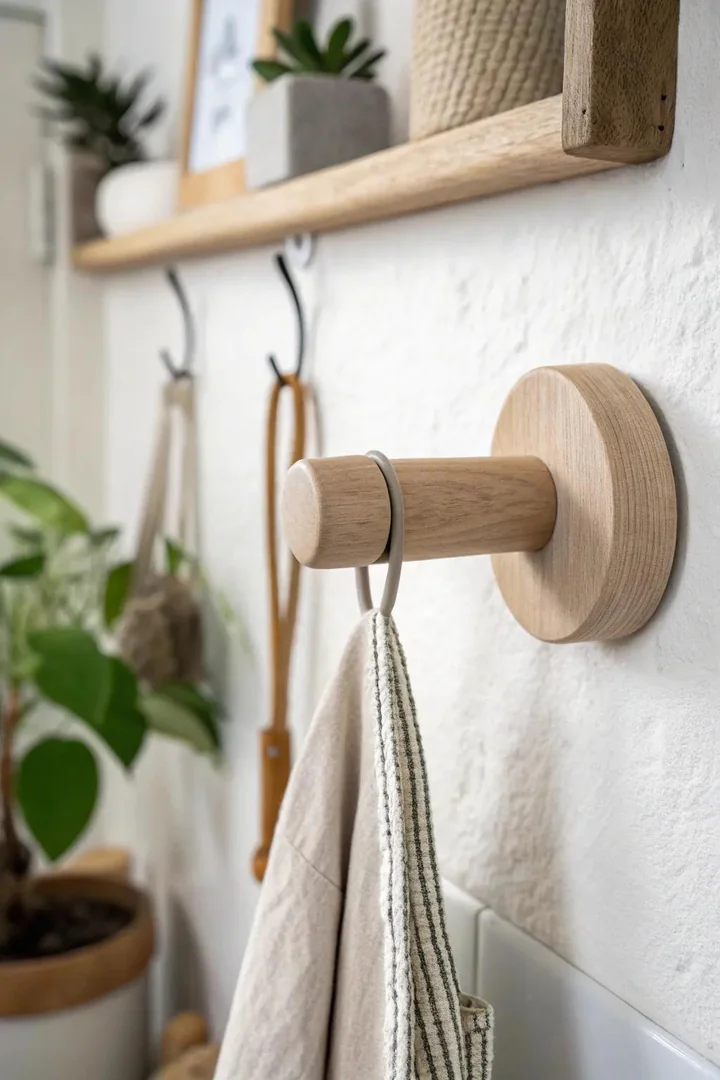
Clay-and-wood hybrid hooks combine a clay decorative plate with a natural wood dowel or peg as the actual hook element, creating a two-material piece that feels warmer and more substantial than clay alone. The wood peg provides a smooth, strong hook surface for hanging towels, aprons, and bags, while the clay plate behind it adds color, pattern, and artistic character.
Drill a hole in the clay plate (before baking for polymer clay, or after drying for air-dry clay) and insert a 1/2-inch wood dowel cut to 2 to 3 inches long. Secure the dowel with E6000 adhesive or a press-fit friction joint. Use a hardwood dowel (oak, walnut, or birch) for strength and beauty. The dowel can be left natural, stained, or painted to match or contrast with the clay plate. A Scandinavian-style version uses light birch dowels in white clay plates; a rustic version uses dark walnut dowels in speckled terracotta plates.
12. Macramé and Clay Bohemian Fusion
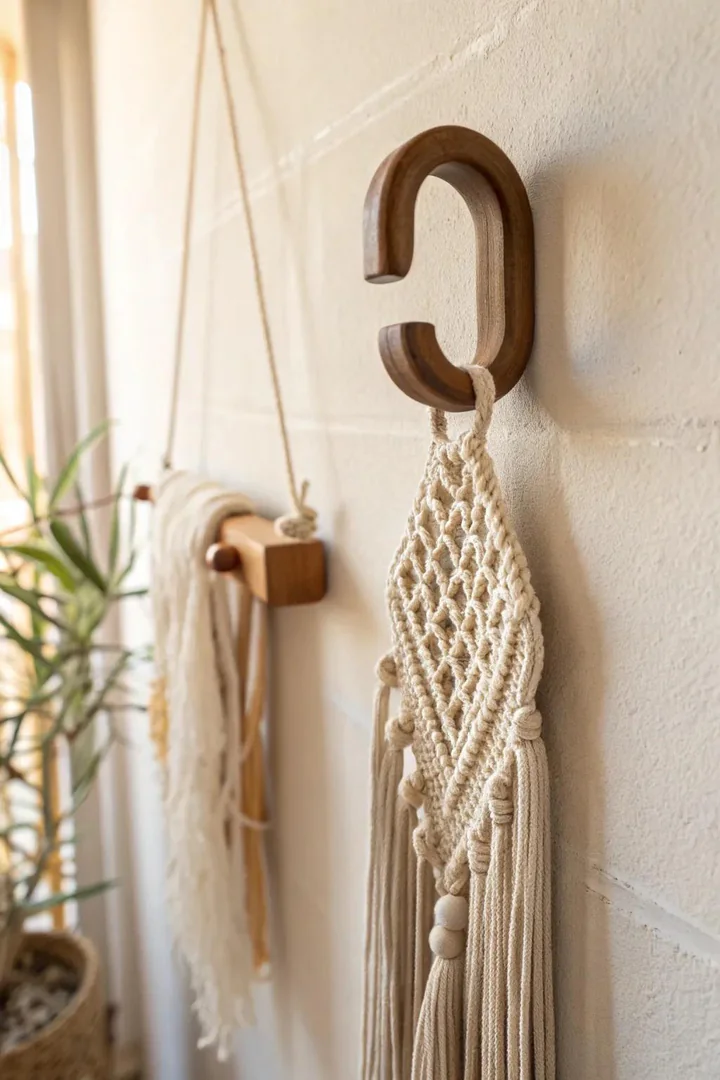
Combining a clay wall plate with macramé cord, fringe, or woven elements creates a bohemian, textile-rich wall hook that bridges the gap between functional hardware and fiber art. The macramé adds movement, softness, and texture that the rigid clay alone cannot provide, while the clay anchors the macramé to the wall and provides a solid mounting surface.
Create a clay plate with two to four small holes near the edges (punched before baking) for threading macramé cord. Thread 3mm cotton macramé cord (from Amazon or Etsy) through the holes and knot a simple pattern — spiral knots, square knots, or a short fringe — below the clay plate. Leave 6 to 8 inches of macramé hanging below the plate. Attach the actual hook (a small brass cup hook or a bent wire hook) to the bottom of the macramé pattern or directly into the clay plate. This style pairs well with other boho kitchen elements like woven baskets, rattan pendant lights, and natural linen curtains.
13. One-Color Enchantment
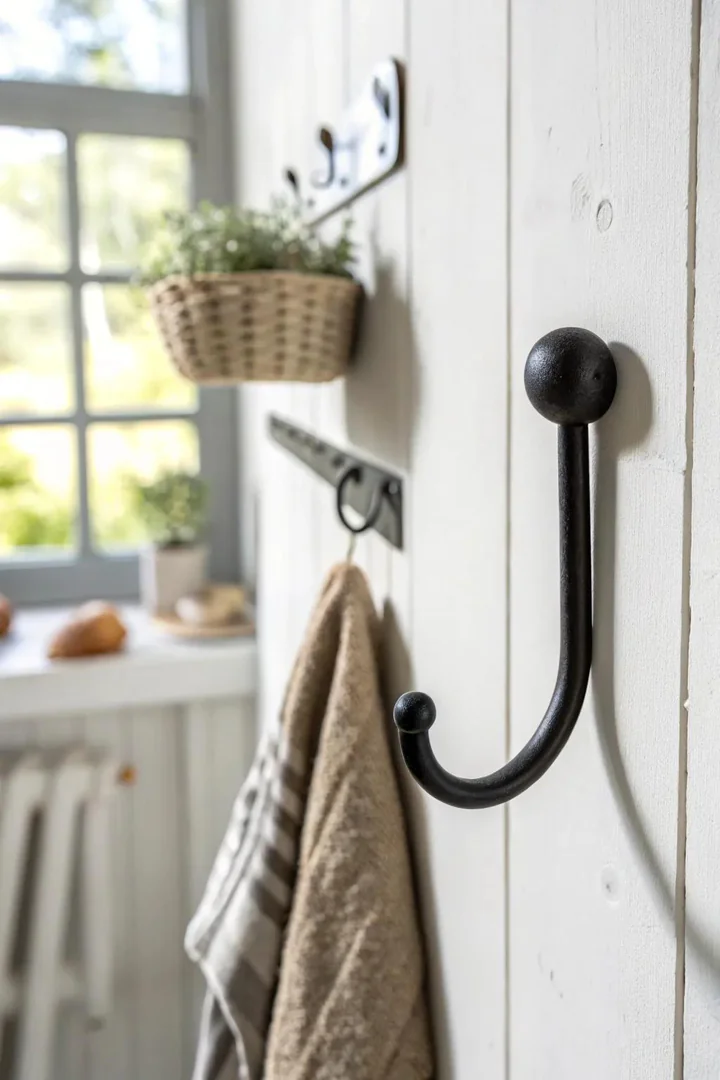
Monochrome clay hooks — every hook in the same single color, from the clay body to the hook hardware — create a clean, gallery-like uniformity that lets the form and texture of the clay speak without any distraction from color variation. All-white, all-black, all-terracotta, or all-sage sets produce a calm, sophisticated wall display.
Choose a single color and commit to it across all hooks in the set (three to seven hooks). Use pre-colored polymer clay for through-body color, then paint the metal cup hook the same color with spray paint or acrylic paint so the hardware disappears into the clay. The monochrome approach works best when the hooks are identical or near-identical in shape and size, arranged in an evenly spaced horizontal row. The visual power comes from repetition and uniformity rather than variety. All-white hooks on a white wall create a tone-on-tone, shadow-based display; all-black hooks on a white wall create a graphic, high-contrast statement.
14. Sustainable Natural Color Palette
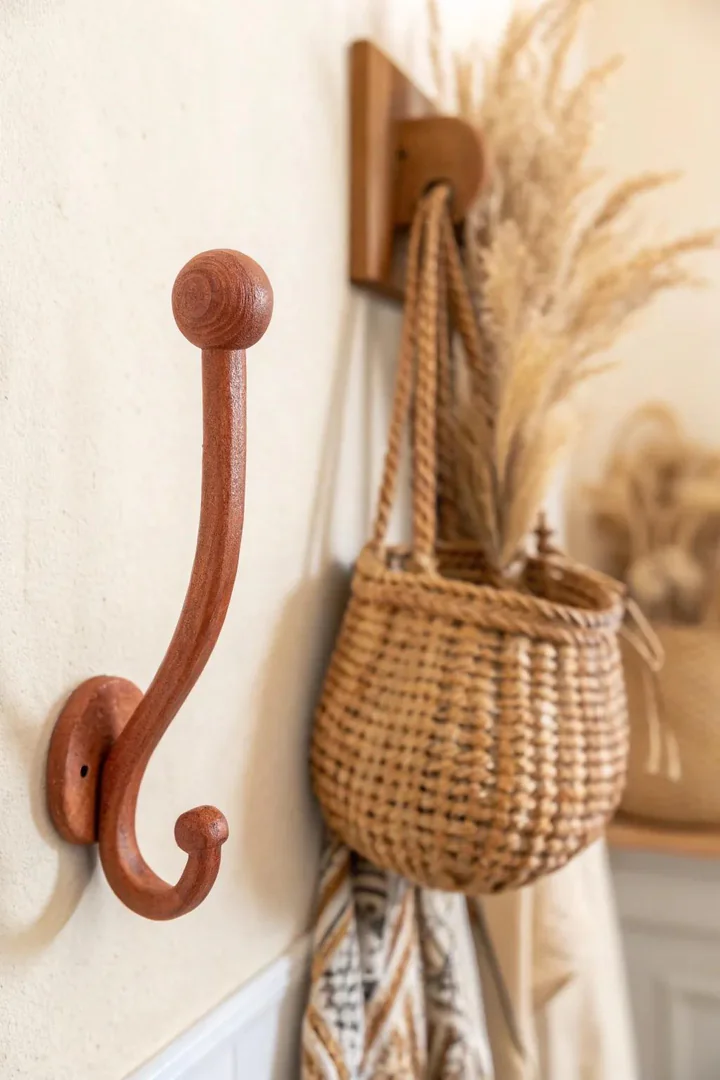
Earth-tone clay hooks — terracotta, ochre, sienna, umber, sand, and clay-body brown — use the natural, unfired color of the clay itself as the finished aesthetic, avoiding synthetic paints and plastic-based polymer clays in favor of air-dry clay, natural stoneware, or terracotta that can be composted at end of life. This approach appeals to kitchens with a sustainability focus.
Use air-dry clay (DAS Terracotta, Amaco Stonex, or locally sourced natural clay) in its uncolored state — the natural clay body ranges from pale buff to deep terracotta depending on the mineral content. Shape thick, substantial hooks that have enough mass to feel hand-thrown and artisanal. Leave the surface slightly rough and unglazed for an authentic, raw-clay finish, or burnish the surface smooth with a spoon or stone while still damp for a polished, stone-like sheen. Pair earth-tone hooks with other natural materials in the kitchen — wood, stone, linen, and copper — for a cohesive, material-driven design. To coordinate hook colors with your existing kitchen palette, see our kitchen cabinet color ideas guide.
How to Make and Install Clay Kitchen Wall Hooks
Choosing the Right Clay
Polymer clay (Sculpey Premo, Fimo Professional) is the best choice for kitchen wall hooks because it bakes hard in a home oven (275°F for 15 minutes per 1/4-inch thickness), accepts embedded metal hooks before baking, and resists moisture and grease once sealed. Air-dry clay (DAS, Crayola Air-Dry) is easier to work with and requires no oven, but it is more fragile and more susceptible to moisture damage in a humid kitchen. Natural stoneware clay requires kiln firing (cone 6, approximately 2,232°F) and is the strongest and most durable option, but requires access to a kiln or a local pottery studio.
Embedding and Securing the Hook
The most common hook hardware is a small brass or stainless steel cup hook (1/2-inch or 3/4-inch opening), which screws into the clay body before it hardens. For polymer clay, press the threaded shaft of the cup hook into the bottom edge of the clay shape, pushing it in at least 1/2 inch for a secure hold, then bake with the hook in place. For additional strength, apply a drop of E6000 adhesive or Gorilla Glue around the embedded hook shaft after baking. For hooks that will hold heavy items (cast iron pans, heavy bags), use a separate wall-mounted screw as the primary load bearer and attach the clay decorative plate around it as an ornamental cover.
Mounting Hooks to the Kitchen Wall
Mount clay hooks to the wall using adhesive strips (Command Strips for hooks under 3 pounds), wall screws with drywall anchors (for hooks up to 10 pounds), or screws directly into wall studs (for heavy-duty plant hooks or pot holders). Drill a mounting hole through the clay plate before baking, then hang the plate on a wall screw like a picture frame. Position hooks at a consistent height (48 to 54 inches from the floor for towels and aprons, 60 to 66 inches for decorative items and bags). Use a laser level or a strip of painter’s tape to mark a straight horizontal line for even alignment across multiple hooks.
Clay Wall Hook Styles Comparison
| Style | Best Clay Type | Difficulty | Best Kitchen Style |
|---|---|---|---|
| Geometric | Polymer (Sculpey) | Beginner | Modern, Scandinavian |
| Marble effect | Polymer (two-color) | Beginner | Modern, transitional |
| Leaf-shaped | Air-dry or polymer | Intermediate | Organic, botanical |
| Tile-patterned | Polymer (painted) | Advanced | Mediterranean, eclectic |
| Speckled rustic | Air-dry (textured) | Beginner | Farmhouse, wabi-sabi |
| Clay-and-wood | Polymer or air-dry | Intermediate | Scandinavian, rustic |
Common Clay Wall Hook Mistakes to Avoid
Making the clay too thin. Clay hooks thinner than 1/4 inch are fragile and prone to cracking, especially at the point where the metal hook is embedded. Roll the clay to at least 1/4-inch thickness, and make the area around the embedded hook even thicker (3/8 inch) for structural strength. Thin, delicate hooks may look refined on a shelf but will snap when loaded with a wet towel or a heavy apron.
Skipping the sealer. Unsealed clay absorbs moisture, cooking grease, and food splatter in the kitchen environment. Within months, unsealed hooks will stain, soften, or develop a sticky residue. Apply two coats of acrylic sealer (matte or gloss) to every clay hook, covering all surfaces including the back and edges. Reapply the sealer annually.
Using inadequate wall mounting. A clay hook that falls off the wall because the adhesive strip failed or the drywall anchor pulled out will shatter on impact. Match the mounting hardware to the weight: adhesive strips for lightweight display hooks (under 3 pounds), drywall anchors for medium hooks (3 to 10 pounds), and stud-mounted screws for heavy-duty hooks holding pots, pans, or hanging planters.
Overloading the hook. A polymer clay hook with an embedded cup hook can safely hold 1 to 3 pounds (a dish towel, an apron, a set of keys, a lightweight bag). Hanging a cast iron skillet, a heavy tote bag, or a large hanging planter on a small clay hook will pull the embedded cup hook out of the clay body. For heavy items, use a separate wall-mounted metal hook and add the clay plate as a decorative surround. See our polymer clay kitchen magnets guide for more handmade clay kitchen projects.
Frequently Asked Questions
What type of clay is best for kitchen wall hooks?
Polymer clay (Sculpey Premo or Fimo Professional) is the best overall choice because it bakes hard in a standard home oven, resists moisture, accepts embedded metal hardware, and comes in dozens of pre-mixed colors. Air-dry clay is easier to work with but more fragile and water-sensitive. Natural stoneware clay fired in a kiln produces the hardest, most durable hooks but requires kiln access.
How much weight can a clay wall hook hold?
A polymer clay hook with an embedded cup hook, mounted to a wall stud or heavy-duty drywall anchor, can safely hold 1 to 3 pounds — enough for dish towels, aprons, oven mitts, lightweight bags, and keys. For heavier items (5 to 10 pounds), mount a metal hook directly to the wall and use the clay plate as a decorative backer only, so the metal hardware bears the load.
How do I prevent clay hooks from cracking?
Roll the clay to at least 1/4-inch thickness. Avoid sharp corners and thin connection points where stress concentrates. For polymer clay, bake at the manufacturer’s recommended temperature (usually 275°F) for the full recommended time — underbaking is the most common cause of brittle, breakable hooks. For air-dry clay, allow 48 to 72 hours of drying time and avoid placing the hooks in direct sunlight or near heat sources during drying, which can cause uneven shrinkage and cracking.
Can I use air-dry clay for kitchen hooks?
Yes, but air-dry clay is softer and more moisture-sensitive than baked polymer clay. Seal air-dry clay hooks with at least two coats of waterproof acrylic sealer (Mod Podge or Minwax Polycrylic) to protect them from kitchen humidity and splatter. Do not hang wet or dripping items on air-dry clay hooks. For kitchens with heavy steam (near a stove or dishwasher), polymer clay or kiln-fired stoneware is a more durable choice.
How do I attach a clay hook to the wall without drilling?
Use heavy-duty adhesive strips (Command Large Picture Hanging Strips or Gorilla Mounting Tape) rated for the weight of the hook plus whatever will hang on it. Clean the wall surface with rubbing alcohol before applying. Press firmly for 30 seconds and wait 1 hour before hanging anything on the hook. Adhesive mounting works on smooth, painted drywall and tile but fails on textured, porous, or wallpapered surfaces.
How do I clean clay wall hooks in the kitchen?
Wipe sealed clay hooks with a damp cloth and a drop of mild dish soap every two to four weeks to remove cooking grease and dust. Do not soak clay hooks in water or run them through the dishwasher. For stubborn grease spots on sealed polymer clay, use a soft cloth dampened with white vinegar or a non-abrasive kitchen cleaner. Reapply acrylic sealer once a year or whenever the surface starts to feel porous. Visit The Designers Company for more kitchen wall decor and DIY project ideas.
Conclusion
Clay kitchen wall hooks are one of the few kitchen accessories that you can fully customize — shape, color, texture, size, and style — to match your exact kitchen design rather than settling for whatever the hardware store stocks. Whether you choose a minimalist set of monochrome arches, a colorful row of bold geometric shapes, or a rustic collection of speckled terracotta pebbles, the handmade quality of clay hooks adds a personal, artisanal touch that mass-produced metal hooks cannot provide.
Start with a simple project (geometric shapes or marble-effect circles) using polymer clay and cup hooks. Once you are comfortable with the material, move on to more advanced techniques like tile-patterned hooks, leaf impressions, or clay-and-wood hybrids. Make hooks in sets of three to five for a cohesive wall display, and always seal the finished clay with acrylic sealer to protect it from kitchen moisture and grease.

