
Clay Kitchen Magnet Ideas: 11 Creative Designs to Make at Home
Handmade clay magnets turn an ordinary refrigerator door into a rotating gallery of miniature art. Polymer clay from brands like Sculpey and FIMO holds fine detail, cures hard in a standard oven at 275°F, and bonds permanently to small neodymium disc magnets with E6000 adhesive.
Each magnet takes 15 to 30 minutes to shape, making this a weekend project that produces a full set of kitchen-themed pieces in a single afternoon. Visit The Designers Company for more hands-on craft and home decor inspiration.
1. Cute Animal Faces
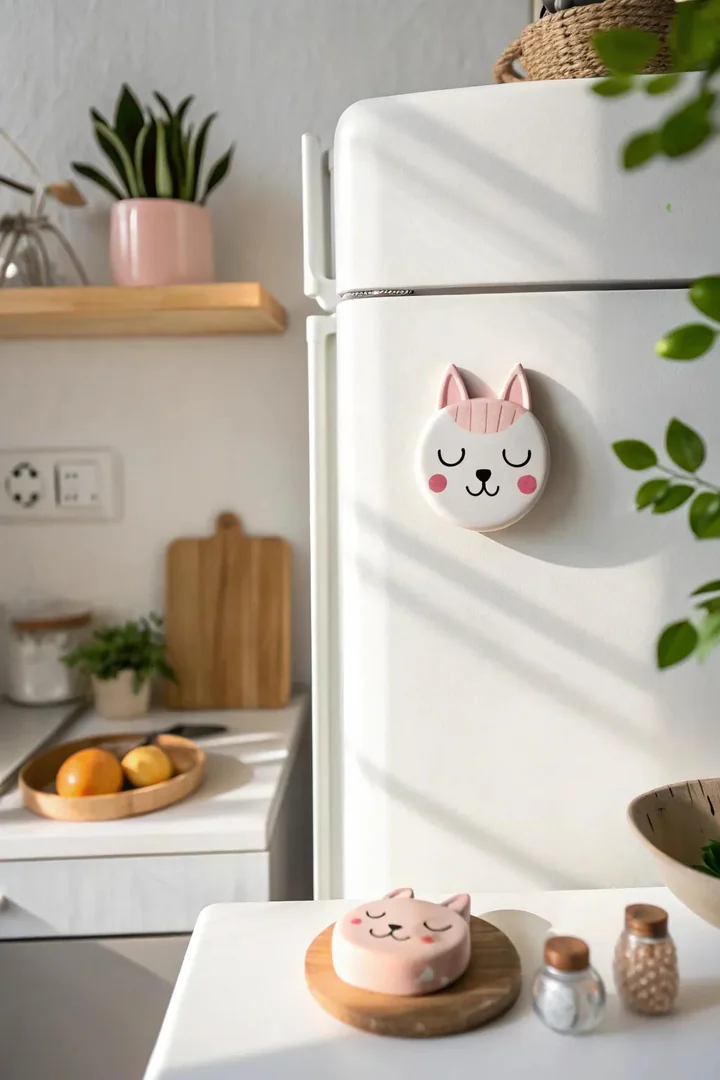
Kawaii animal magnets feature oversized round eyes, tiny blush circles on the cheeks, and simple curved-line mouths. Shape a flattened oval for the head, add two small triangles for ears, and press shallow eye sockets with the ball end of a stylus. A panda, a cat, and a corgi make a strong starter set that covers black-and-white, tabby, and golden-brown palettes.
Paint fine details like pupils and whiskers with a size-0 round brush and acrylic craft paint after baking. Seal the painted surface with a thin coat of Sculpey Glaze to prevent chipping when the magnets slide across the refrigerator door.
2. Fun Monster Expressions
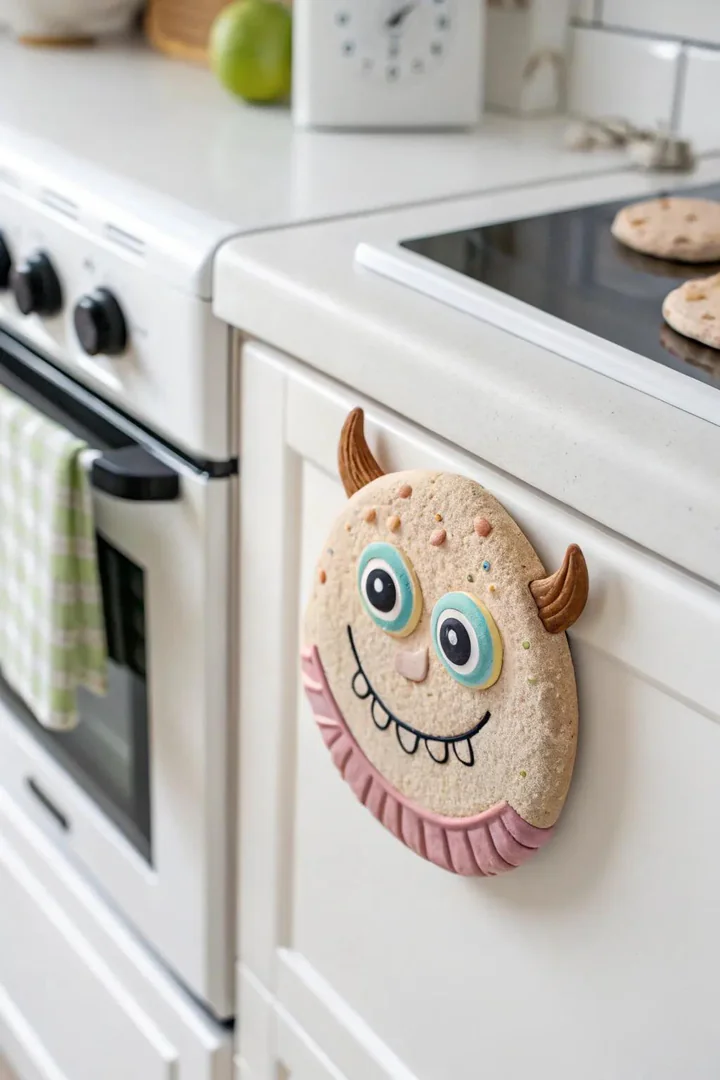
Monster magnets give kids permission to ignore symmetry and color rules. Roll a lopsided blob, press one huge eye and one tiny eye into the face, and carve a jagged grin with the blade tool. Mix neon green, electric blue, and hot pink Sculpey together in uneven swirls to create a marbled body that looks intentionally chaotic.
Add small horn nubs or antenna stalks by rolling thin snakes of clay and pressing them onto the top of the head before baking. Monster sets make popular birthday-party craft stations because no two pieces look alike and every attempt reads as a success.
3. Country-Style Vegetable Patterns
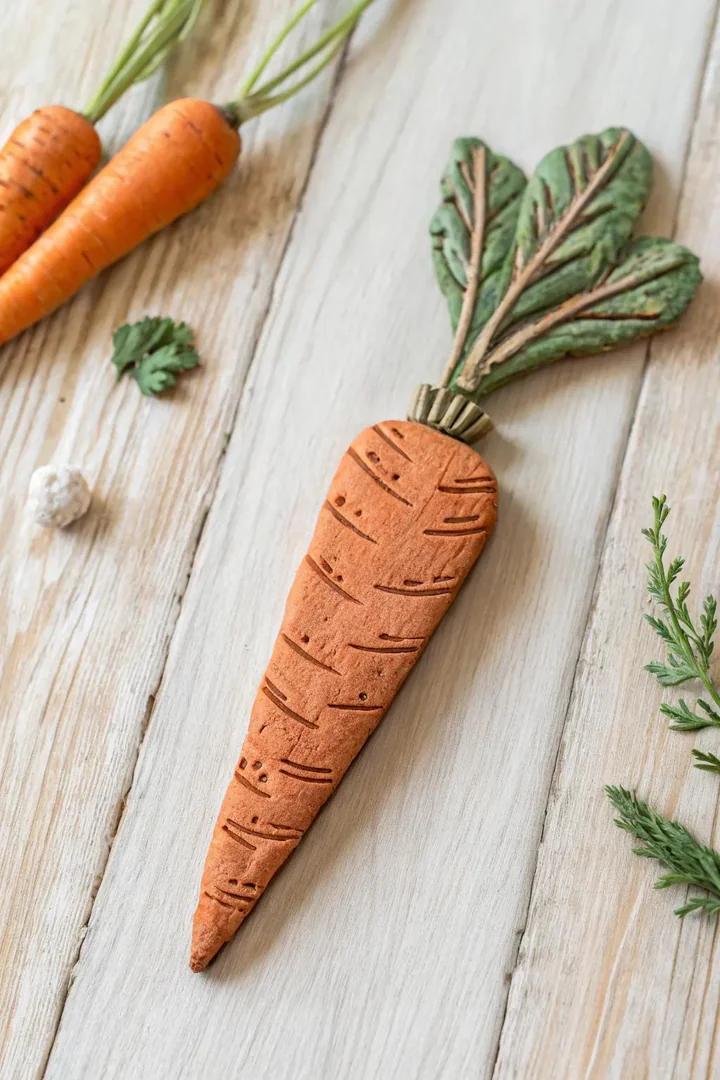
A miniature carrot, a pea pod, and a beet make a farmhouse-themed magnet trio that suits kitchens with open shelving and natural-wood accents. Shape the carrot from a blend of Sculpey Burnt Orange and a pinch of Raw Sienna, then score horizontal lines with the blade for a realistic root texture.
Roll three tiny green spheres for peas, nestle them inside a flattened green shell, and pinch the ends closed. Homeowners exploring farmhouse kitchen lighting ideas often pair these earthy magnet designs with warm-toned pendant lamps and butcher-block counters for a unified country look.
4. Delightful Cupcake Creations
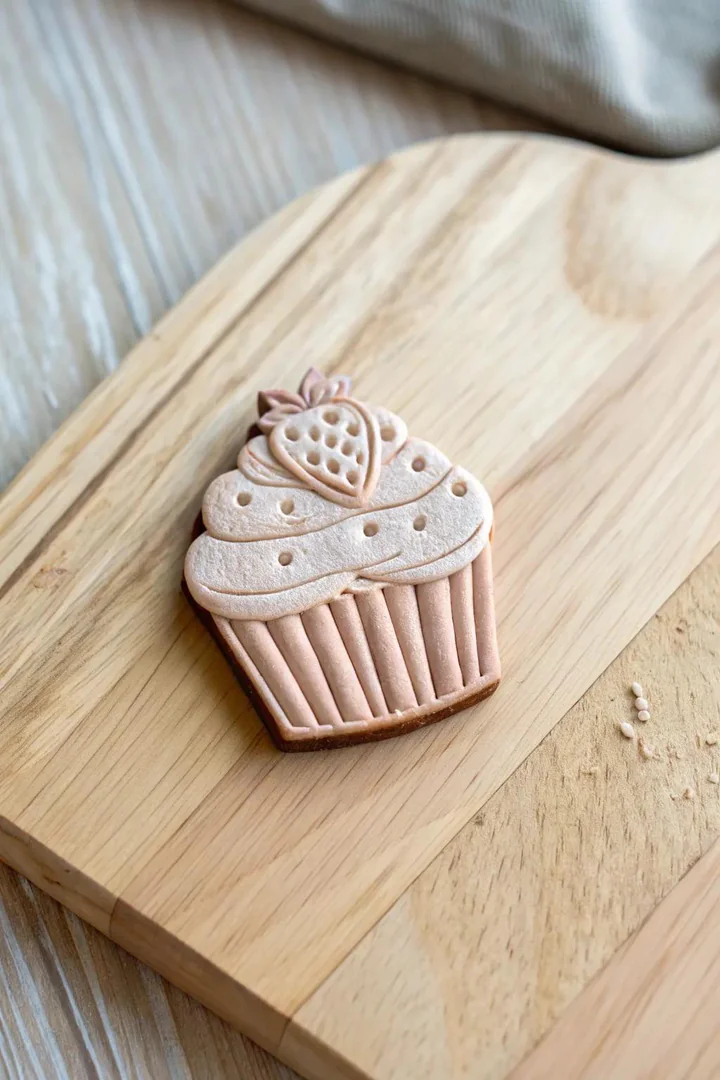
Build the cupcake wrapper from a small cylinder of tan or pastel clay, then press vertical lines around the sides with the flat edge of the blade to mimic paper pleats. Pipe the frosting by rolling a thin snake of pink, lavender, or mint clay and coiling it on top of the wrapper in a tight spiral.
Top the coil with a tiny red sphere for a cherry or a sprinkling of multicolored clay shavings for sprinkles. Cupcake magnets work as party favors, teacher gifts, or bakery-counter decorations because the shape is instantly recognizable from across a room.
5. Animated Happy Faces
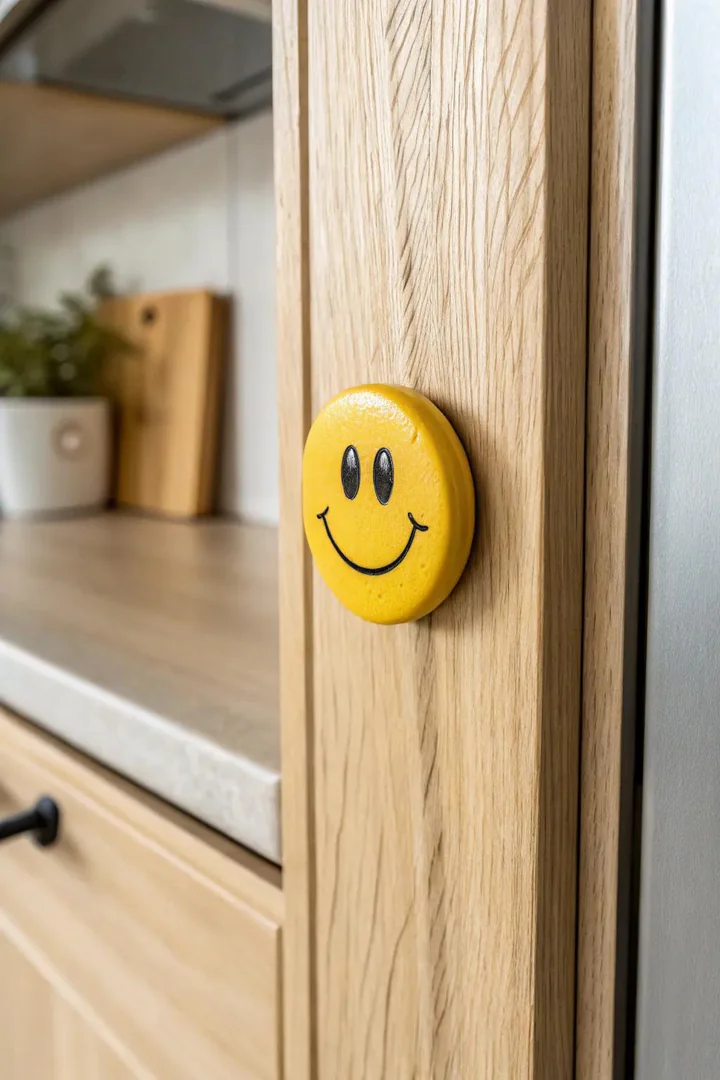
Flatten a ball of Sculpey Lemon Yellow into a disc about the size of a quarter. Press two eye holes with the rounded end of a chopstick and carve a curved smile with the blade. Bake, then fill the eyes with black acrylic paint and the smile with a fine red line.
Make a set of six with different expressions: wide grin, wink, tongue-out, heart eyes, sleepy, and surprised. Arranging the set on the refrigerator in a grid creates a mood board that family members can rearrange to match the day’s energy.
6. Custom Initials
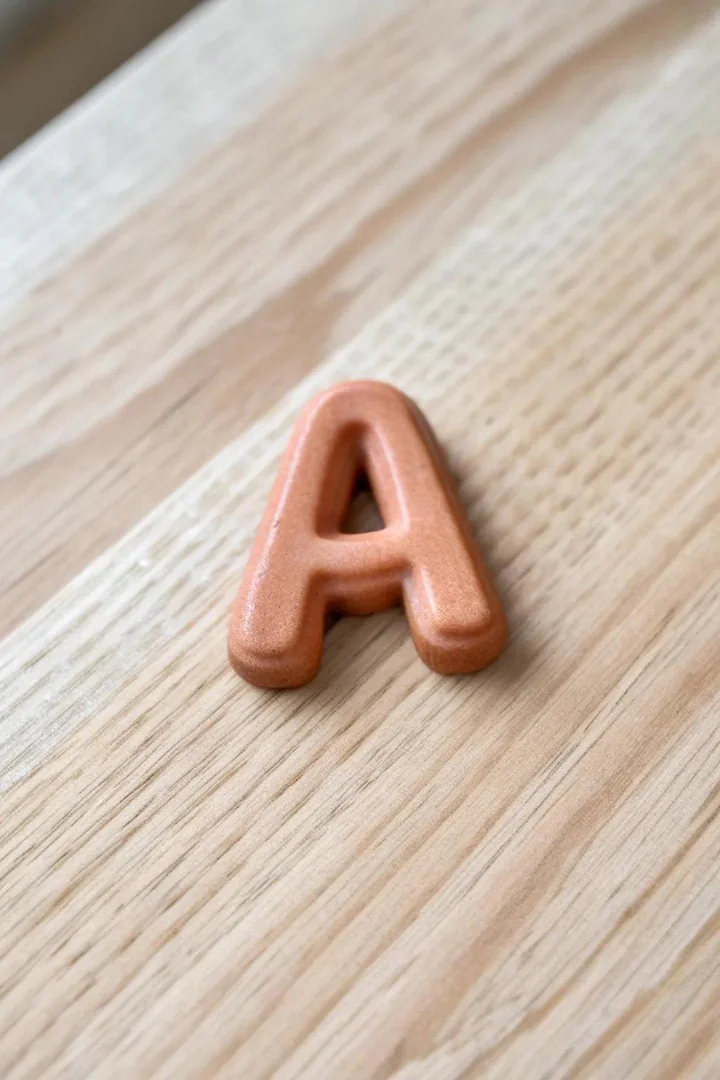
Roll a thick snake of clay and bend it into the shape of a capital letter, pressing the joints firmly so the curves hold during baking. A 2-inch tall letter in Sculpey Premo Pearl or Metallic Gold adds a polished feel that suits a modern kitchen.
Pair two initials with an ampersand for a couple’s monogram set, or spell out a short word like EAT, YUM, or HOME across three or four magnets. Personalized letter magnets make thoughtful housewarming gifts, especially when matched to the recipient’s kitchen island colors with white cabinet ideas for a coordinated color palette.
7. Small Pizza Pieces
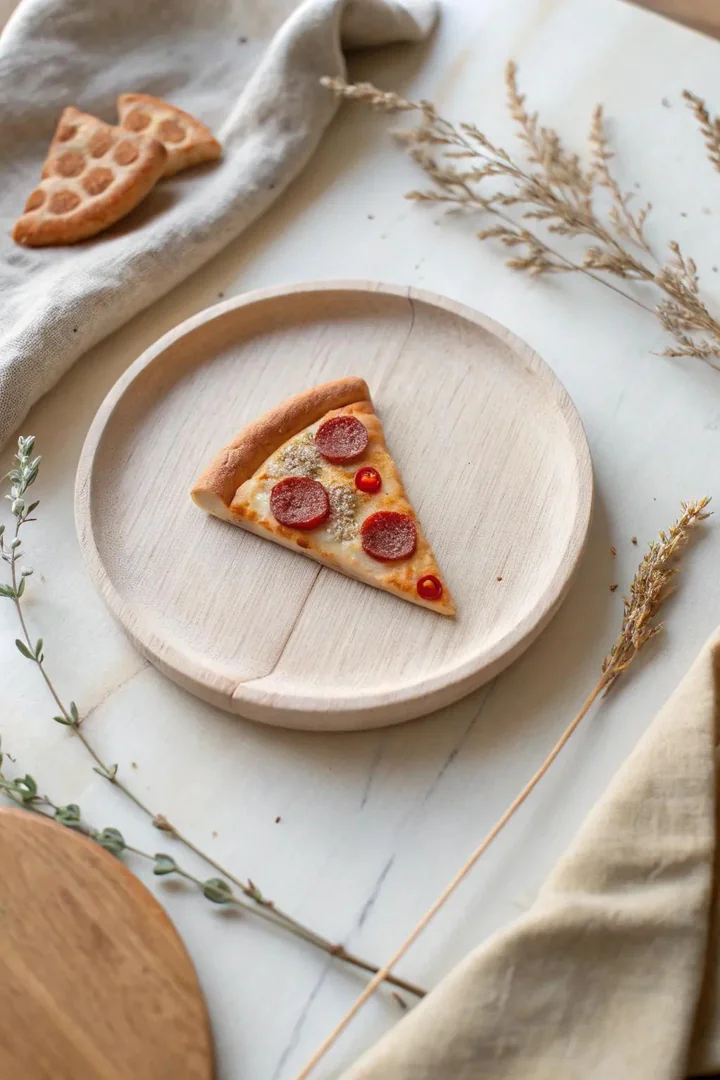
Shape a flat triangle from Sculpey Beige for the crust, layer a thin sheet of Cadmium Red for the sauce, and top with a slab of translucent Sculpey mixed with a drop of Lemon Yellow for the cheese. Add tiny circles of Cadmium Red for pepperoni, flattened green ovals for basil leaves, and small brown cubes for sausage.
The pizza slice is one of the most-requested clay magnet shapes at craft fairs because the toppings are endlessly customizable. A full eight-slice pie spread across the refrigerator door turns the fridge into a playful conversation piece.
8. Small Eggs
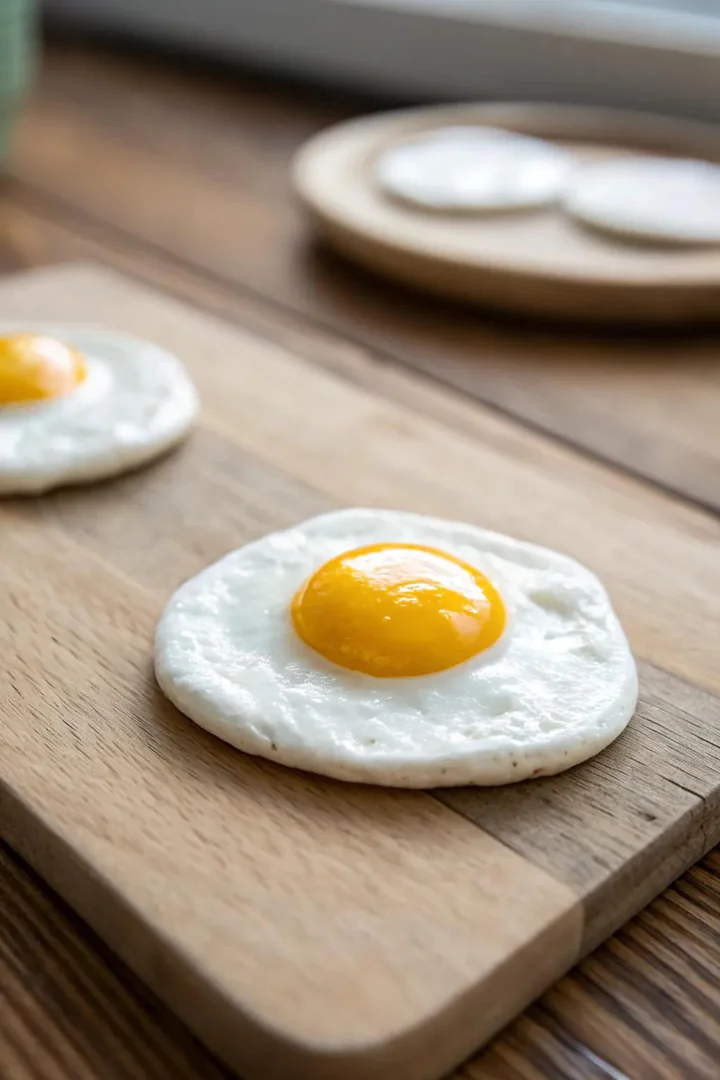
Flatten a free-form blob of white clay into an irregular circle to mimic the albumin of a fried egg. Roll a smaller ball of bright yellow clay, press it flat into a disc, and center it on the white. The yolk should sit slightly raised, so keep it thicker than the surrounding white.
After baking, apply a thin coat of gloss glaze over the yolk to give it a wet, freshly cracked shine. Egg magnets pair well with the pizza and cupcake designs for a full breakfast-to-dinner food collection on the refrigerator.
9. Retro Fruit Patterns
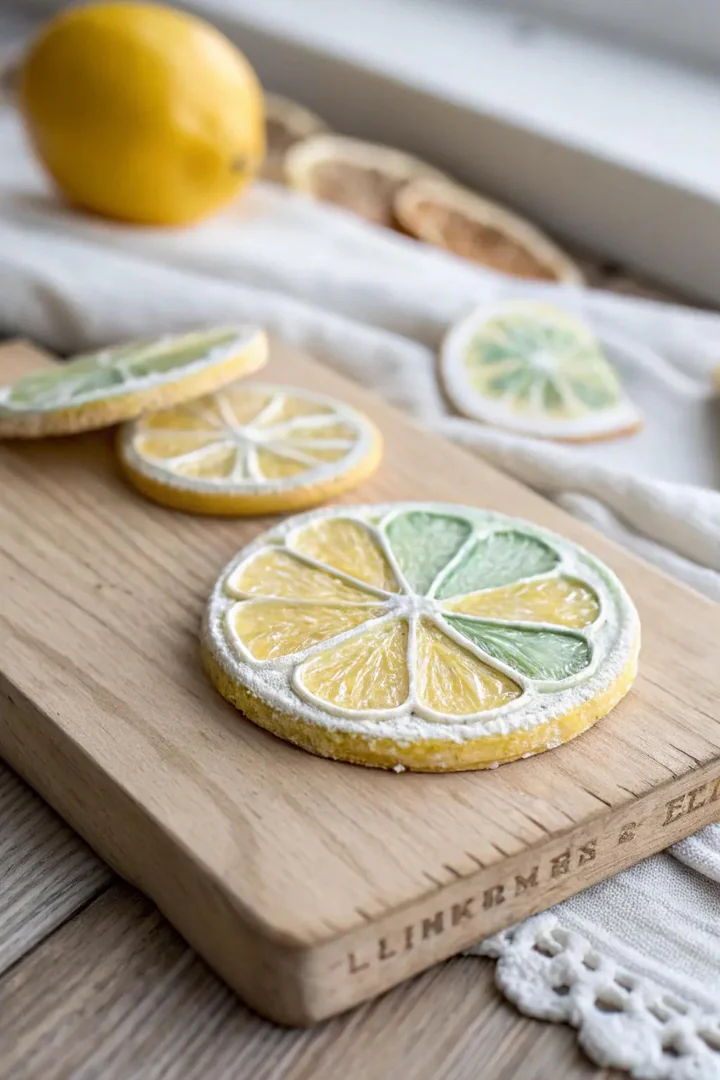
Shape a half-circle watermelon slice from Sculpey Hot Pink, add a thin rind layer in Kelly Green, and press tiny black seed dots into the pink flesh with a toothpick. A lemon wedge, an orange cross-section, and a strawberry round out a four-piece vintage fruit set.
Paint fine segment lines on the citrus slices with a size-0 brush and white acrylic after baking. Readers planning a full kitchen layout redesign can coordinate their magnet colors with the backsplash or accent wall to tie the craft project into the room’s palette.
10. Elegant Cheese Triangles
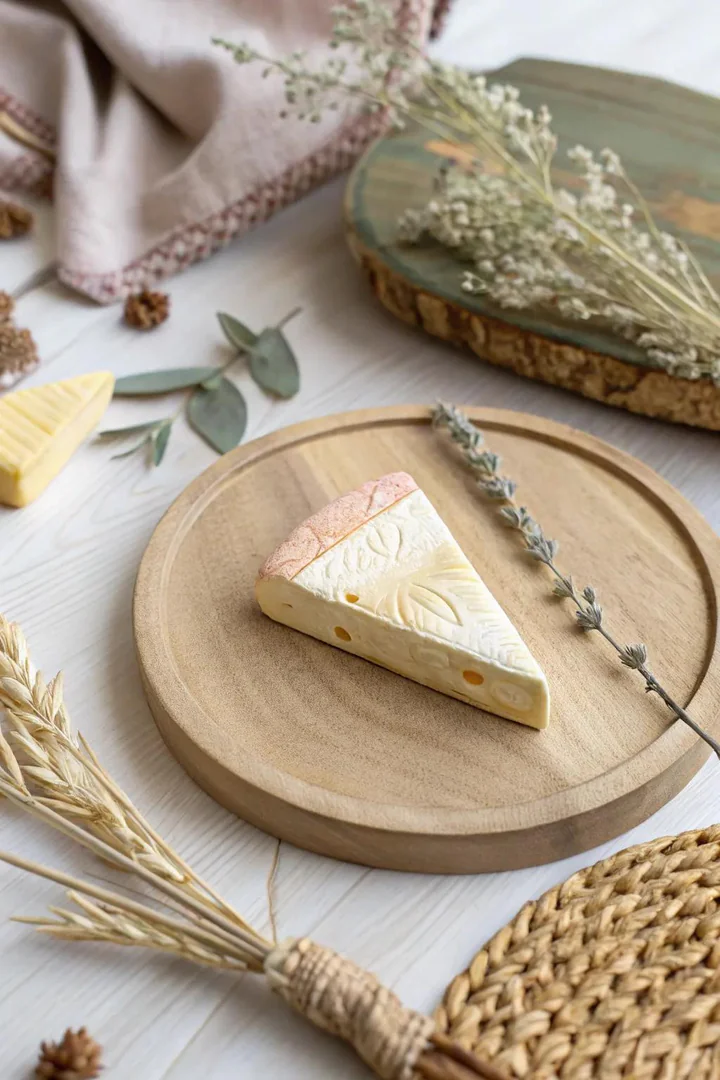
Carve a triangular wedge from a block of Sculpey Sahara, then press random holes into the surface with the ball stylus to replicate the eyes in a Swiss or Emmental cheese. Blend a thin rind strip from a darker Burnt Umber and press it along the outer edge.
A Brie wheel with a white-clay rind and a cream interior, or a blue-cheese wedge with veins of thinly rolled blue clay pressed into the cut face, adds variety to the cheese set. Three cheese magnets grouped together on the refrigerator read as a miniature charcuterie display.
11. Unexpected Sushi Rolls
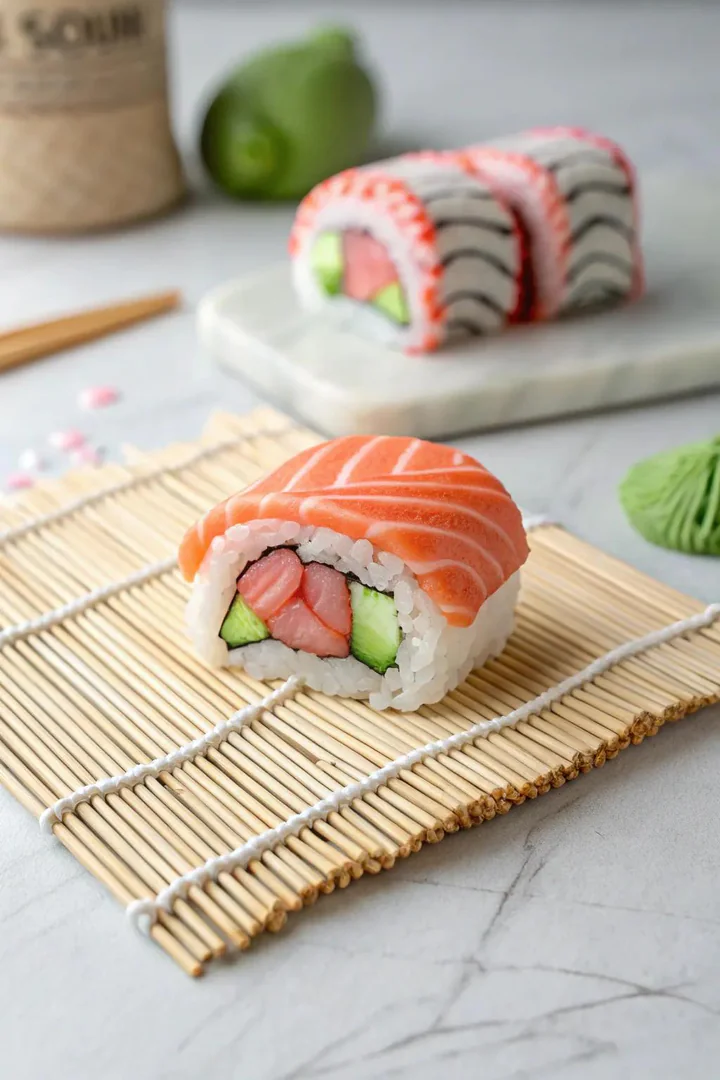
Wrap a thin sheet of black clay around a cylinder of white clay flecked with tiny translucent bits for the rice. Slice the cylinder into 1-centimeter rounds with a clean blade, then fill the center of each round with a small dot of Cadmium Red for tuna, orange for salmon, or green for avocado.
A nigiri variation uses a small oval of white rice clay topped with a flat strip of orange salmon clay, wrapped with a thin black nori band. Sushi magnets appeal to food lovers who want their kitchen island decor to reflect their personality beyond standard fruit and vegetable themes.
How to Make Clay Kitchen Magnets
1. Gather Your Supplies
Pick up a multi-pack of Sculpey III or FIMO Soft polymer clay, a set of 10mm x 2mm neodymium disc magnets from Amazon, a tube of E6000 adhesive, a smooth ceramic tile as a work surface, and a basic clay tool kit with a roller, blade, and ball stylus. A standard baking sheet lined with parchment paper serves as the curing tray.
2. Condition and Shape the Clay
Knead each color between your palms for two to three minutes until the clay feels pliable and warm. Roll small balls, flatten them, and shape your design, whether a fruit slice, an animal face, or a letter. Use the ball stylus to press eye sockets and the blade to score texture lines like rind grooves or leaf veins.
3. Bake and Attach the Magnet
Lay the shaped pieces on the parchment-lined baking sheet and cure at 275°F for 15 minutes per quarter-inch of thickness. Allow the pieces to cool completely on the tile. Apply a pea-sized drop of E6000 to the flat back of each piece, press a neodymium disc magnet into the adhesive, and let the bond cure for 24 hours before placing the magnet on the refrigerator.
Clay Types Comparison for Kitchen Magnets
| Clay Type | Curing Method | Durability | Detail Retention | Best For |
|---|---|---|---|---|
| Sculpey III | Oven (275°F) | Medium | Good | Beginners and kids |
| Sculpey Premo | Oven (275°F) | High | Excellent | Detailed designs and caning |
| FIMO Soft | Oven (230°F) | High | Excellent | Intricate shapes and jewelry |
| Air-Dry Clay (DAS) | Air (24–48 hrs) | Low-Medium | Fair | No-oven projects with kids |
| Crayola Model Magic | Air (24 hrs) | Low | Fair | Toddler-safe crafts |
Frequently Asked Questions
What type of clay works best for kitchen magnets?
Sculpey Premo and FIMO Soft hold fine detail, cure hard in a home oven, and resist chipping after baking. Both brands accept acrylic paint and clear-glaze finishes for a polished look. Air-dry options like DAS work for quick projects, but oven-cured polymer clay lasts longer on a refrigerator door that gets daily contact.
How do I attach the magnet to the clay piece?
Bake the clay shape first, then glue a 10mm neodymium disc magnet to the flat back with E6000 industrial adhesive. Press the magnet firmly and let the bond cure for 24 hours before handling. Embedding the magnet before baking risks weakening the adhesive or cracking the clay during curing.
Can kids safely make clay kitchen magnets?
Children ages five and older can shape and detail polymer clay with adult supervision. An adult should handle the oven step, the blade cutting, and the E6000 glue application. Crayola Model Magic offers a non-toxic, air-dry alternative for younger children who want to participate without heat or strong adhesives.
How thick should clay magnets be to stay durable?
Aim for a minimum thickness of 5mm (about a quarter-inch) at the thinnest point. Thinner sections, like tails or antenna tips, snap off easily during everyday use. Reinforce protruding details by blending them into the main body with a firm press rather than attaching them at a single contact point.
Do I need to seal or glaze the finished magnets?
Sealing is optional but recommended for painted details. Apply one thin coat of Sculpey Glaze or Varathane water-based polyurethane with a soft brush to protect acrylic paint from scratching. Skip the sealant on unpainted Sculpey Premo or FIMO pieces, as the cured surface is already smooth and chip-resistant on its own.
Conclusion
A set of handmade clay kitchen magnets costs less than ten dollars in materials and produces a full collection in one afternoon. Start with three or four simple shapes, like a fried egg, a pizza slice, and a smiley face, to practice conditioning, shaping, and baking before moving on to detailed designs like sushi rolls or cheese wedges.
Every finished magnet adds a small burst of personality to the refrigerator door and makes a ready-made gift for friends who appreciate handcrafted kitchen accents.

