
Deep Dive into Kitchen Ergonomics and Layout Planning: A Professional Guide
Kitchen ergonomics and layout planning determine how comfortably and efficiently a cook moves through the space during meal preparation, cooking, and cleanup. Poor ergonomics force the cook to bend, reach, twist, and walk extra steps hundreds of times per day, leading to back pain, shoulder strain, and wrist fatigue over months and years of daily kitchen use. Below is a detailed guide covering ergonomic design principles, body-zone measurements, the five standard kitchen layouts (galley, L-shaped, U-shaped, island, and peninsula), the work triangle and work-zone models, and specific product recommendations for countertop heights, cabinet placement, lighting positions, and storage configurations that reduce physical strain and maximize cooking efficiency.
Ergonomic Kitchen Design Principles

Ergonomic kitchen design starts with the cook’s body measurements, not the room’s dimensions. A 5-foot-4-inch cook and a 6-foot-2-inch cook need different countertop heights, different upper-cabinet mounting heights, and different shelf-depth configurations. The standard 36-inch countertop height (measured from the finished floor to the countertop surface) fits a cook between 5 feet 7 inches and 5 feet 10 inches. A cook shorter than 5 feet 5 inches works more comfortably at a 34-inch counter, and a cook taller than 6 feet works better at a 38-inch counter.
The elbow rule provides the exact measurement: stand upright with arms relaxed at the sides, bend the elbows to 90 degrees (forearms parallel to the floor), and measure from the bent elbow to the floor. Subtract 2 to 3 inches from that measurement. The result is the ideal countertop height for that cook’s body. A kitchen built to this measurement eliminates the constant shoulder shrug (counter too high) or back hunch (counter too low) that causes cumulative strain during 30 to 60 minutes of daily food preparation.
Beyond countertop height, ergonomic design addresses four physical zones: the prep zone (countertop, cutting board, sink), the cooking zone (range, oven, microwave), the storage zone (refrigerator, pantry, cabinets), and the cleaning zone (sink, dishwasher, trash). Each zone should contain all the tools, ingredients, and equipment needed for its function within arm’s reach (24 to 30 inches from the cook’s standing position) so the cook completes each task without walking to another part of the kitchen. Store knives, cutting boards, and colanders in the prep zone. Store pots, pans, spatulas, and oven mitts in the cooking zone. Store plates, glasses, and silverware in the cleaning zone (near the dishwasher for quick unloading). Browse additional layout approaches at simple outdoor kitchen ideas where zone-based planning applies to open-air cooking setups.
Accessible and Adaptive Kitchen Features
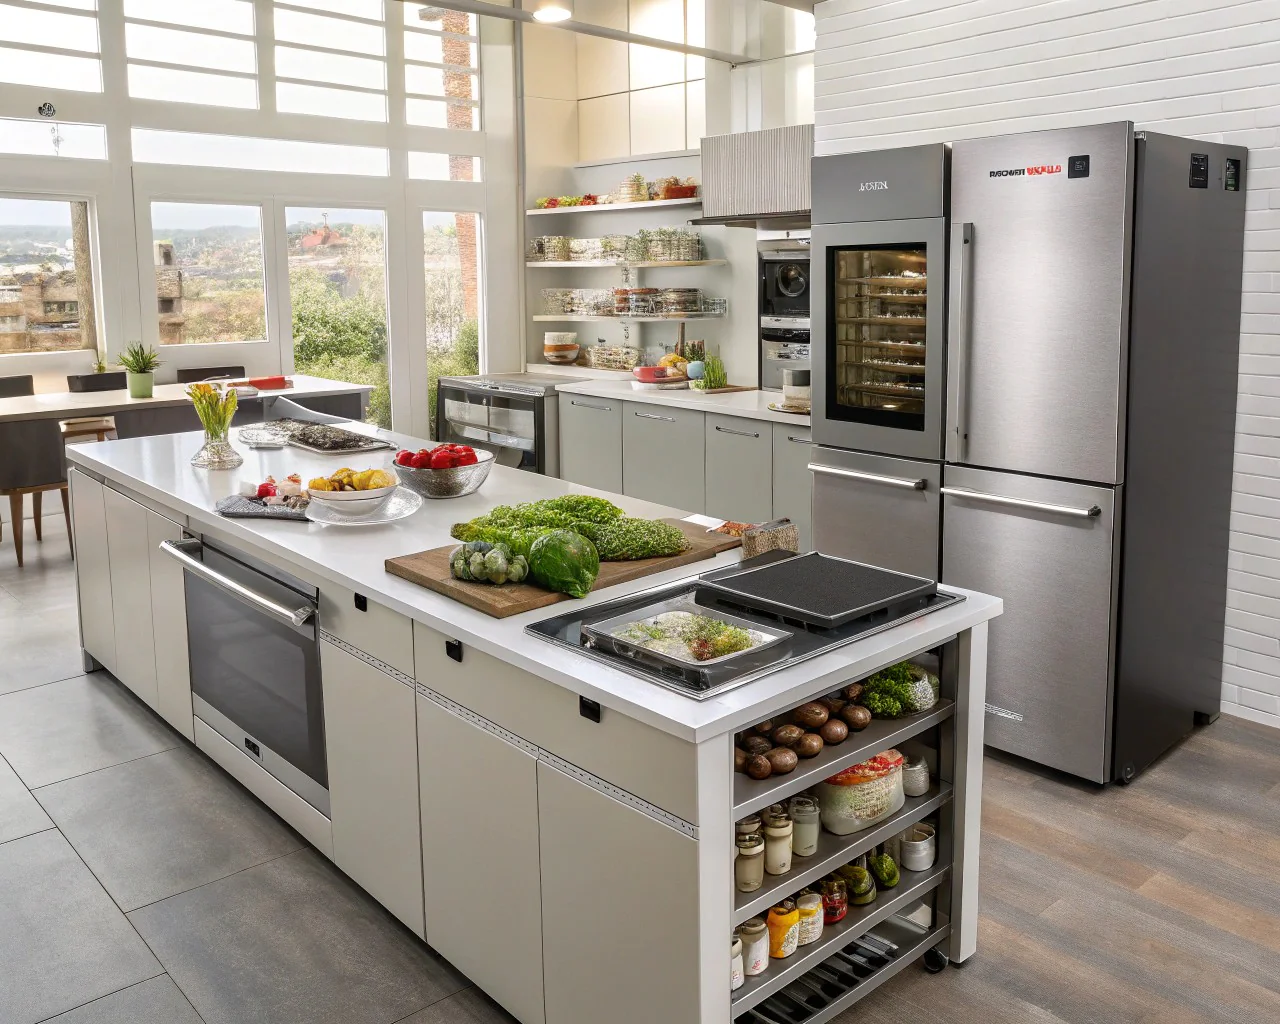
ADA-compliant and universal-design kitchens serve cooks of all ages, heights, and physical abilities. A pull-out cutting board ($30 to $60 from Rev-A-Shelf) mounted at 30 to 34 inches above the floor provides a seated prep surface for wheelchair users or cooks who need to sit during food preparation. A wall-mounted oven installed with the oven rack at countertop height (30 to 34 inches) eliminates the bending and heavy lifting required to pull a roasting pan from a below-counter oven cavity.
D-shaped cabinet pulls ($3 to $5 each from Amerock or Liberty Hardware) in a loop shape allow cooks with limited grip strength, arthritis, or hand injuries to open cabinet doors and drawers with a hooked finger or the back of the hand rather than a pinch-and-twist motion. Touch-activated faucets from Moen Arbor MotionSense ($300 to $400) or Delta Essa Touch2O ($250 to $350) turn on and off with a tap of the wrist, forearm, or the back of the hand when the cook’s hands are wet, soapy, or holding food.
Soft-close drawer slides from Blum Tandem ($20 to $30 per pair) prevent drawers from slamming (which jars the wrist and forearm on every close) and allow the cook to push a loaded drawer closed with one finger rather than forcing a heavy drawer shut. Lever-handle faucets and paddle-style light switches ($3 each, Lutron Claro paddle switch) replace twist knobs and toggle switches that require grip strength and fine motor control. A fully adaptive kitchen costs 10% to 20% more than a standard kitchen to build but serves every user (children, elderly family members, guests with mobility limitations) without modification.
Kitchen Layout Options
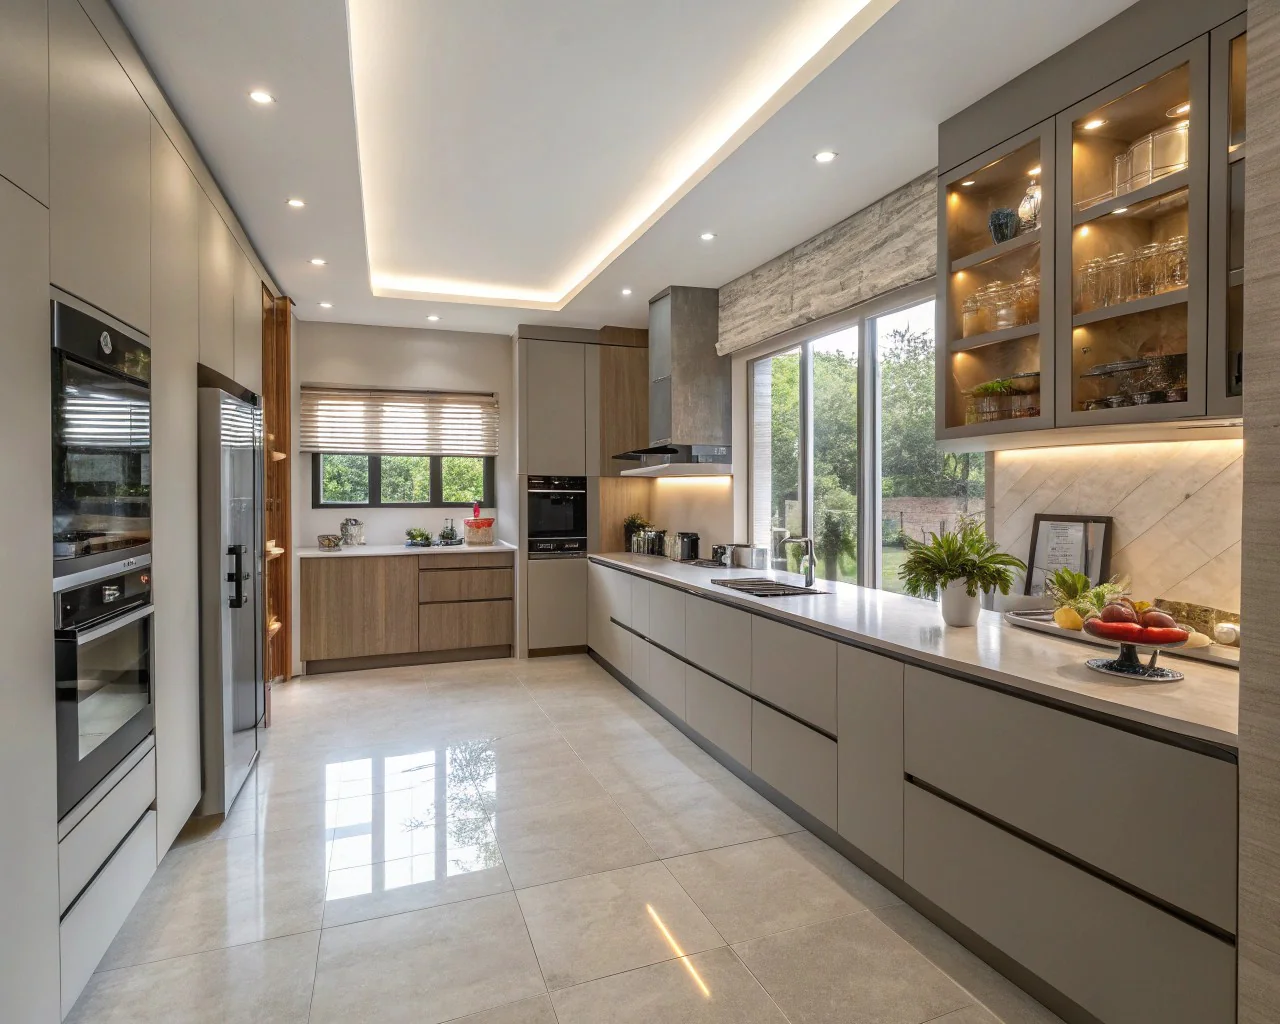
The five standard kitchen layouts each suit specific room shapes, household sizes, and cooking styles. A galley layout (two parallel walls of cabinets and appliances, 8 to 12 feet long, 4 to 6 feet apart) provides the shortest walking distances between zones but limits the kitchen to one or two cooks working simultaneously. A galley kitchen with a 42-inch aisle allows two people to pass; a 48-inch aisle allows two people to work side-by-side at opposite counters. Galley layouts appear in apartments, condos, townhomes, and older homes built before the open-floor-plan era.
An L-shaped layout (cabinets and appliances along two adjacent walls forming an L) opens one side of the kitchen to the adjacent living or dining area, creating a semi-open floor plan. The L-shape works in rooms 10 by 10 feet or larger and accommodates an island or dining table in the open quadrant. A U-shaped layout (cabinets and appliances along three walls forming a U) maximizes cabinet and counter space but encloses the cook on three sides; U-shaped kitchens need a minimum 8-foot width between opposing cabinet faces to prevent a cramped feel. See how window placement affects layout options at windowless kitchen ideas.
An island layout adds a freestanding counter (typically 4 to 8 feet long, 24 to 42 inches deep) to the center of an L-shaped or single-wall kitchen, creating additional counter space, storage, seating, and a second work zone. A 36-inch clearance on all sides of the island is the minimum for comfortable traffic flow (42 inches is preferred). A peninsula layout extends one end of an L-shaped or U-shaped counter into the room as a connected bar, creating an island-like function without requiring floor space on all four sides. Peninsulas suit kitchens where the room dimensions cannot accommodate a 36-inch clearance around a freestanding island.
The Work Triangle and Zone-Based Planning
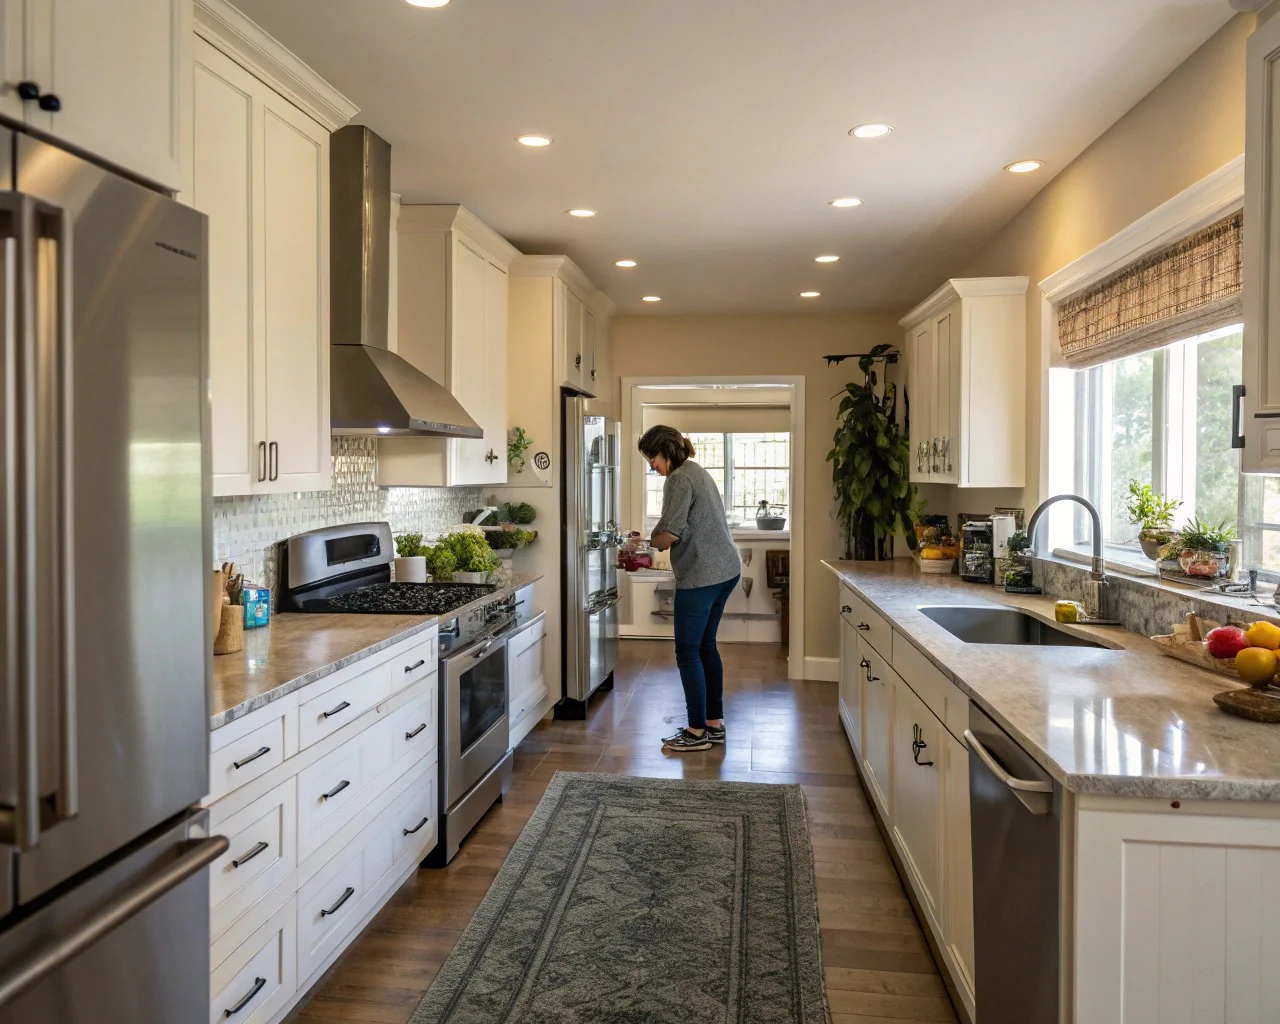
The kitchen work triangle (developed in the 1940s at the University of Illinois School of Architecture) connects the three primary work stations (sink, range, refrigerator) in a triangle. Each leg of the triangle should measure 4 to 9 feet, and the total perimeter of the triangle should fall between 13 and 26 feet. Legs shorter than 4 feet crowd the three stations together and create a kitchen where the cook cannot open the refrigerator door without blocking the range. Legs longer than 9 feet force the cook to walk excessive distances between stations, adding hundreds of extra steps per meal.
Modern kitchen design has evolved beyond the single work triangle into zone-based planning, where the kitchen is divided into 5 activity zones: consumables storage (refrigerator, pantry), non-consumables storage (dishes, glasses, cutlery), cleaning (sink, dishwasher, trash, recycling), preparation (countertop, cutting board, mixing bowls), and cooking (range, oven, microwave). Each zone groups all tools and supplies for that activity within arm’s reach. Zone-based planning works better than the single triangle for kitchens with two cooks, kitchens with an island, and kitchens larger than 150 square feet where the three-point triangle model oversimplifies the workflow.
A zone plan begins by listing every task performed in the kitchen (grocery unloading, food prep, cooking, plating, serving, eating, cleaning, trash disposal) and mapping each task to a specific counter zone and cabinet group. Store grocery bags, reusable containers, and bulk storage near the refrigerator and pantry (consumables zone). Store cutting boards, knives, mixing bowls, and measuring cups near the main countertop prep area (preparation zone). Store pots, pans, cooking utensils, oil, salt, pepper, and spices near the range (cooking zone). Store dishes, glasses, and silverware between the dishwasher and the dining area (non-consumables zone) for the shortest possible unloading path. Discover more about hardware and fixtures that support ergonomic cooking at mobile home kitchen remodel ideas.
Optimized Kitchen Zones and Daily Workflow
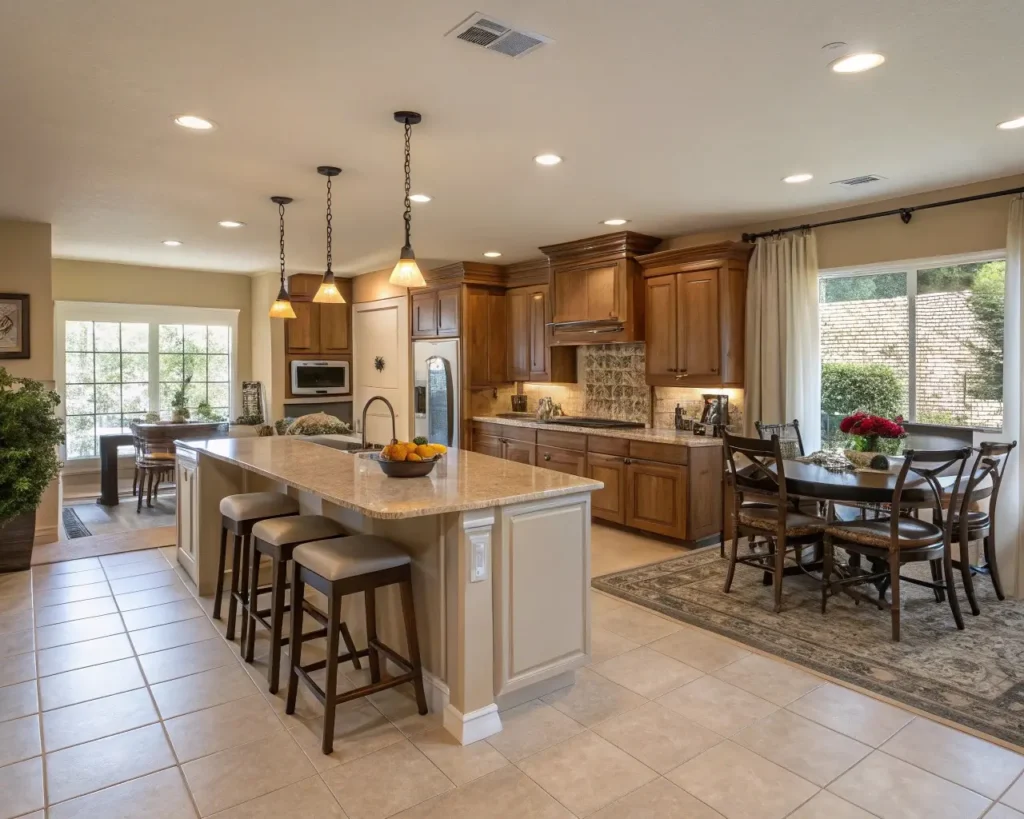
An optimized daily workflow moves the cook through the kitchen zones in a logical sequence with minimal backtracking. A typical dinner preparation follows this path: consumables zone (open refrigerator, pull ingredients) to preparation zone (wash, peel, chop, measure) to cooking zone (heat, stir, sauté, bake) to cleaning zone (rinse used prep tools, load dishwasher during cooking downtime) to non-consumables zone (plate food onto dishes from the nearest cabinet). A kitchen laid out in this sequence places the refrigerator at one end, the prep counter beside the refrigerator, the range beside the prep counter, and the sink and dishwasher at the opposite end, creating a linear or L-shaped flow.
Counter height consistency matters for workflow: a standard 36-inch counter throughout the kitchen works for most tasks, but a lowered counter section (30 to 34 inches) for baking and pastry work (where the cook presses downward onto dough and benefits from a lower surface) and a raised counter section (42 inches) for a breakfast bar or serving pass-through (where standing adults lean rather than sit) add ergonomic variety. A multi-height counter plan costs $200 to $500 more than a uniform-height counter during a remodel but serves 20+ years of daily use.
Drawer storage below the countertop (instead of traditional cabinet doors with fixed shelves) provides ergonomic access to contents without bending and reaching into a dark cabinet cavity. A full-extension drawer ($15 to $25 per pair of slides from Home Depot) pulls the entire drawer contents forward into the light and allows the cook to see and reach every item from a standing position. An ergonomic lower-cabinet zone uses drawers for the top two levels (heavy pots and pans in the bottom drawer, lighter items in the top drawer) and reserves deep fixed shelves only for oversized items (stock pots, roasting pans, small appliances) that cannot fit in a standard drawer. Visit The Designers Company for the full kitchen ergonomics and design library.
How to Measure Your Kitchen for Ergonomic Countertop Height
1. Stand in Bare Feet on the Kitchen Floor
Remove shoes and stand upright with shoulders relaxed and arms hanging naturally at the sides. Stand on the actual kitchen floor surface (not on a mat or rug) because the finished floor height affects the final measurement. A floor with 1/2-inch tile is 1/2 inch higher than a floor with vinyl sheet, which changes the effective countertop height by the same amount.
2. Bend Elbows to 90 Degrees
Bend both elbows so forearms are parallel to the floor and palms face downward. Keep upper arms relaxed against the torso. Have a second person measure from the bottom of the bent elbow (the point of the elbow, the olecranon) straight down to the floor. Record the measurement in inches.
3. Subtract 2 to 3 Inches
Subtract 2 inches from the elbow height for a prep-friendly countertop (slightly below the elbow allows downward cutting and chopping pressure without raising the shoulders). Subtract 3 inches for a baking-friendly countertop (lower surface allows rolling and kneading motions). A cook with a 40-inch elbow height works best at a 37-to-38-inch prep counter and a 37-inch baking counter. Compare the result to the standard 36-inch counter: the difference reveals whether standard cabinetry fits or whether a custom-height counter is worth the investment.
Kitchen Layout Comparison
| Layout | Min Room Size | Best For | Max Cooks | Counter Space |
|---|---|---|---|---|
| Galley | 8 x 12 ft | Apartments, small homes | 1–2 | Moderate (two walls) |
| L-Shaped | 10 x 10 ft | Open-plan homes, families | 2–3 | Moderate to high |
| U-Shaped | 10 x 12 ft | Dedicated kitchen rooms | 1–2 | High (three walls) |
| Island | 12 x 14 ft | Entertaining, large families | 2–4 | Very high |
| Peninsula | 10 x 12 ft | Semi-open plans, medium rooms | 2–3 | High |
Frequently Asked Questions
What is the ideal countertop height for most cooks?
The standard 36-inch countertop height fits cooks between 5 feet 7 inches and 5 feet 10 inches. Cooks shorter than 5 feet 5 inches benefit from a 34-inch counter, and cooks taller than 6 feet benefit from a 38-inch counter. The elbow-height-minus-2-inches formula provides the personalized measurement for any cook’s body. A multi-height kitchen (36-inch standard counter, 34-inch baking station, 42-inch bar) accommodates different tasks and body positions without compromise.
How wide should a kitchen aisle be?
A minimum 36-inch aisle width allows one person to pass between opposing counters or between a counter and an island. A 42-inch aisle allows two people to pass each other. A 48-inch aisle allows two people to work at opposite counters simultaneously (one at each counter with room to move). The National Kitchen & Bath Association (NKBA) recommends a minimum 42-inch aisle for a one-cook kitchen and 48 inches for a two-cook kitchen.
Is the kitchen work triangle still relevant?
The work triangle remains a useful starting framework for small and medium kitchens with a single cook. For larger kitchens, kitchens with islands, and households where two people cook simultaneously, zone-based planning (5 zones: consumables, non-consumables, cleaning, prep, cooking) provides a more accurate workflow model because zone planning accounts for multiple work stations, parallel tasks, and the non-linear movement patterns of multi-cook kitchens.
What is the best kitchen layout for a small space?
A galley layout (two parallel walls, 4 to 6 feet apart) uses space most efficiently in rooms under 100 square feet because every square foot serves either counter, cabinet, or appliance functions with no wasted floor area. An L-shaped layout works in rooms 100 to 150 square feet and opens one side for a small dining table or movable island. A single-wall layout (all cabinets and appliances on one wall) fits the tightest spaces (studio apartments, tiny homes, mobile homes) but provides the least counter and storage space.
How do you make a kitchen more ergonomic without a full remodel?
Five changes improve kitchen ergonomics without moving walls, plumbing, or electrical: (1) Install pull-out drawer organizers in base cabinets ($40 to $80 each) to eliminate bending and reaching into deep shelves. (2) Mount a wall-mounted magnetic knife strip at elbow height to keep knives accessible without a countertop block. (3) Add a thick anti-fatigue mat ($30 to $60 for a 20-by-39-inch GelPro mat) in front of the sink and prep areas to reduce leg and back fatigue during extended standing. (4) Replace cabinet knobs with 4-to-5-inch bar pulls that require less grip force to operate. (5) Add under-cabinet LED task lighting ($15 to $80) to eliminate shadows that cause the cook to lean forward and squint during prep work. See white kitchen countertop ideas for surface options that pair well with ergonomic counter heights.

