
Renter-Friendly Kitchen Makeover Ideas: 23 Smart Tricks No Damage
A rental kitchen can look completely different without drilling a single permanent hole or applying a drop of paint that voids the lease. Removable adhesives, peel-and-stick surfaces, and swap-ready fixtures let renters customize the space and reverse every change before the final walkthrough.
Each idea below costs under $100 and takes less than a weekend to install. Find more home design ideas at The Designers Company and start building a kitchen that feels like yours, even on a 12-month lease.
1. Replace Cabinet Hardware

Unscrew the existing knobs or pulls, drop them in a labeled zip-lock bag, and store them in the back of a drawer for move-out day. Install new pulls in matte black, brushed nickel, or leather-wrapped brass from Amerock or Liberty Hardware, matching the existing screw-hole spacing so no new drilling is required.
Measure the center-to-center distance on the old hardware before ordering replacements. A 3-inch or 3.75-inch pull covers the two most common builder-grade spacings. The swap takes 15 minutes and changes the entire face of the cabinetry.
2. Remove Cabinet Doors
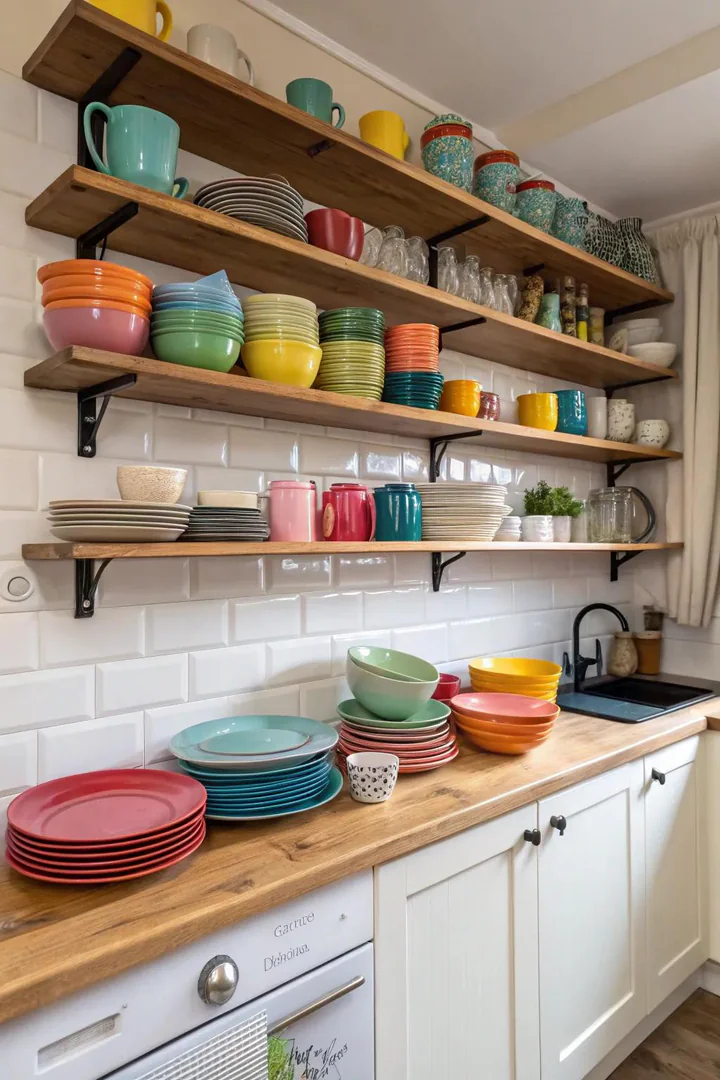
Unscrew two to four upper cabinet doors to create open shelving without buying a single bracket. Store the doors flat in a closet with the hinges and screws taped to each door so reinstallation takes minutes. Line the exposed shelves with shelf paper and arrange plates, bowls, and glasses by color and size.
Open shelving makes a small kitchen feel larger by revealing the full depth of the wall. Keep daily items on the lower shelves and display-only pieces, a ceramic vase, a stack of cookbooks, on the top shelf where they stay dust-free.
3. Line Cabinets and Drawers
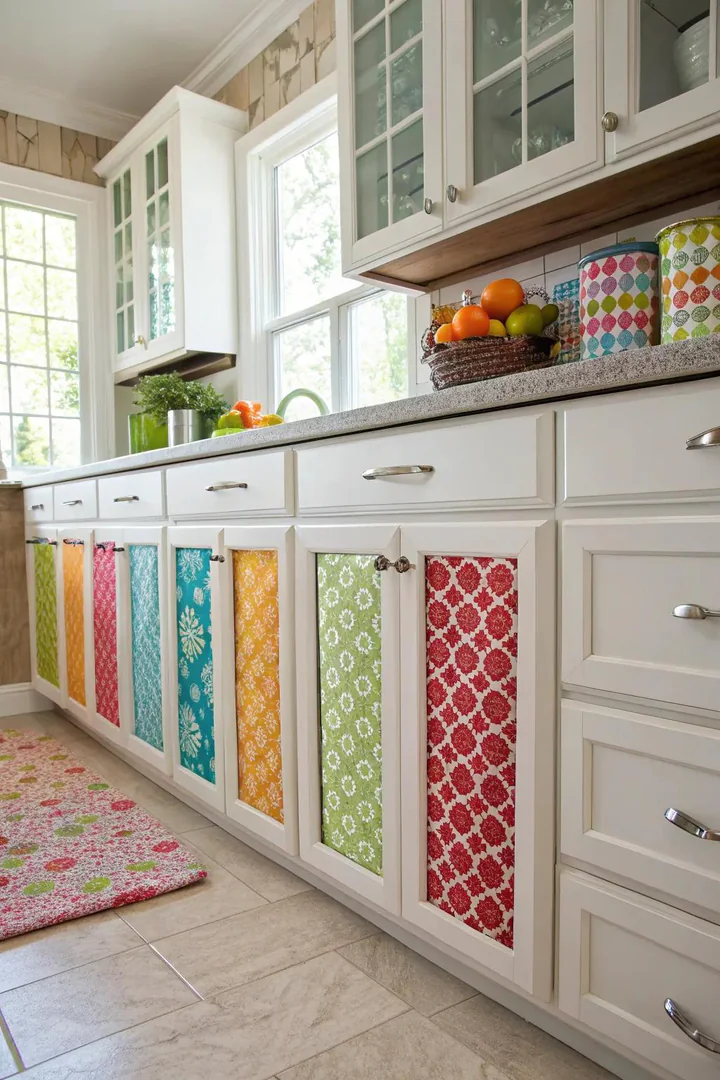
Cut EasyLiner non-adhesive shelf liner or Duck Brand smooth-top liner to fit each shelf and drawer bottom. The non-adhesive version lifts out cleanly at lease end, while the adhesive version peels off without residue from laminate and melamine surfaces.
Choose a linen texture in white or gray for a clean, modern look, or a bold geometric print for drawers that get opened dozens of times a day. Lined drawers also protect the original surface from utensil scratches, reducing the risk of security-deposit deductions.
4. Contact Paper for Countertops
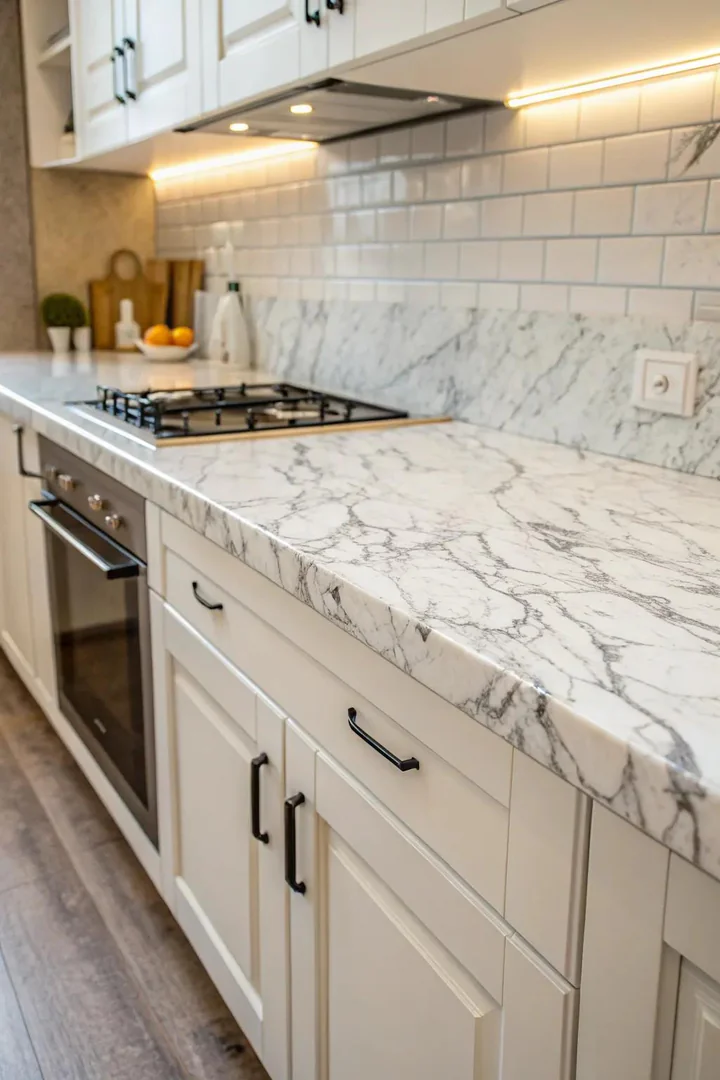
A roll of EZ Faux Decor or D-C-Fix marble-print contact paper covers a standard 25-square-foot countertop for under $30. Clean the laminate surface with isopropyl alcohol, peel the backing in 12-inch sections, and squeegee out air bubbles as you go.
Trim the edges with a sharp utility blade and tuck the paper around the front lip for a finished look. The film withstands daily wiping but not direct heat, so use trivets under hot pans and cutting boards for knife work.
5. Removable Wallpaper Accent
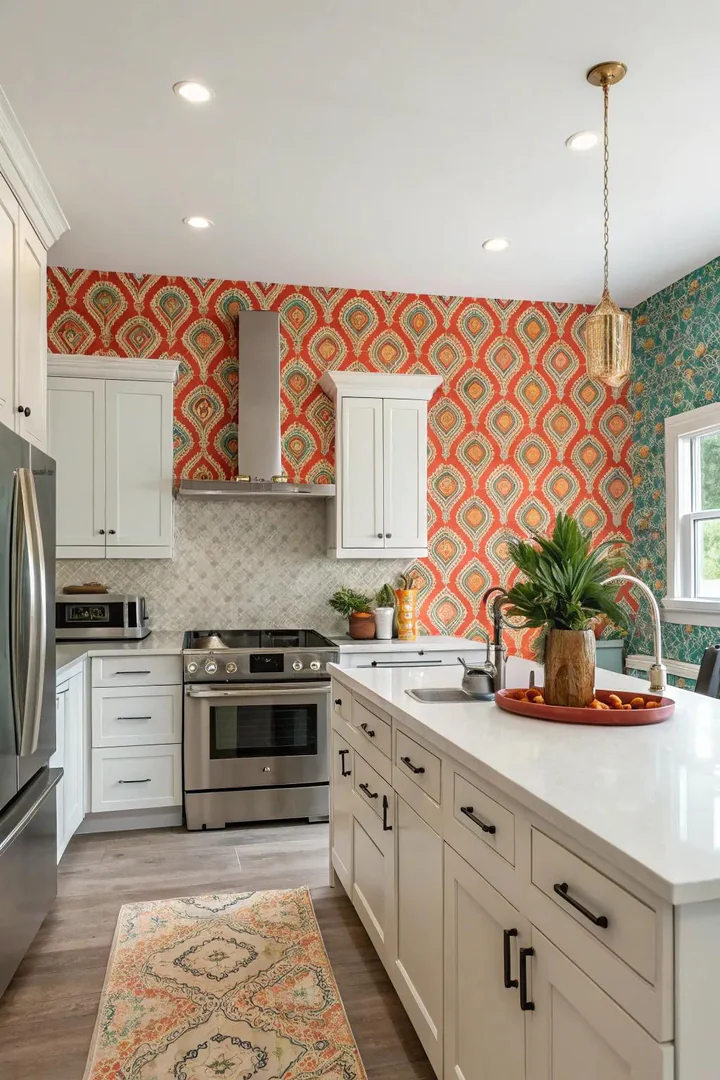
Tempaper, Chasing Paper, and Walls Need Love all sell peel-and-stick wallpaper in tile, herringbone, and subway patterns designed to mimic a real backsplash. Apply the paper from the counter edge to the bottom of the upper cabinets, smooth with a plastic squeegee, and trim around outlets with a craft knife.
Peel-and-stick wallpaper works best on smooth, painted drywall. Textured walls like orange peel or knockdown reduce adhesion, so test a small sample behind the refrigerator for 48 hours before committing to the full wall.
6. Peel-and-Stick Floor Tiles
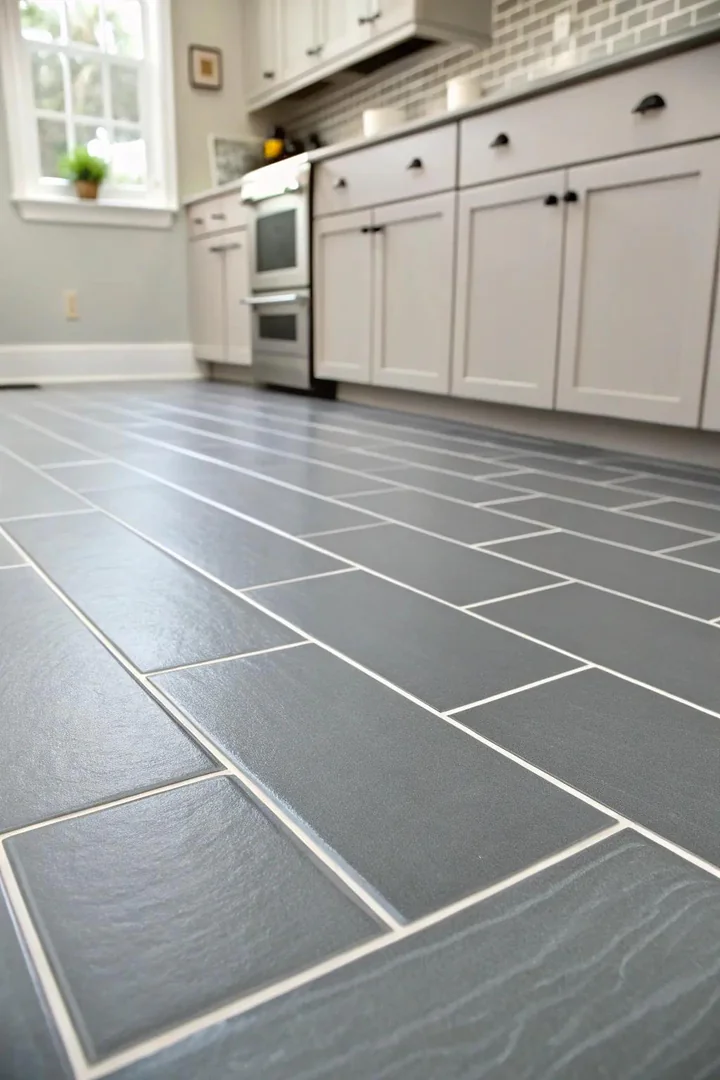
FloorPops and Achim peel-and-stick vinyl tiles lay directly over existing linoleum, tile, or laminate floors. Start at the center of the room and work outward, pressing each 12×12-inch tile firmly and trimming edge pieces with a straight blade and a metal ruler.
A black-and-white checkerboard pattern adds classic bistro character, while a wood-look plank tile in light oak modernizes a dated floor without the cost or permanence of LVP installation. Remove the tiles at move-out by lifting a corner and peeling slowly.
7. Add Open Shelves for Storage
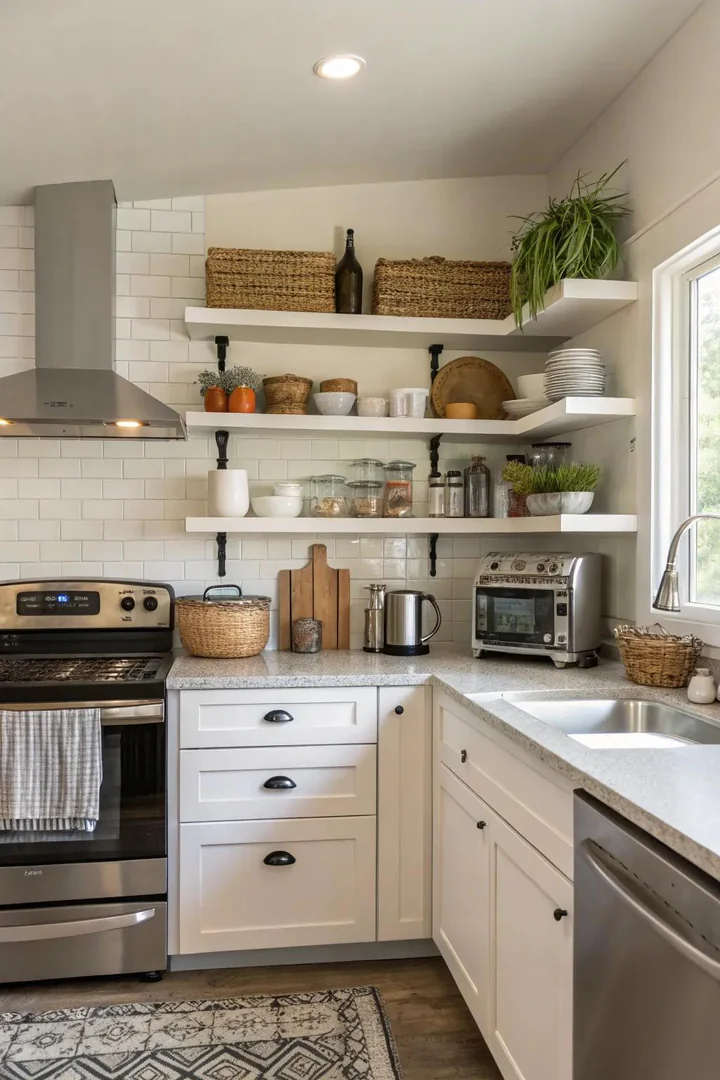
Command strip-mounted shelves from 3M hold up to 15 pounds per set and leave no holes in the drywall. Place a shelf above the counter between the upper cabinets for spice jars, or mount one beside the stove for cooking oils and a salt cellar.
For heavier loads, use a tension-rod shelf system that braces between the counter and the upper cabinet with no screws. Both options come down in seconds and leave the wall in original condition for the final inspection.
8. Swap Out Exposed Light Bulbs
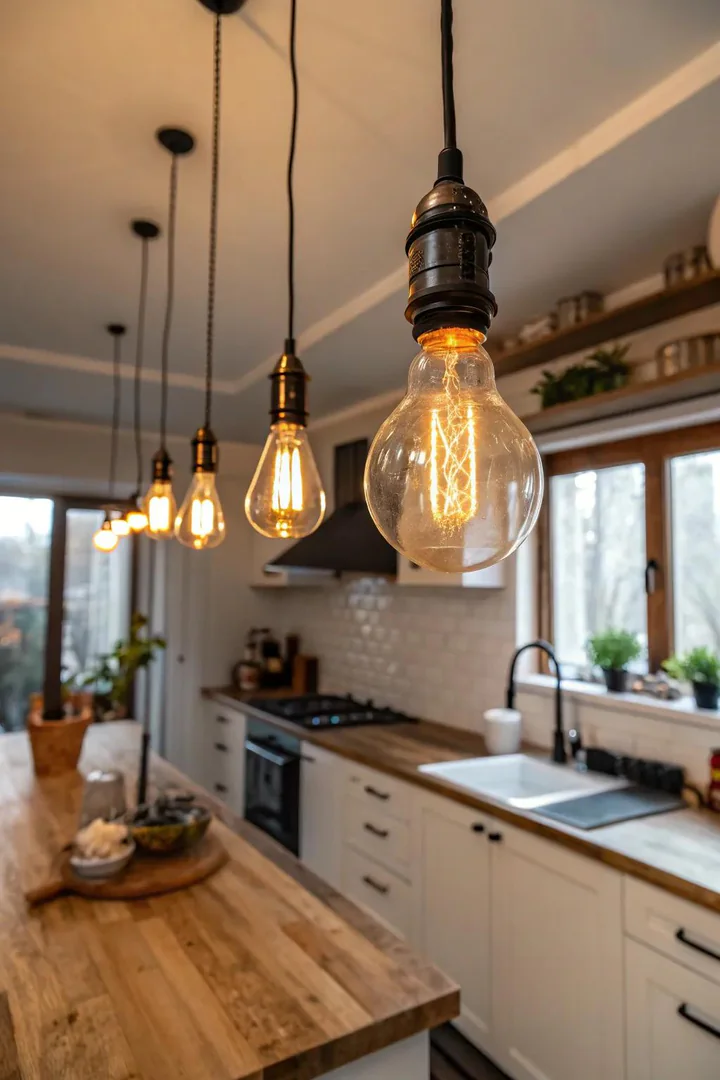
Replace the cool-white fluorescent tubes or bare CFL bulbs the landlord installed with GE Reveal or Philips Warm Glow LED bulbs rated at 2700K. The warm tone makes wood cabinets look richer and white walls feel less clinical.
Store the original bulbs in a labeled box so you can reinstall them at move-out. A $12 pack of four LED bulbs changes the entire mood of the kitchen and pays for itself in lower electricity costs within three months.
9. Add a Statement Light Shade
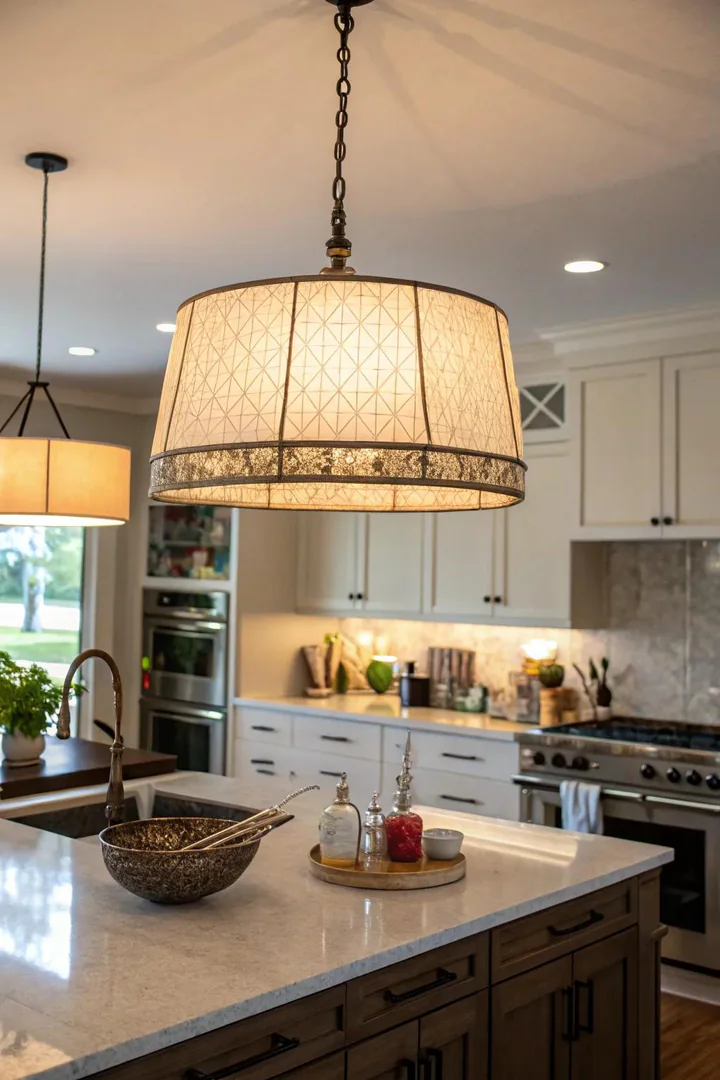
A clip-on drum shade or a barrel shade from IKEA’s HEMMA line fits over a standard ceiling socket without any wiring changes. Choose a woven rattan, linen, or bamboo shade to add texture above the dining table or the main ceiling fixture.
Renters who want more options can browse farmhouse kitchen lighting ideas for pendant styles that plug into an outlet and hang from a ceiling hook, avoiding hardwiring entirely. Pack the shade when you leave and reinstall the original fixture cover.
10. Vinyl-Wrap the Cabinets
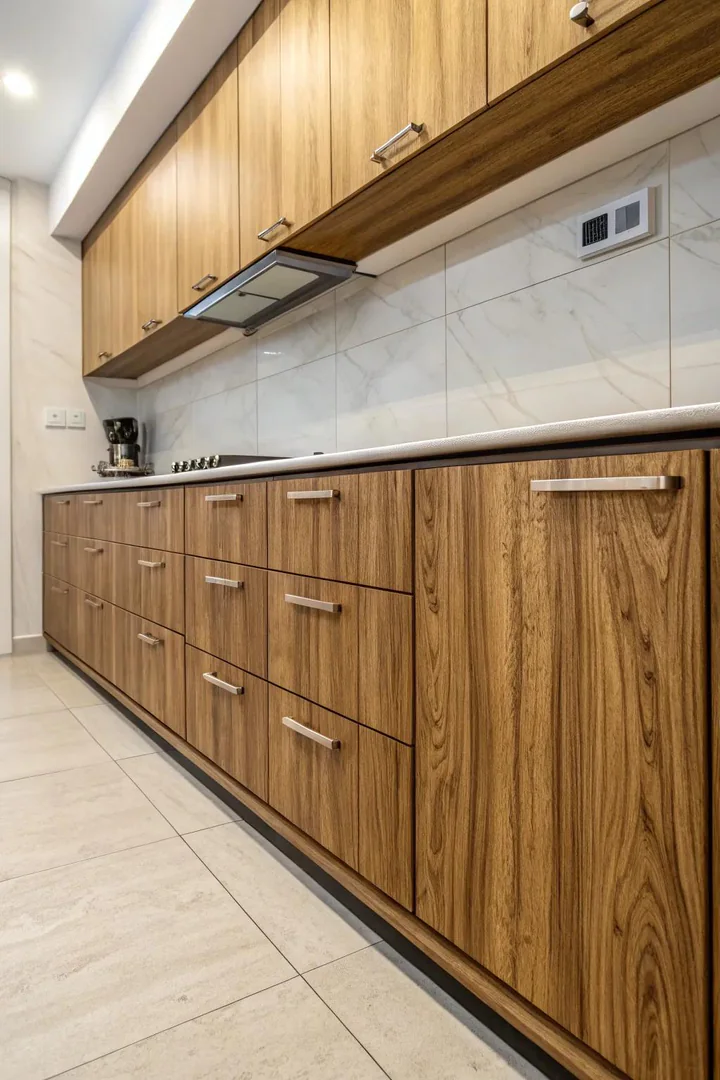
Architectural vinyl film from Belbien or 3M DI-NOC adheres to flat-panel cabinet doors and peels off without damaging the finish underneath. Clean the door surface with denatured alcohol, cut the film 1 inch larger than the face, apply with a felt-edge squeegee, and trim the excess with a blade.
Matte white, light gray, and wood-grain oak are the three most popular wraps for rental kitchens because they brighten the space and photograph well for social media or subletting listings. Remove the wrap by heating a corner with a hair dryer and peeling at a 45-degree angle.
11. Cover the Floor with a Rug
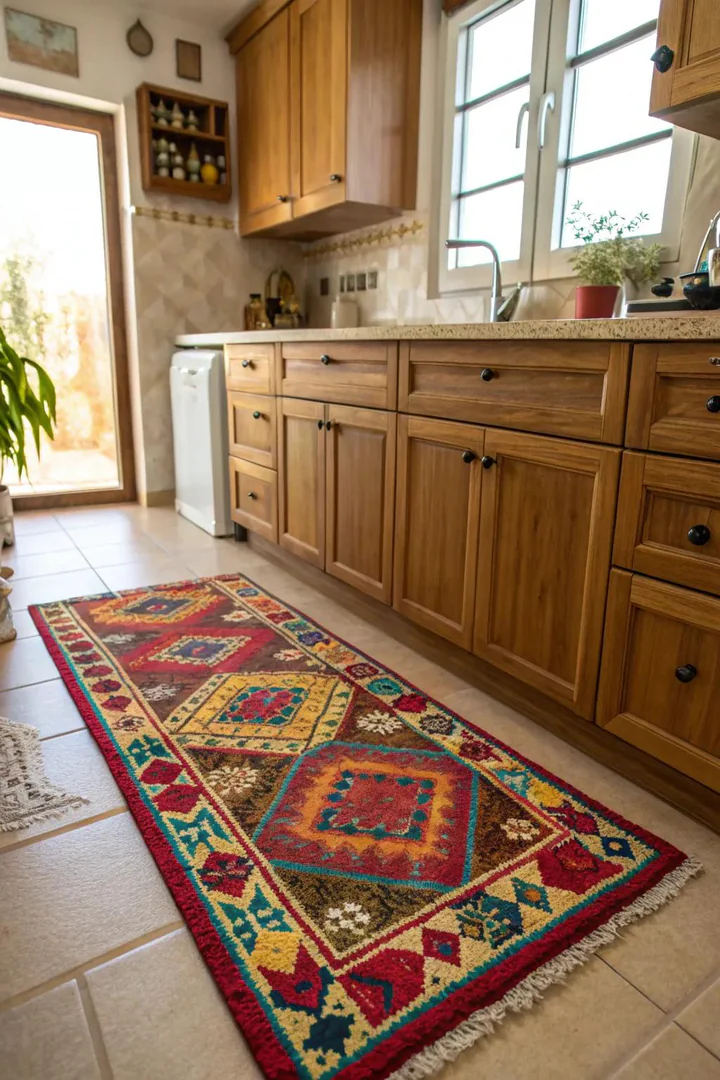
A flat-weave cotton or jute runner in front of the sink hides scratched linoleum and adds warmth underfoot. Choose a machine-washable option from Ruggable or a reversible cotton dhurrie that shakes clean over the balcony railing.
Anchor the runner with a non-slip rug pad cut to size so the edges stay flat during daily traffic. Runners in neutral tones, oatmeal, charcoal, or muted blue, blend with any cabinet color and travel to the next apartment without clashing.
12. Roll In a Kitchen Cart
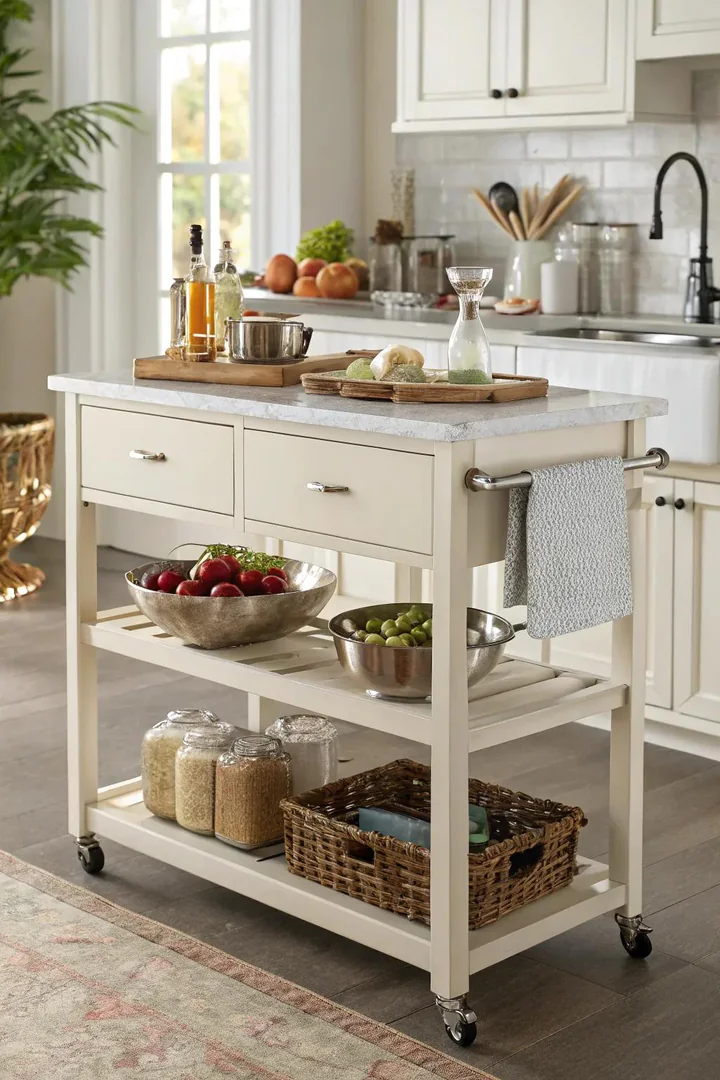
IKEA’s BEKVÄM cart and the Stylewell Glenville from Home Depot both provide a butcher-block top, a lower shelf, and locking casters for under $100. Roll the cart next to the counter during meal prep and tuck it against the wall when the kitchen needs a clear walkway.
Renters exploring compact kitchen layout ideas use a rolling cart as a temporary island that moves with them from lease to lease. Add a towel bar to the side and a magnetic knife strip to the end panel for extra utility in a few square feet.
13. Bring in Plants
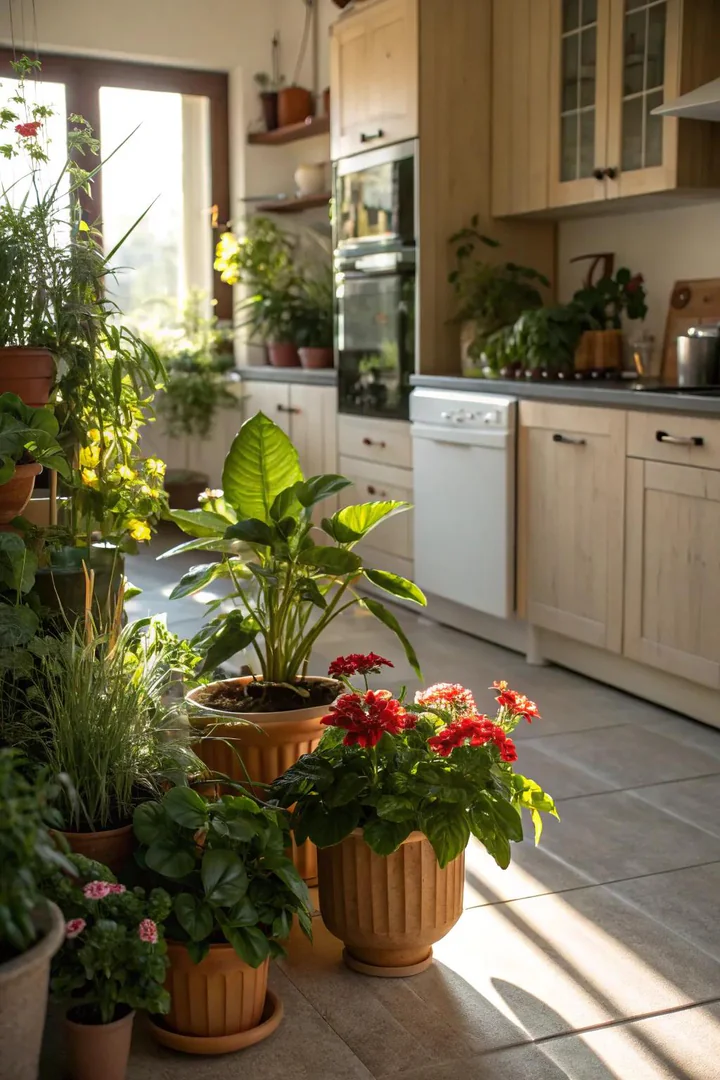
A trio of potted herbs, basil, mint, and rosemary, on the windowsill provides fresh ingredients and living color in one move. A trailing pothos or a heartleaf philodendron on top of the upper cabinets fills dead space with green without requiring direct sunlight.
Place pots on saucers to protect the landlord’s surfaces from water rings. Terracotta or white ceramic pots in uniform sizes look curated, while mismatched planters from thrift stores lean into a boho aesthetic that suits casual rental kitchens.
14. Upgrade Storage Containers
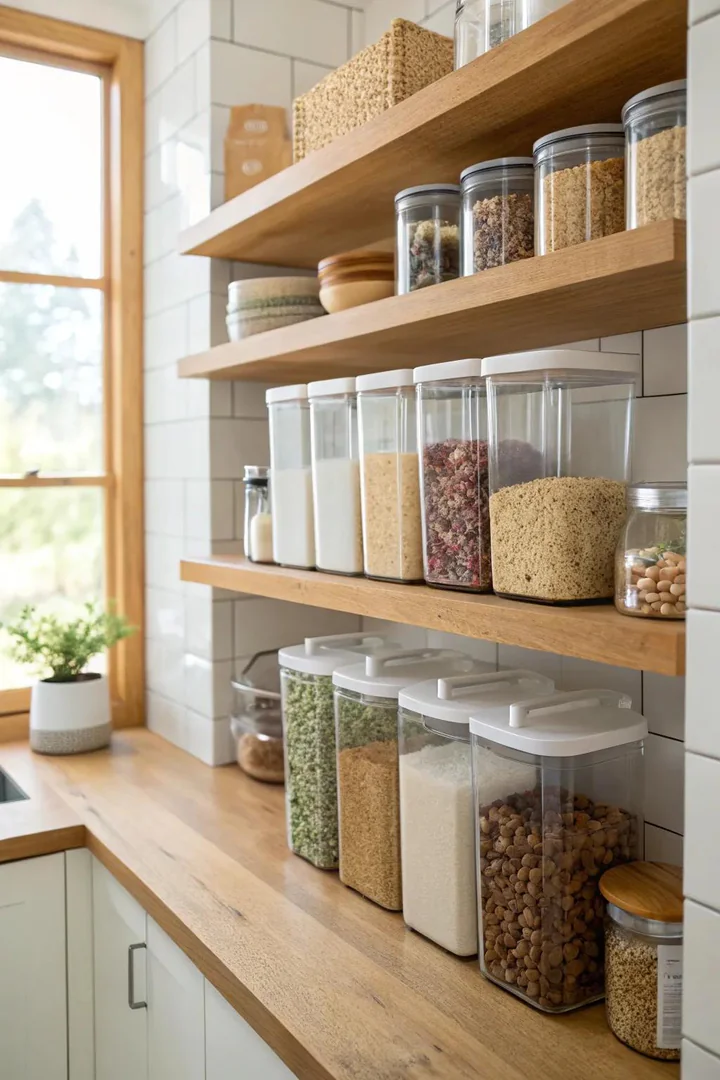
Transfer flour, sugar, rice, and pasta from branded bags into matching OXO Pop containers or glass jars with bamboo lids. Uniform containers on an open shelf or inside a glass-front cabinet turn pantry staples into a visual display.
Label each container with a chalk marker or a printed vinyl sticker from a Cricut machine. The labels prevent mix-ups and add a custom, organized look that makes the kitchen feel intentional rather than temporary.
15. Mount a Pegboard
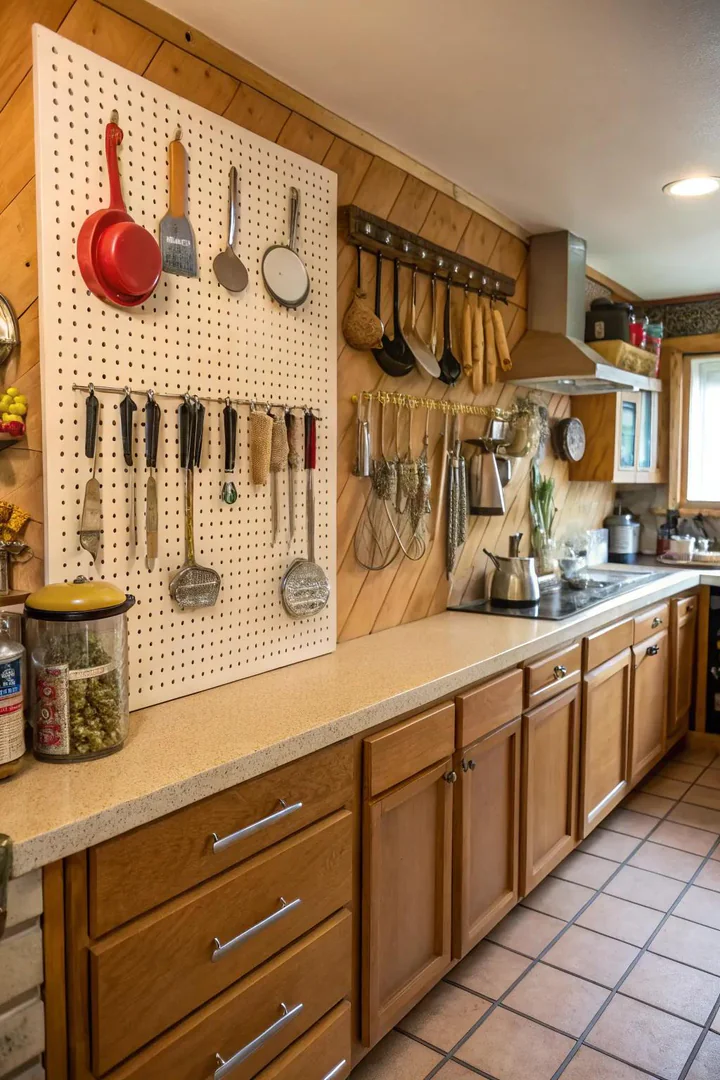
A 2×4-foot sheet of hardboard pegboard from Home Depot mounts with two Command strip picture-hanging strips rated for the board’s weight. Paint the board with a quart of Benjamin Moore or Behr sample paint in a color that matches or contrasts with the cabinets.
Hang S-hooks for mugs, dowel pegs for utensils, and small wire baskets for spice packets. The pegboard consolidates wall storage into one organized panel and comes down cleanly when the lease ends.
16. Wrap Appliances with Contact Paper
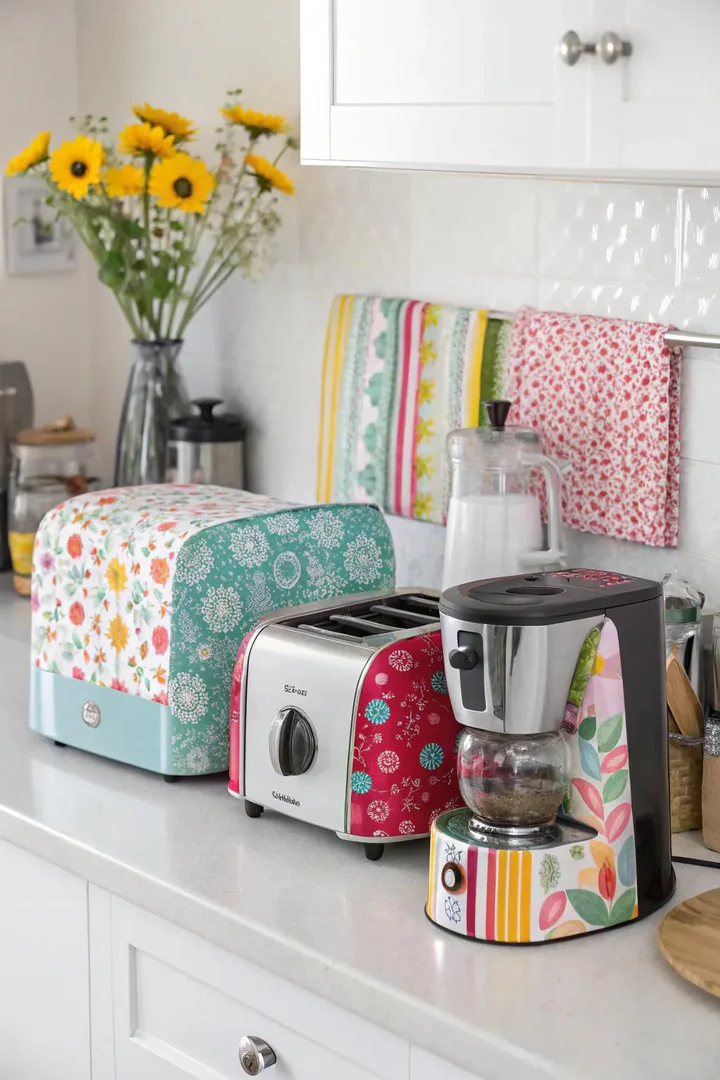
Cover the flat front of a dishwasher, a mini-fridge, or a side-by-side refrigerator with stainless-steel-print or matte-black contact paper. Clean the surface with isopropyl alcohol, peel the backing in sections, and trim around handles with a precision blade.
The wrap gives mismatched appliances a cohesive finish without the landlord’s permission or a single tool beyond a squeegee and a blade. Remove the film at move-out by heating with a hair dryer and peeling slowly from one corner.
17. Hang Plug-In Pendant Lights
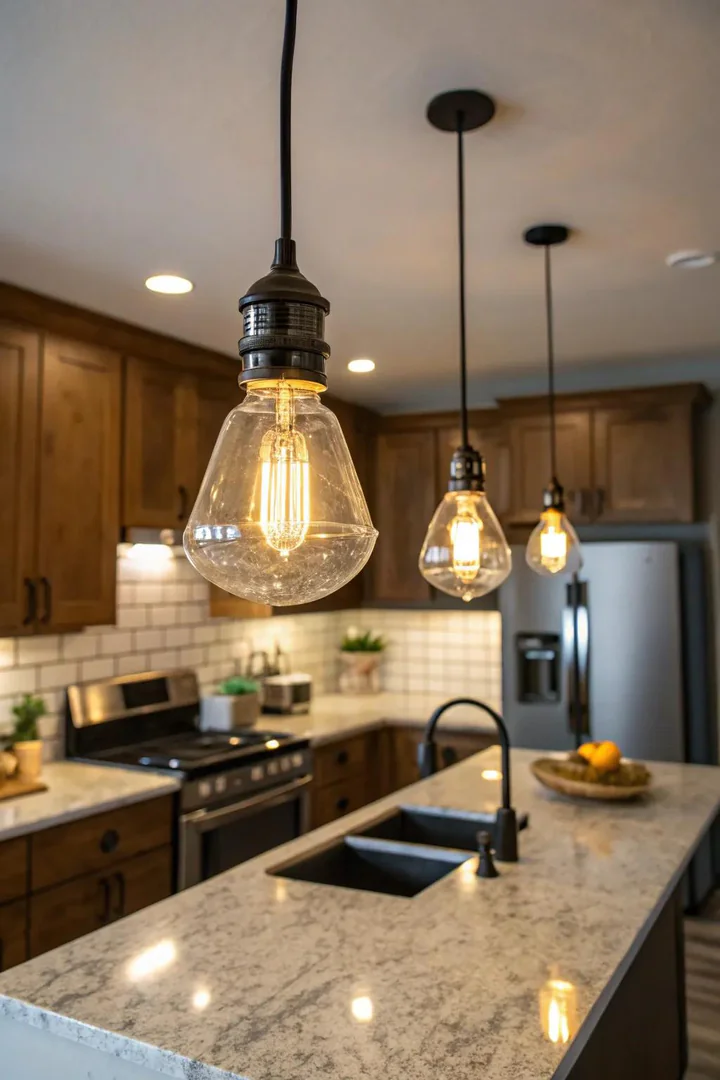
A plug-in pendant from Color Cord Company or IKEA’s HEMMA kit plugs into a wall outlet and hangs from a self-adhesive ceiling hook. Drape the cord along the ceiling and down the wall using clear cord clips stuck to the surface with adhesive strips.
Plug-in pendants let renters add task lighting above the counter or the dining table without touching the electrical box. Choose a cord color, black, white, or brass, that blends with the wall so the drape reads as intentional rather than improvised.
18. Display Cutting Boards
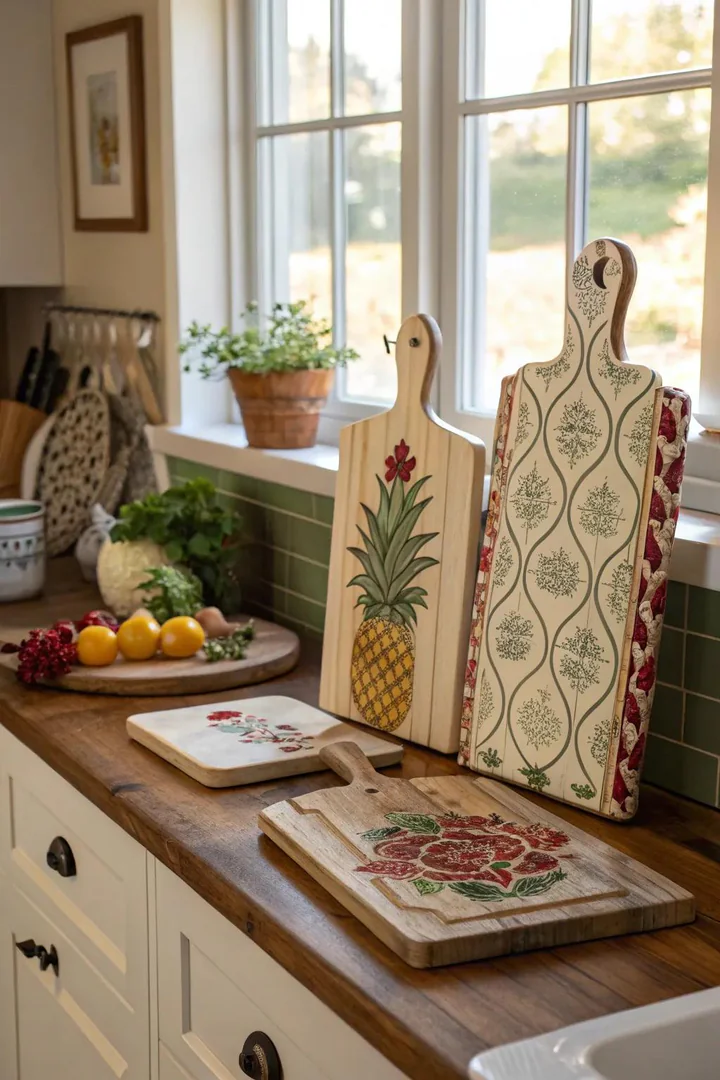
Prop two or three cutting boards of different sizes and wood species, walnut, maple, and olive wood, against the backsplash behind the stove or beside the sink. The boards add warmth and texture without hanging anything on the wall.
Rotate the boards between display and daily use so the wood stays conditioned. Oil each board with food-grade mineral oil once a month to keep the grain from drying out and cracking in the dry air that most rental kitchens produce.
19. Swap the Faucet
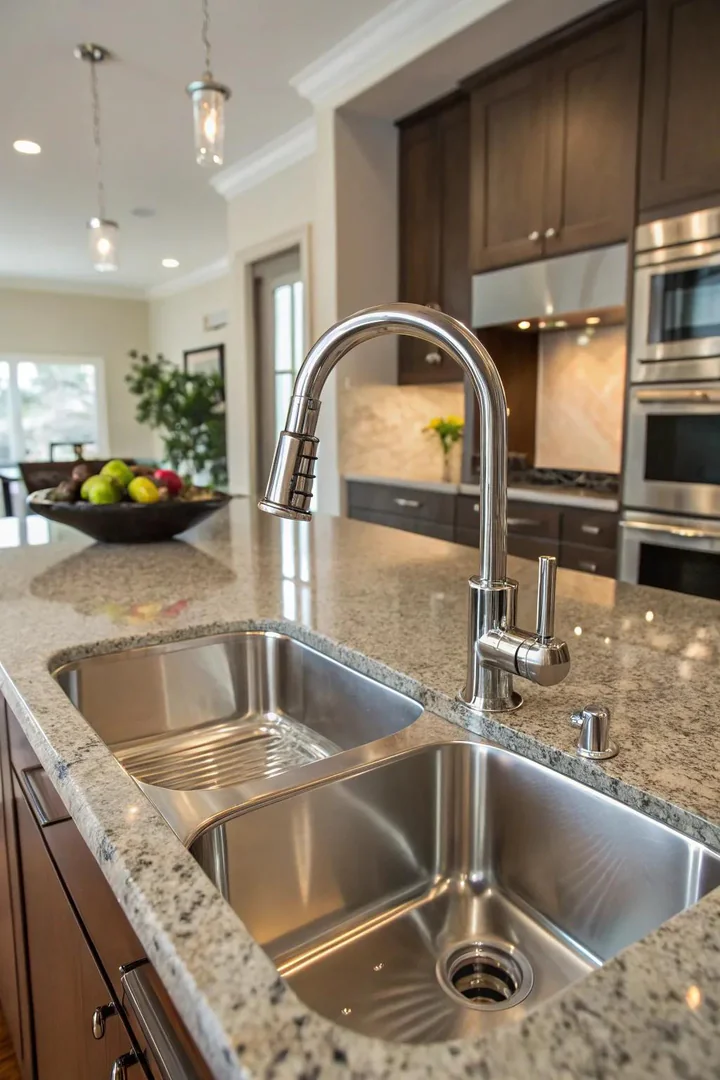
A standard kitchen faucet unscrews from the sink with a basin wrench in under 30 minutes. Install a Delta Trinsic or a Moen Align in matte black or spot-resist stainless, connect the supply lines, and store the original faucet in its box for reinstallation at move-out.
A new faucet is the single highest-visibility swap in a rental kitchen because the eye lands on it every time someone approaches the sink. Spend $120 to $180 on a name-brand single-handle pull-down model that travels to the next apartment.
20. Hang Pots and Pans
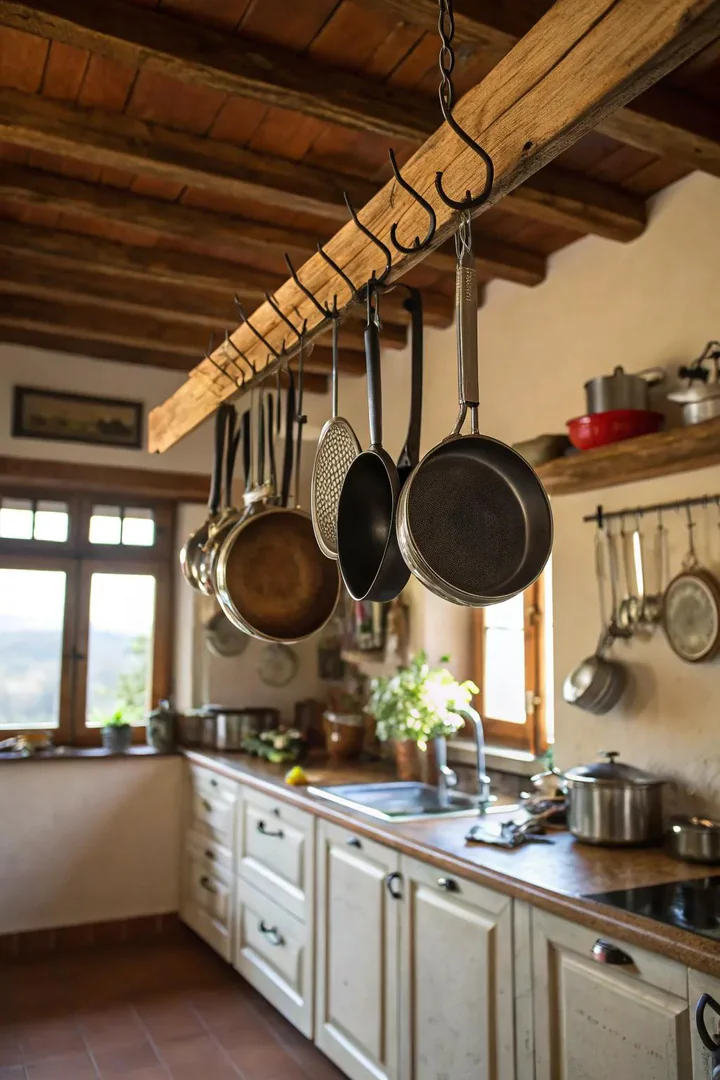
A tension-rod pot rack mounted between two walls above the island or the counter puts cookware within arm’s reach and frees up an entire cabinet. Add S-hooks rated for 10 pounds each and hang the five or six pans used most often.
An over-the-door hook rack on the inside of the pantry door works as an alternative for kitchens without a suitable wall span. Both options leave no marks and create the professional-kitchen look that copper and cast-iron cookware deserves.
21. Under-Cabinet LED Strips
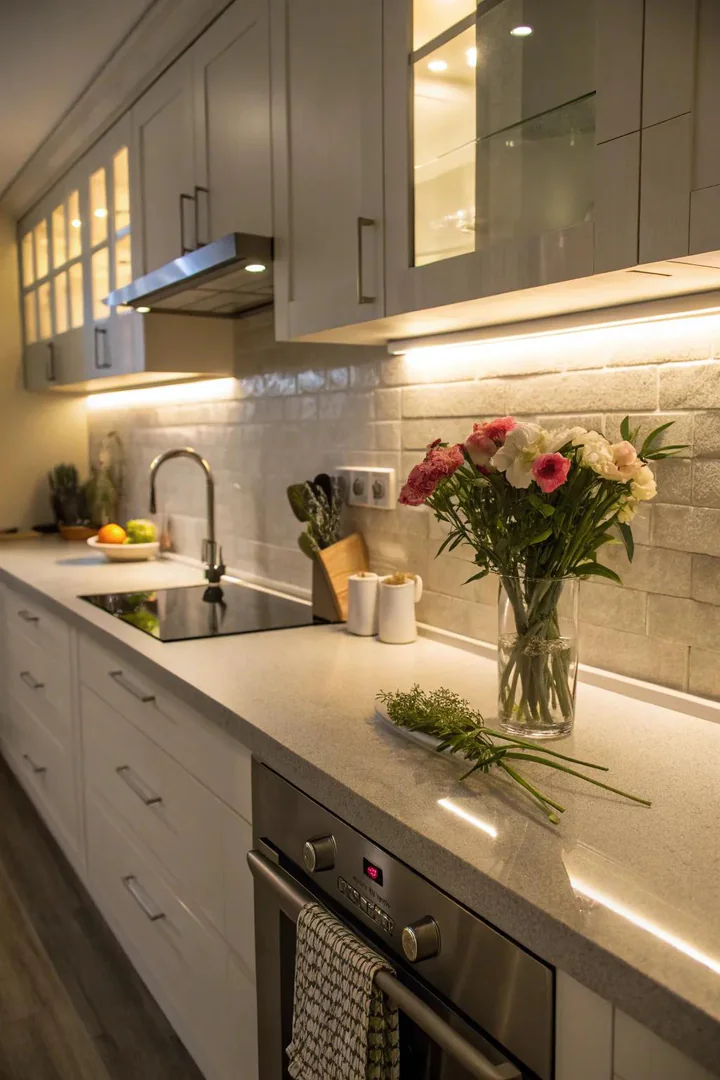
Battery-powered or USB-rechargeable LED strip lights from Brilliant Evolution or GE stick to the underside of upper cabinets with built-in adhesive backing. Peel the strip, press it along the front edge of the cabinet bottom, and activate with a touch sensor or a remote control.
Under-cabinet LEDs eliminate the counter shadows that a single overhead fixture creates and make chopping, reading recipes, and plating food far easier. Remove the strips at move-out by peeling the adhesive slowly; any residue comes off with a dab of Goo Gone.
22. Mount a Mirror
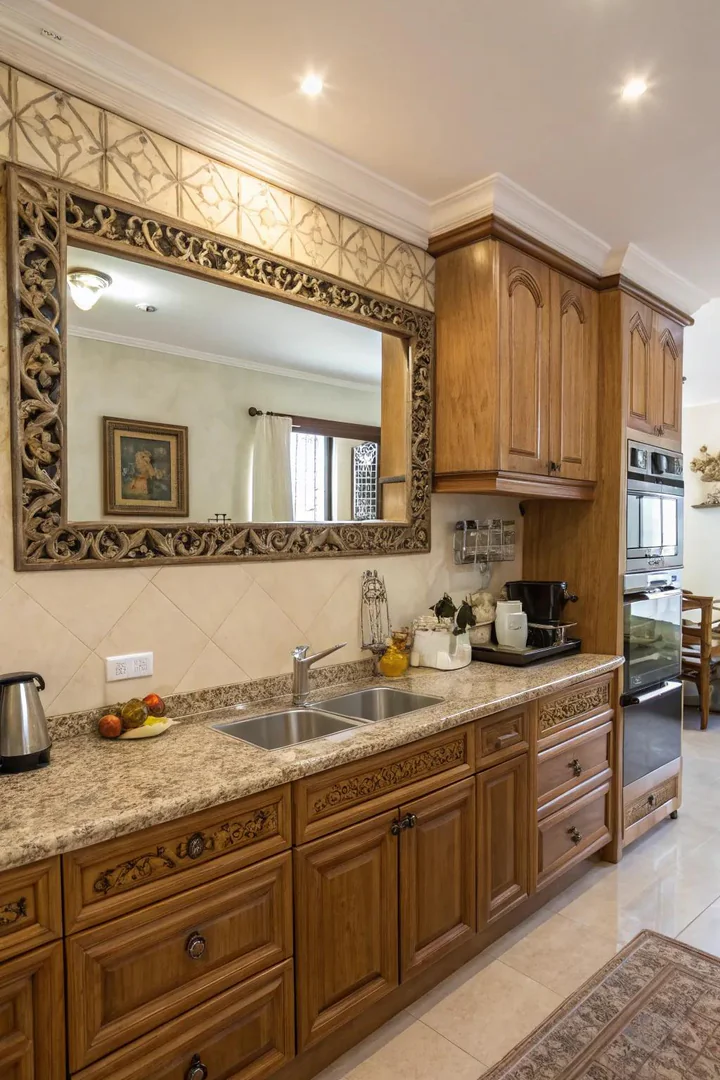
A round or arched mirror mounted on the wall opposite the window doubles the natural light in the room. Command strip picture-hanging strips hold mirrors up to 16 pounds without nails, and the adhesive releases cleanly from painted drywall.
Choose a frame finish, brass, black, or rattan, that matches the cabinet hardware or the pendant light for a coordinated look. Homeowners working on clay kitchen magnet ideas or other handmade accents can pair a thrift-store mirror with artisan touches for a collected, personal aesthetic.
23. Create an Accent Wall
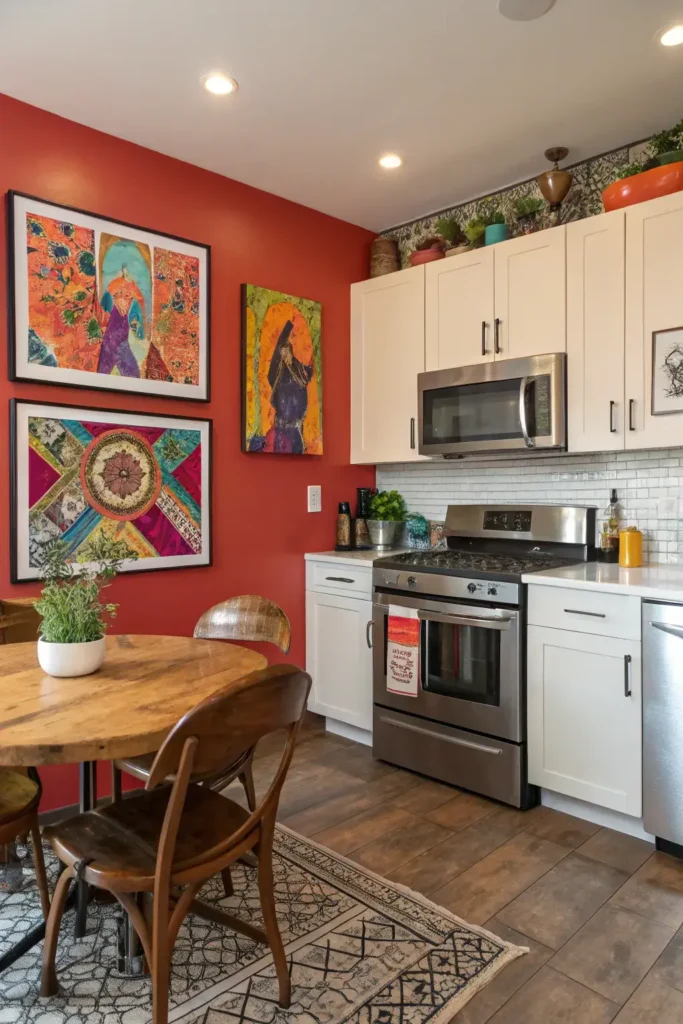
Peel-and-stick wood panels from Stikwood or Timber Walls cover a single kitchen wall with reclaimed-look planks that peel off cleanly at lease end. Choose a whitewashed or natural-oak finish and stagger the plank joints like hardwood flooring for a realistic pattern.
An accent wall behind the open shelves or opposite the window creates depth and gives the kitchen a focal point that photographs well. Pair the wood wall with simple white shelves and neutral cabinet colors to prevent the texture from overwhelming the small space.
Renter-Friendly Kitchen Upgrades at a Glance
| Upgrade | Estimated Cost | Install Time | Reversibility |
|---|---|---|---|
| Cabinet hardware swap | $20 – $60 | 15 minutes | Full |
| Contact paper countertops | $15 – $30 | 1 hour | Full |
| Peel-and-stick backsplash | $25 – $50 | 1 – 2 hours | Full |
| Peel-and-stick floor tiles | $30 – $80 | 2 – 3 hours | Full |
| Vinyl cabinet wrap | $40 – $100 | 2 – 4 hours | Full |
| Faucet swap | $120 – $180 | 30 minutes | Full (store original) |
| Under-cabinet LED strips | $15 – $30 | 10 minutes | Full |
| Plug-in pendant light | $25 – $60 | 15 minutes | Full |
| Kitchen cart | $50 – $100 | 20 minutes (assembly) | Portable |
Frequently Asked Questions
Will peel-and-stick products damage the existing surfaces?
Quality peel-and-stick films from Tempaper, EZ Faux Decor, and FloorPops peel off cleanly from smooth, painted, or laminate surfaces. Remove them slowly at a low angle and use a hair dryer on the adhesive to soften it. Textured surfaces like stucco or popcorn ceilings may lose small chips during removal, so test a sample first.
Can I change the faucet in a rental without landlord approval?
Most leases allow reversible changes that leave the unit in original condition. Swap the faucet, store the old one, and reinstall it before the final walkthrough. Ask the landlord in writing before starting if your lease has a strict no-modifications clause.
What is the fastest renter-friendly kitchen upgrade?
Replacing light bulbs takes two minutes and changes the mood of the entire room. Swapping cabinet hardware takes 15 minutes and changes the look of every cabinet face. Both cost under $30 and require no tools beyond a screwdriver.
How do I make a rental kitchen look bigger?
Mount a mirror opposite the window to double the natural light, remove upper cabinet doors to create the appearance of open shelving, and use a flat-weave runner to draw the eye through the room. Light-colored contact paper on the countertops and white vinyl wrap on dark cabinets also brighten a cramped space.
Do command strips really hold shelves in the kitchen?
3M Command strips rated for 7.5 pounds per strip hold lightweight shelves loaded with spice jars, small plants, and decorative items. For heavier loads like cookbooks or ceramic mugs, double the number of strips and distribute weight evenly across the shelf. Follow the 72-hour curing time listed on the package before loading the shelf.
Conclusion
A rental kitchen makeover works best when every upgrade can be removed in an afternoon and packed for the next apartment. Start with the changes that deliver the most visual impact per dollar: new hardware, warm light bulbs, and a contact-paper backsplash. Layer in a rolling cart, a plug-in pendant, and a runner to build the kitchen into a space that feels personal and functional without risking the security deposit.

