
Kitchen Peninsula Attached to Wall Ideas: 4 Smart Designs That Work
Kitchen peninsula attached to wall ideas solve the single biggest problem in small and medium kitchens: you want the extra counter space and seating of an island, but the kitchen floor plan does not have enough open floor area to accommodate a freestanding island with the required 42 inches of clearance on all sides. A peninsula — which attaches to a wall or to the end of a cabinet run — needs clearance on only one or two sides, making it the practical alternative to an island in galley kitchens, L-shaped kitchens, and any kitchen under 150 square feet.
The 4 peninsula designs below show how to configure a wall-attached peninsula for different kitchen styles and functions — from a classic breakfast bar with seating to an industrial prep station with commercial-grade materials. Each idea names specific materials, dimensions, and product options so you can plan your peninsula with exact specifications rather than vague inspiration.
1. Traditional Breakfast Counter

The breakfast-bar peninsula extends a countertop 12 to 15 inches beyond the base cabinets on the dining-room side, creating an overhang where bar stools fit underneath for casual seating. This configuration turns the peninsula into a dual-purpose surface — food prep on the kitchen side, eating on the dining-room side — without requiring a separate kitchen table. A 36-inch-high peninsula uses standard counter-height stools (24 inches), while a 42-inch-high raised bar uses bar-height stools (30 inches).
The classic breakfast-bar peninsula seats two to four people, depending on the peninsula’s length. Allow 24 inches of width per stool for comfortable seating spacing. A 6-foot-long peninsula seats three comfortably; an 8-foot peninsula seats four. Use the same countertop material as the rest of the kitchen (quartz, marble, or butcher block) for visual continuity, and support the overhang with hidden steel L-brackets or corbels rated for the countertop material’s weight. For countertop options and material pairings, our kitchen cabinet color ideas guide covers every combination.
2. Diverse Combination
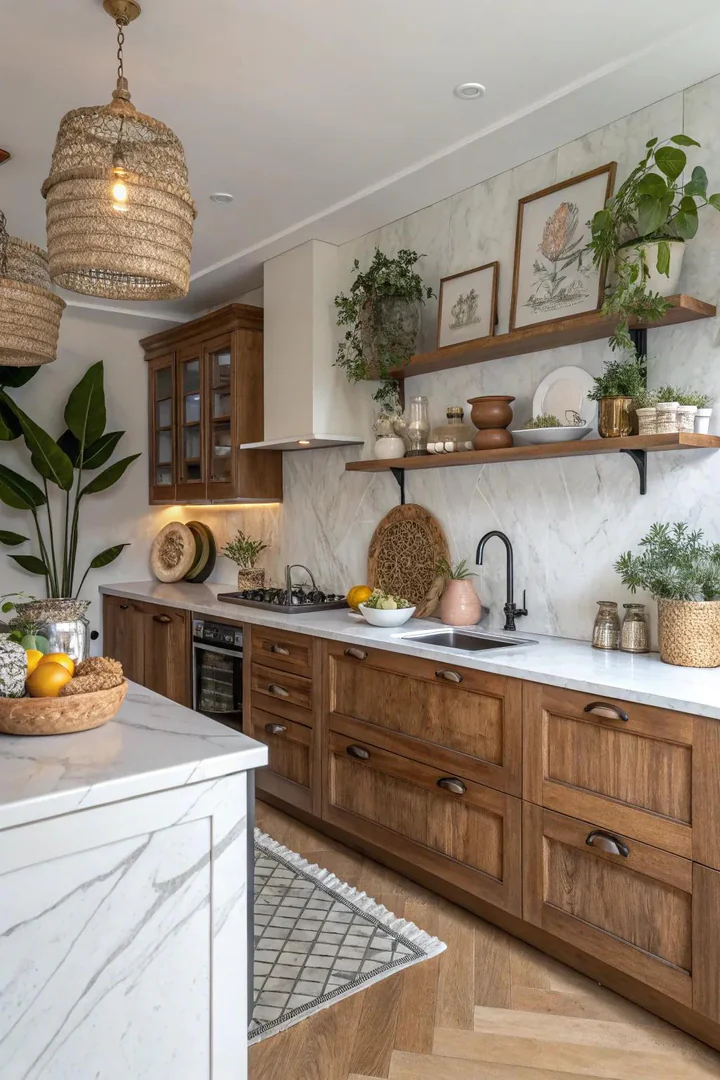
An eclectic peninsula mixes different materials and finishes on the peninsula surface, base cabinets, and dining-side face to create a collected, one-of-a-kind look. Instead of matching the peninsula’s cabinetry to the rest of the kitchen, treat the peninsula as a separate piece of furniture — different cabinet color, different countertop material, or a different base treatment (open shelving instead of closed cabinets, a reclaimed-wood face instead of painted panels).
The most successful eclectic peninsulas use one contrasting material or color that sets the peninsula apart from the perimeter cabinets. A white kitchen with a navy peninsula and a butcher block top creates a two-tone look where the peninsula reads as an independent piece of furniture. A grey-cabinet kitchen with a walnut-clad peninsula base creates a warm-cool material contrast that adds visual depth. Reclaimed barn wood, shiplap, tongue-and-groove paneling, or brick veneer on the dining-room face of the peninsula adds texture and character that painted or laminate panels cannot match. Source reclaimed wood from local salvage yards (Longleaf Lumber, Pioneer Millworks) or use new tongue-and-groove from your local lumber yard stained to look aged.
3. Industrial Periphery
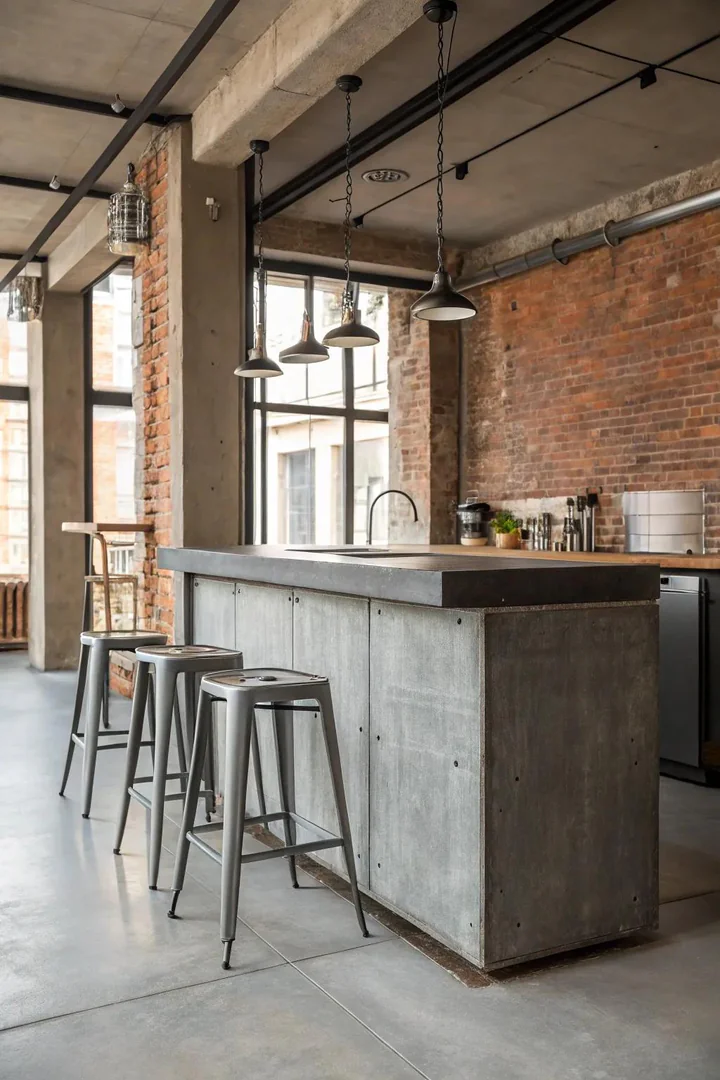
An industrial peninsula uses commercial-grade materials — a stainless steel countertop, a poured concrete surface, a steel-framed open-shelf base, or pipe-leg supports — to create a peninsula that references restaurant prep tables and factory workbenches. The industrial approach treats the peninsula as a functional work surface first and a design element second, which is why it works in loft-style kitchens and modern-industrial homes where form follows function.
A stainless steel countertop on the peninsula (custom-fabricated from 16-gauge or 14-gauge stainless by a local sheet metal shop or from companies like John Boos or Just Manufacturing) is the most durable and most hygienic peninsula surface available — it resists heat, stains, bacteria, and impact, and it wipes clean with a damp cloth. Pair the stainless surface with a black steel-frame base (fabricated by a local welder or from industrial furniture companies like Restoration Hardware or CB2) for a peninsula that looks like a professional kitchen prep table. Add a pot rack or commercial shelving above the peninsula for an additional industrial reference. For more on pairing industrial elements with residential kitchens, see our modern kitchen ideas guide.
4. Ambient Illumination
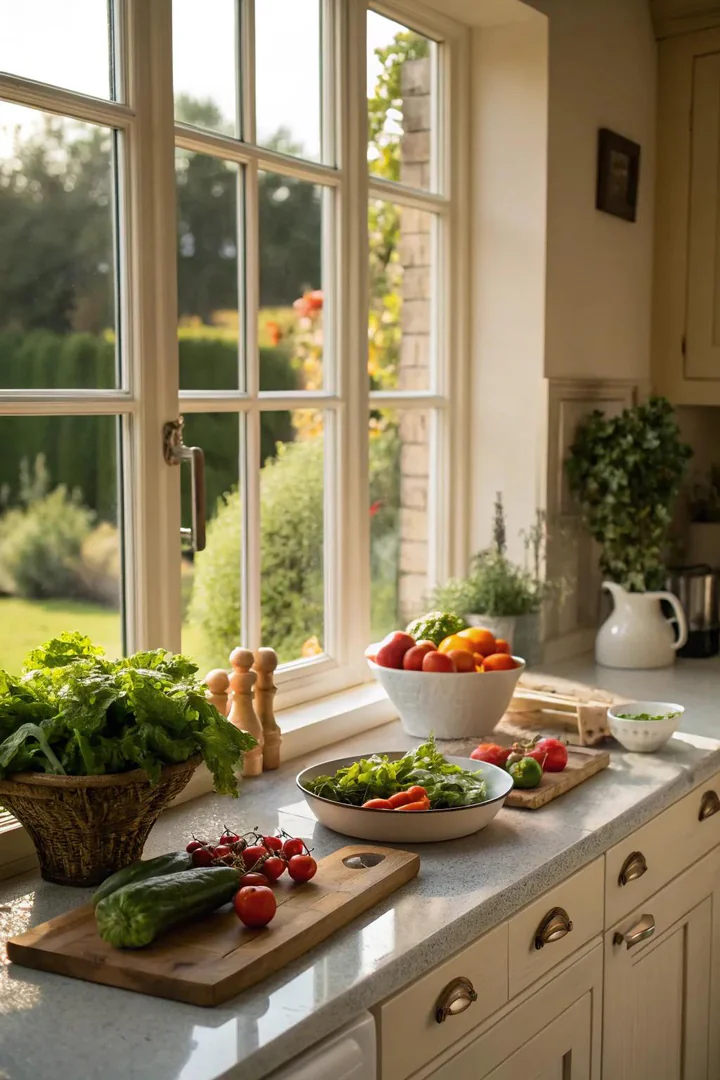
Positioning the peninsula adjacent to a window — so natural light floods the countertop surface — creates the most inviting eating and working spot in the kitchen. A peninsula perpendicular to a wall with a window means the seating side faces the light source, making breakfast at the peninsula a daily pleasure rather than a hurried chore at a dark counter. The natural light also makes the peninsula the best spot for food prep, photography, or any task that benefits from bright, even illumination.
When designing around natural light, consider the wall-attachment point: attach the peninsula to the wall between two windows so both sides receive light, or extend the peninsula from the end of a cabinet run that terminates at a window wall. If the kitchen has limited windows, compensate with pendant lights hung 30 to 36 inches above the peninsula surface — two or three pendants in a line create focused task lighting that mimics the directional quality of window light. LED pendants with a warm color temperature (2700K-3000K) produce the most flattering light for a breakfast-bar setting. For more on kitchen lighting ideas, our dedicated guide covers pendant placement, under-cabinet options, and ambient layering strategies.
How to Design a Kitchen Peninsula
Sizing and Clearance Requirements
A kitchen peninsula needs a minimum depth of 24 inches (the standard base-cabinet depth) and a minimum length of 4 feet to function as a useful prep surface. If adding seating, extend the countertop 12 to 15 inches beyond the base cabinets for a standard overhang, or 18 to 24 inches for a raised-bar overhang with more legroom. Allow 36 to 42 inches of clearance between the peninsula and the nearest opposing surface (wall, appliance, or cabinet) for comfortable walkway and work space — 42 inches is ideal in high-traffic kitchens.
Choosing the Right Countertop Material
Match the peninsula countertop to the kitchen’s perimeter countertops for a unified look, or intentionally contrast the materials (butcher block peninsula in a quartz-topped kitchen, marble peninsula in a wood-topped kitchen) for visual differentiation. If the peninsula will see heavy prep use (chopping, kneading, rolling), choose a durable, scratch-resistant material like engineered quartz (Caesarstone, Cambria, Silestone) or stainless steel. If the peninsula is primarily a eating bar, aesthetic materials like honed marble or live-edge wood work because the surface sees less cutting and impact.
Adding Electrical and Plumbing
Plan electrical outlets on the peninsula before construction — building code requires outlets on peninsulas wider than 12 inches and longer than 24 inches (NEC 210.52(C)(3)). Pop-up outlet boxes (from Lew Electric or Hubbell) mount flush in the countertop and retract when not in use, keeping the surface clean. Adding a sink or dishwasher to the peninsula requires plumbing rough-in before the floor is finished — plan this during the design phase, not during construction, to avoid costly floor demolition. For layout guidance in small kitchens, see our small kitchen storage guide.
Peninsula vs. Island Comparison
| Feature | Peninsula | Island |
|---|---|---|
| Minimum kitchen size | 80-100 sq ft | 150+ sq ft |
| Wall attachment | Required (one end) | Freestanding |
| Walkway clearance | 1-2 sides | All 4 sides (42″ min each) |
| Seating capacity | 2-4 (one side) | 2-6 (one or two sides) |
| Cost | Lower (less countertop, shared wall) | Higher (more material, all sides finished) |
| Best for | Small/medium kitchens | Large open-concept kitchens |
Common Peninsula Mistakes to Avoid
Making the peninsula too narrow. A peninsula narrower than 24 inches does not provide useful prep surface and looks like an afterthought. Build the peninsula at full base-cabinet depth (24 inches) and add an overhang for seating if desired. A narrow peninsula wastes floor space without providing enough countertop area to justify its footprint.
Blocking the work triangle. The peninsula should not obstruct the path between the sink, stove, and refrigerator — the three points of the kitchen work triangle. Position the peninsula so it extends away from the work triangle rather than cutting through it. Walk the cooking workflow (fridge to sink to stove to countertop) with the peninsula in place before finalizing the layout.
Forgetting the overhang support. A countertop overhang longer than 10 inches on quartz, marble, or granite requires structural support — hidden steel L-brackets, corbels, or a support panel underneath — to prevent cracking under weight. Bar stools push and pull against the overhang daily, so the support must handle both static load (the countertop weight) and dynamic load (people leaning on it).
Placing the peninsula in a traffic dead-end. A peninsula that creates a dead-end corridor (where you must back out to leave the kitchen) frustrates daily traffic flow. Design the peninsula so there is a clear entry and exit path — a U-shaped kitchen with a peninsula across the opening should leave at least 42 inches of open space on one side for traffic to flow through. Visit The Designers Company for more kitchen layout guides, countertop material comparisons, and design inspiration.
Frequently Asked Questions
Is a peninsula better than an island for a small kitchen?
Yes — a peninsula is almost always the better choice for kitchens under 150 square feet because it requires clearance on fewer sides and attaches to existing structure, saving floor space. An island in a small kitchen creates tight walkways (under 36 inches) that make cooking and traffic flow uncomfortable. A peninsula provides the same prep surface and seating with a smaller floor footprint.
How much does it cost to add a peninsula?
A basic peninsula addition (extending existing cabinetry with matching base cabinets and a countertop) costs $2,000-5,000 including materials and installation. A premium peninsula with a different countertop material, custom cabinetry, electrical outlets, and plumbing for a sink costs $5,000-15,000. The cost depends primarily on the countertop material choice and whether plumbing is involved — adding a sink doubles the plumbing expense.
Can I add a sink or cooktop to a peninsula?
Yes — both are common in peninsula installations. A peninsula sink requires a plumbing rough-in (supply lines and drain) before the peninsula base cabinets are installed. A peninsula cooktop requires a ventilation solution — either a downdraft vent built into the cooktop (Bosch, JennAir, and KitchenAid all make downdraft-equipped cooktops) or a ceiling-mounted range hood centered above the peninsula. A downdraft vent is simpler to install but less effective at capturing rising smoke and steam than an overhead hood.
What height should a peninsula be?
Standard counter height (36 inches) is the most functional for food prep and pairs with 24-inch counter-height stools. A raised bar height (42 inches) is better for standing-height eating and socializing and pairs with 30-inch bar-height stools. A two-level peninsula — 36 inches on the kitchen side and 42 inches on the dining side — provides both prep height and bar height but adds construction complexity and cost.
How do I light a peninsula?
Hang two or three pendant lights in a line above the peninsula, centered over the countertop surface, 30 to 36 inches above the countertop. Space pendants 24 to 30 inches apart. If pendant lights are not possible (low ceiling or no electrical access), use recessed downlights (4-inch LED cans) positioned directly above the peninsula work surface, spaced 24 inches apart.
Can I remove a wall to convert a peninsula into an island?
Possibly — but only if the wall is not load-bearing. Have a structural engineer assess the wall before removing it. If the wall is load-bearing, removing it requires a steel beam or LVL header to carry the load above, which adds $3,000-8,000 to the project cost. If the wall is non-load-bearing, removal is straightforward (drywall, studs, and patching) at a lower cost of $500-2,000.
Conclusion
A kitchen peninsula attached to the wall gives you the counter space, storage, and seating of an island without the floor-space demands — making it the right choice for small kitchens, L-shaped kitchens, and galley kitchens that cannot accommodate a freestanding island. Whether you choose a classic breakfast bar, an eclectic mixed-material design, an industrial-style prep station, or a light-filled window-side configuration, the peninsula becomes the kitchen’s social and functional center.
Start planning with your kitchen’s weakest point: if you need seating, build a breakfast bar with a 12-to-15-inch overhang. If you need prep space, build a full-depth peninsula with durable countertop material. If you need storage, add deep drawers and open shelving on the dining-room face. The peninsula’s wall attachment is its structural advantage — use it to anchor the peninsula securely and to run electrical and plumbing through the shared wall without additional floor demolition.

