
Wainscoting Ideas for Your Kitchen: 15 Styles That Transform
Wainscoting in the kitchen adds architectural detail, wall protection, and design character to the lower portion of the walls using wood paneling, MDF molding, beadboard, shiplap, or board-and-batten installed from the floor to a height of 32 to 42 inches (the traditional wainscoting “chair rail” height). Kitchen wainscoting protects drywall from chair scuffs, pet scratches, kid handprints, and splashed water while giving the room a finished, layered look that flat-painted walls cannot achieve. Below are 15 wainscoting kitchen designs with specific panel styles, materials, paint colors, and installation methods, followed by a how-to guide, a comparison table, and FAQs on cost, height, and maintenance.
1. Framed Gallery Wall Above Wainscoting

Installing wainscoting on the lower third of the kitchen wall (32 to 36 inches high) and hanging a coordinated gallery of framed prints, photographs, or vintage kitchen art on the upper wall creates a two-zone wall design: architectural paneling below, art display above. The chair rail (the horizontal molding that caps the top of the wainscoting) serves as a visual ledge that grounds the framed art above and separates the durable lower wall from the decorative upper wall.
Frame a collection of 5 to 8 kitchen-themed prints (botanical herb illustrations, vintage French food advertisements, black-and-white cooking photographs, or hand-lettered recipe cards) in matching frames (IKEA RIBBA, $5 to $15 each in black, white, or walnut) for a cohesive gallery above the wainscoting. Hang the frames 4 to 8 inches above the chair rail with their centers at 57 to 60 inches from the floor (standard gallery hanging height). A gallery wall above white wainscoting in a kitchen eating area or breakfast nook creates a dining-room atmosphere in a casual kitchen setting.
2. Open Shelving Above Wainscoting
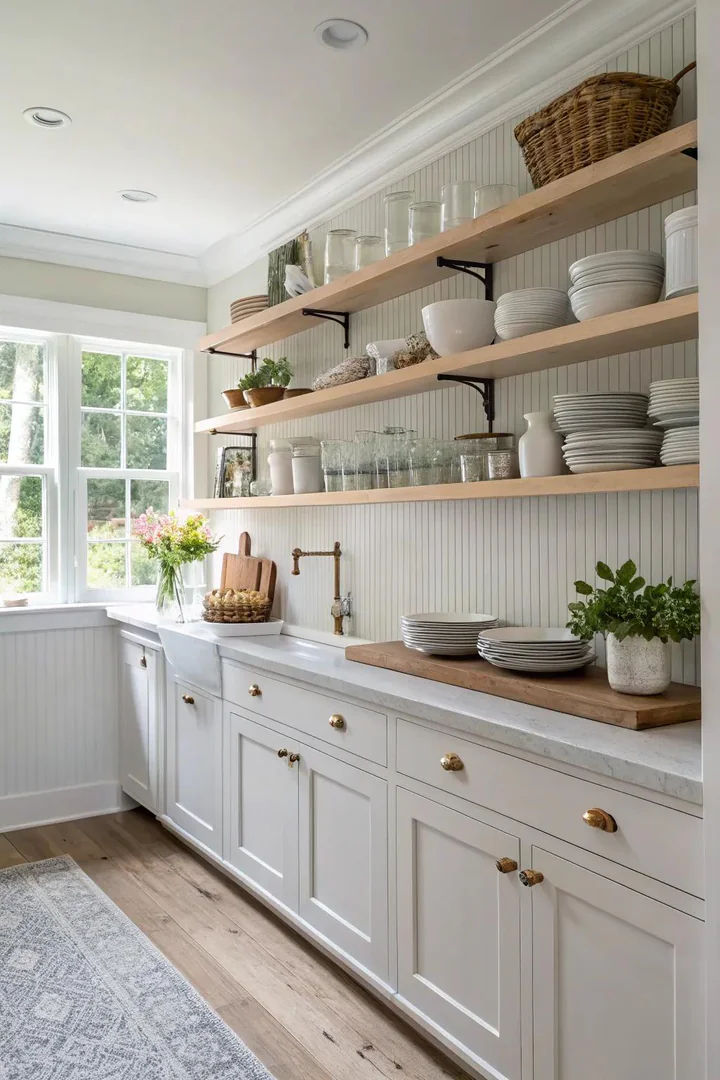
Mounting floating wooden shelves ($20 to $50 each for 36-inch shelves from IKEA LACK, Home Depot, or Etsy sellers) on the upper wall above the wainscoting creates a combined architectural and functional display zone. The wainscoting protects the lower wall from daily contact while the open shelves above provide accessible storage for dishes, mugs, cookbooks, and decorative objects that bring personality to the kitchen.
Position the first shelf 8 to 12 inches above the chair rail and space additional shelves 10 to 14 inches apart vertically. Shelves in a warm wood tone (walnut, oak, or reclaimed pine) contrast against white-painted wainscoting and create a farmhouse or transitional look. Shelves painted the same color as the wainscoting create a monochromatic, built-in look. Limit open shelving to one wall section (4 to 8 feet wide) to maintain a balance between open display and closed cabinet storage.
3. Modern Shiplap Wainscoting
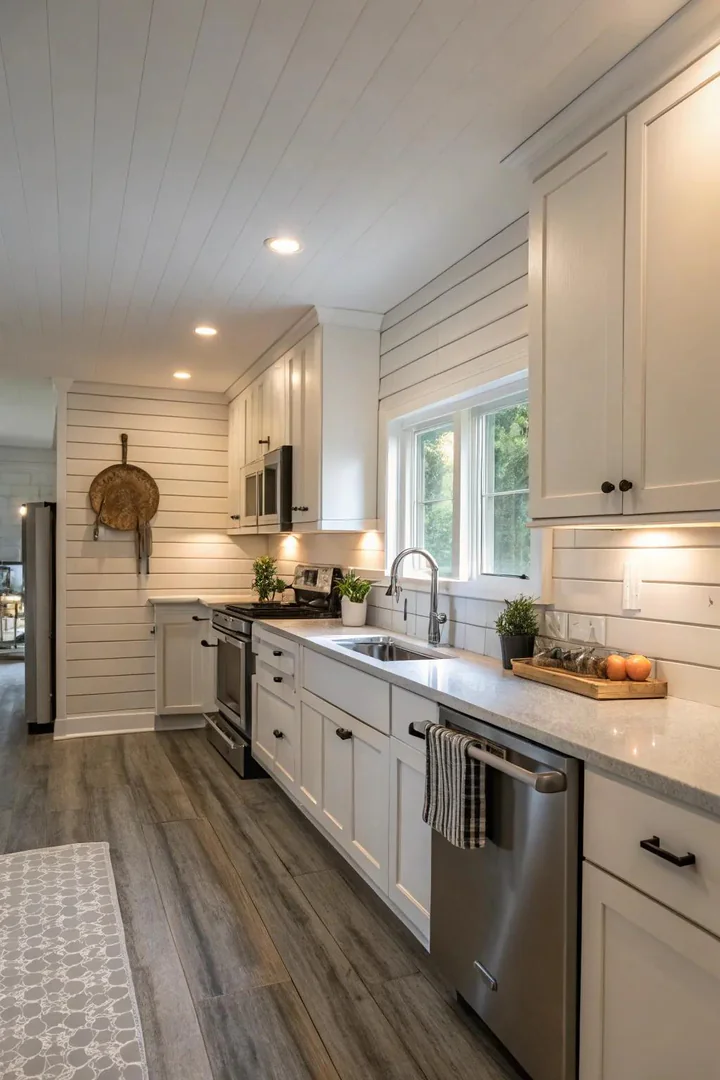
Shiplap wainscoting (horizontal boards with a rabbeted edge that overlaps to create a 1/8-inch shadow gap between boards) installed from the floor to 36 or 42 inches high creates a casual, modern-farmhouse wall treatment with clean horizontal lines. Shiplap boards ($1.50 to $3 per linear foot for 1-by-6-inch pine or MDF shiplap from Home Depot or Lowe’s; $4 to $8 per linear foot for pre-primed, tongue-and-groove shiplap from Metrie or Stikwood peel-and-stick) install directly over drywall with construction adhesive and a brad nailer.
A white-painted shiplap wainscoting in the kitchen creates the Joanna-Gaines-style farmhouse look that has remained popular since 2015. Paint shiplap with Benjamin Moore Chantilly Lace OC-65 ($50 per gallon in semi-gloss) for a bright, clean white, or Sherwin-Williams Alabaster SW 7008 ($55 per gallon) for a warm, creamy white. A black-painted shiplap wainscoting (Benjamin Moore Black Beauty 2128-10) creates a dramatic, modern-industrial lower wall. Shiplap runs horizontally (standard farmhouse) or vertically (a contemporary variation that adds height).
4. Bold Color Contrast Wainscoting
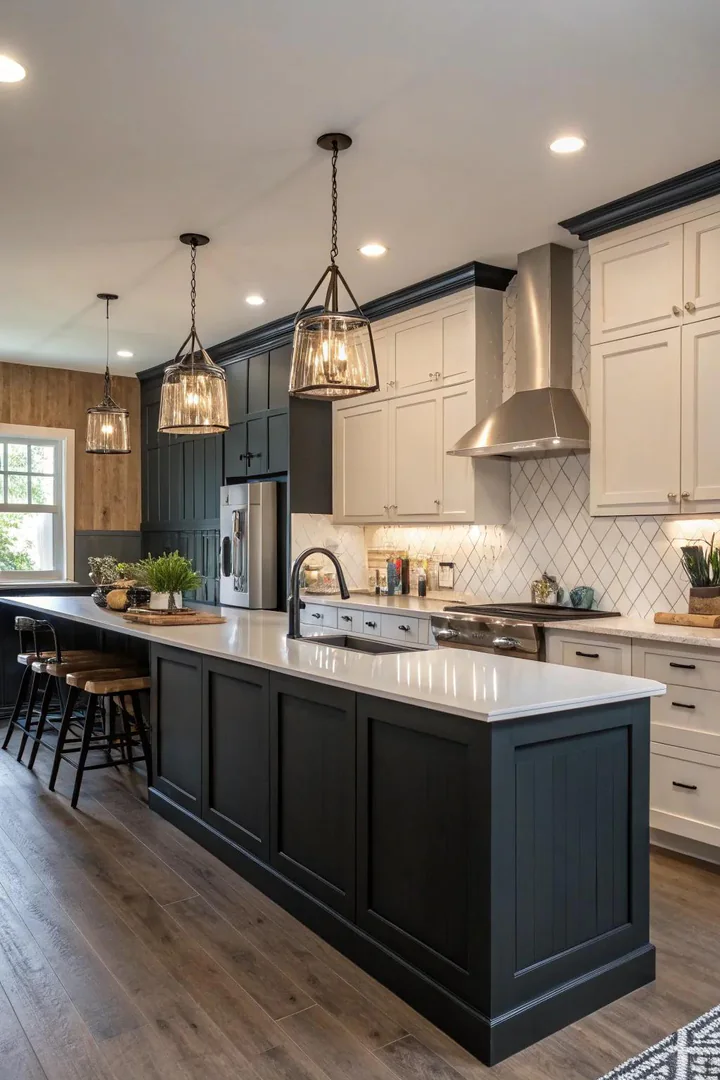
Painting the wainscoting a different color than the upper wall (dark wainscoting below, light wall above, or colored wainscoting below, white wall above) creates a two-tone wall with built-in contrast. A navy wainscoting (Benjamin Moore Hale Navy HC-154, $50 per gallon) below white walls creates a nautical, classic look. A sage-green wainscoting (Sherwin-Williams Evergreen Fog SW 9130) below cream walls creates an organic, nature-inspired look.
The chair rail molding at the color transition line provides a clean, architectural break between the two colors. A bold color on the wainscoting grounds the lower wall with visual weight while keeping the upper wall light and open. A dark lower wall also hides scuff marks, fingerprints, and dirt more effectively than a light lower wall, making colored wainscoting both a decorative and practical choice in high-traffic kitchen zones (the breakfast area, the mudroom entry, the island pass-through). Discover more color strategies at kitchen backsplash ideas for coordinating wall color with tile selections.
5. Colorful Painted Panel Wainscoting
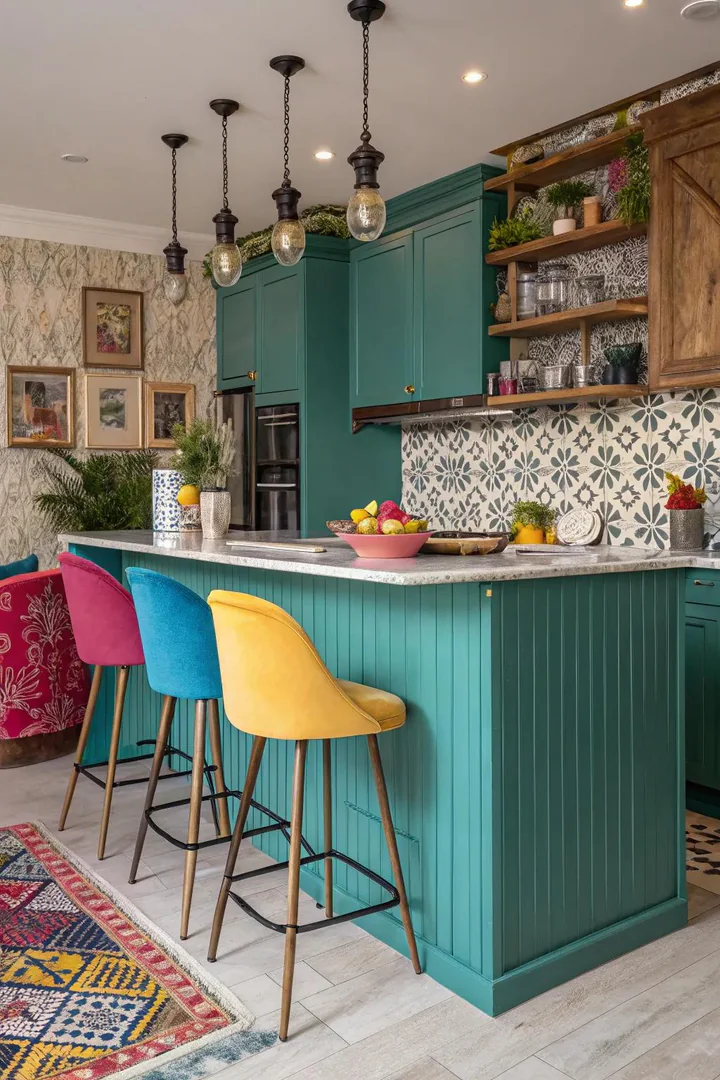
Painting wainscoting panels in a bright, saturated color (sunflower yellow, coral, turquoise, or kelly green) adds a pop of color to the lower kitchen wall that energizes the room without covering the entire wall in a bold shade. A saturated wainscoting color below a neutral upper wall (white, light gray, or cream) confines the bold color to the protected lower zone where scuffs and contact marks are less visible against the darker hue.
A turquoise wainscoting (Benjamin Moore Teal Ocean 2049-30, $50 per gallon) below white walls and paired with white cabinets and brass hardware creates a coastal-modern kitchen. A coral wainscoting (Sherwin-Williams Ravishing Coral SW 6612, $55 per gallon) below warm cream walls creates a cheerful, retro-inspired kitchen eating area. Sand and prime the wainscoting panels with Zinsser Bulls Eye 1-2-3 ($20 per quart) before applying the bold color to prevent the wood grain or MDF texture from showing through the saturated paint.
6. Wainscoting in Unexpected Locations
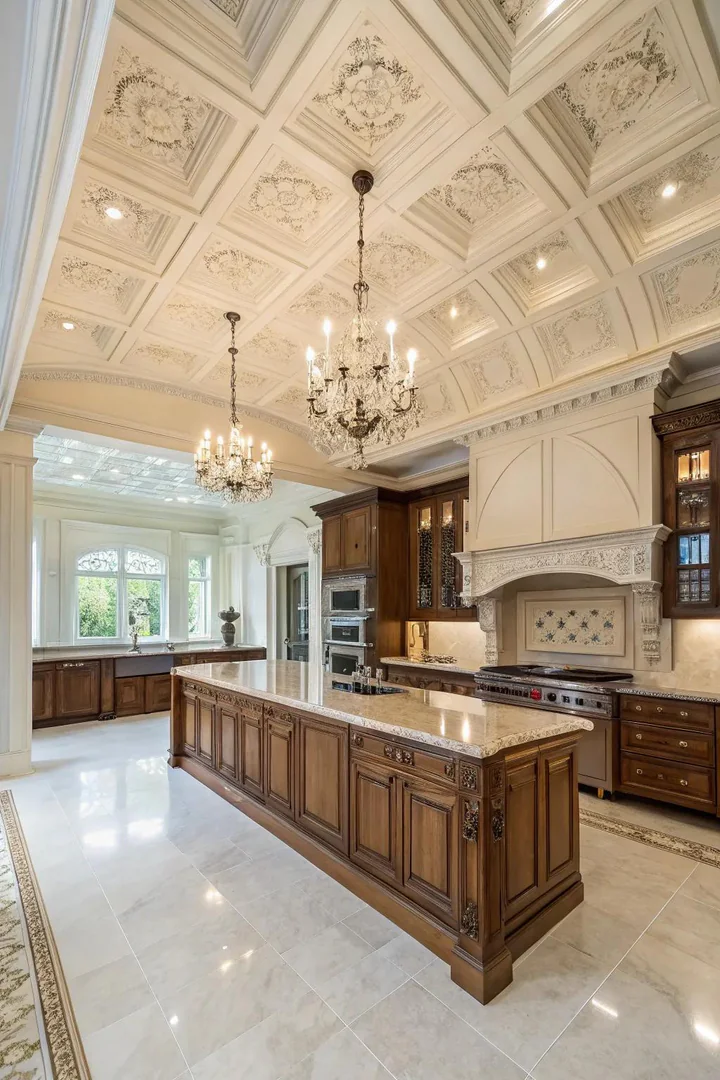
Extending wainscoting beyond the traditional dining-area wall to unexpected kitchen locations (the island’s back panel, the inside of a pantry closet, the ceiling as a beadboard ceiling treatment, the kitchen peninsula’s exposed end cap, or the underside of a bar overhang) adds architectural detail to surfaces that are typically left plain. A beadboard panel on the kitchen island’s back (the side facing the dining or living area) turns a flat drywall panel into a finished, furniture-quality surface.
A beadboard ceiling (beadboard panels installed on the ceiling plane instead of the wall) in a kitchen with low ceilings (8 feet or under) adds visual texture overhead without reducing the already limited ceiling height. Beadboard ceiling panels ($15 to $25 for a 4-by-8-foot sheet of Weyerhaeuser beadboard panel from Home Depot) install with construction adhesive and brad nails over the existing drywall ceiling. Paint the beadboard ceiling white to match the wall trim for a cottage or coastal kitchen.
7. Rustic Reclaimed Wood Wainscoting
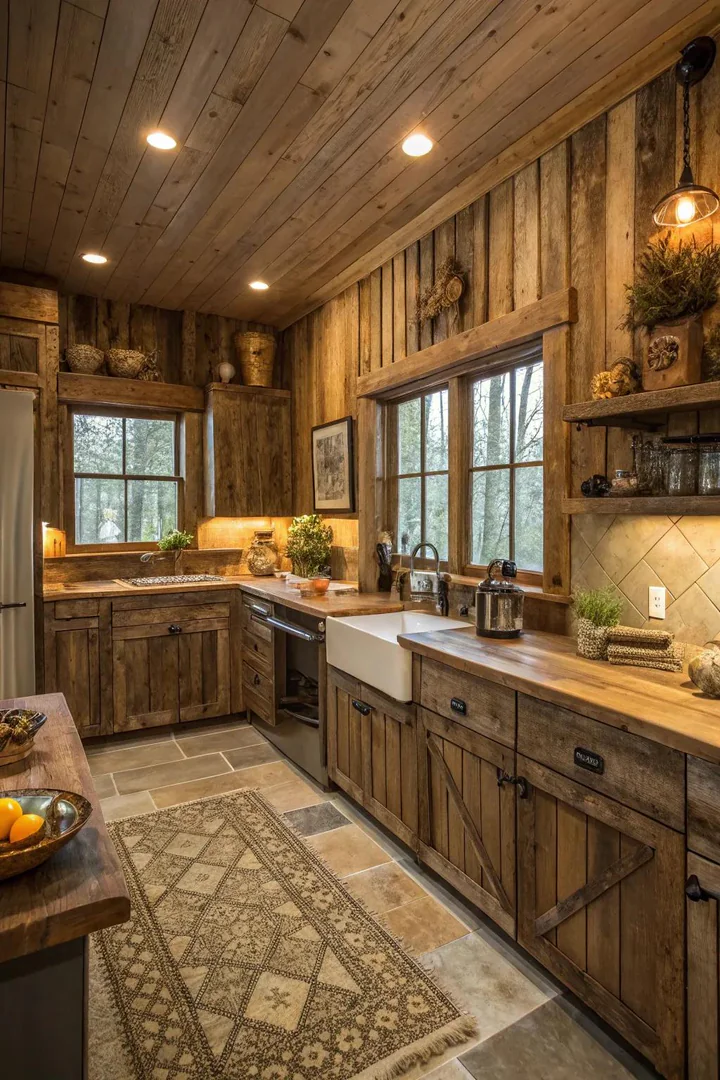
Reclaimed barn wood ($5 to $15 per square foot from salvage yards, reclaimed-wood dealers like Stikwood, or Etsy sellers) installed as wainscoting from the floor to 36 inches creates a rustic, weathered wall treatment with authentic age marks, nail holes, saw cuts, and patina that new wood cannot replicate. Reclaimed wood wainscoting suits farmhouse, rustic, cabin, and industrial-loft kitchens where the aged wood complements exposed brick, iron, and concrete.
Sand the reclaimed boards lightly (120-grit) to remove splinters and loose paint, but preserve the surface patina, nail holes, and color variation that give the wood its character. Apply a matte polyurethane ($14 per quart from General Finishes Flat Out Flat Topcoat) to protect the wood from kitchen moisture and grease while maintaining the natural, unfinished appearance. Mount the boards horizontally (like shiplap) or vertically (like board-and-batten) on the lower wall with construction adhesive and a brad nailer. A reclaimed wood wainscoting below white-painted drywall creates a high-contrast, rustic-modern split wall. Pair reclaimed wood walls with accent treatments at kitchen accent wall ideas for complementary wall design strategies.
8. Wainscoting with Integrated Lighting
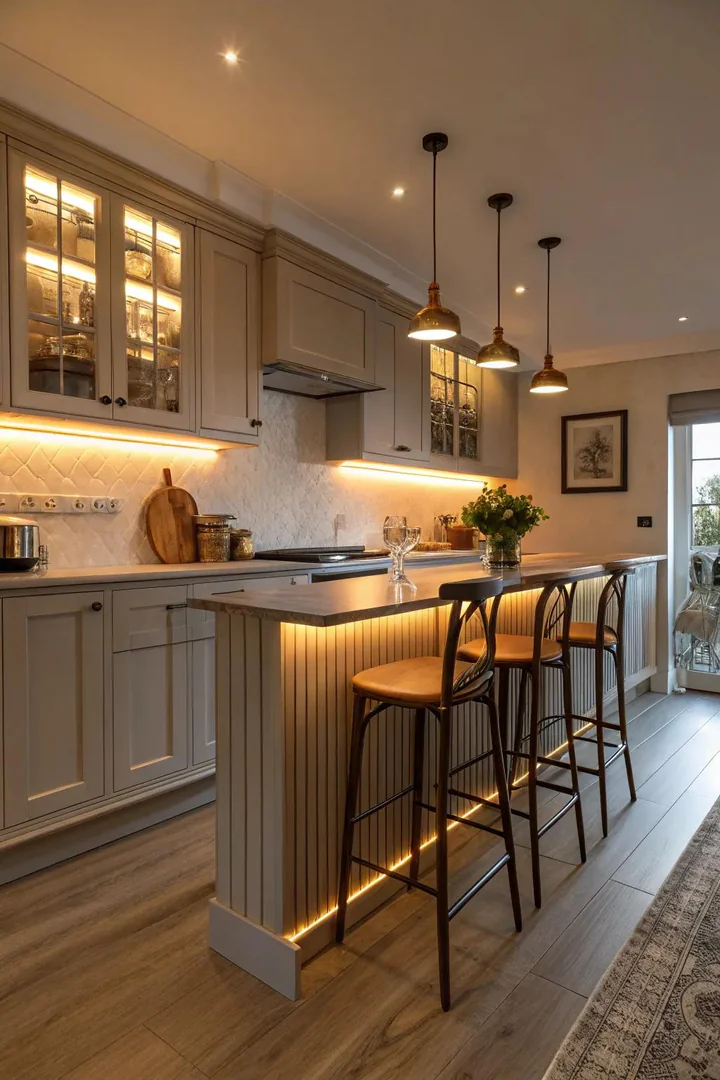
Installing LED strip lighting ($15 to $40 per 16-foot roll of Philips Hue Lightstrip, Govee LED Strip, or HitLights Warm White Strip) along the top of the wainscoting (tucked into the shadow gap below the chair rail) or along the base of the wainscoting (at the floor line) creates an ambient glow that adds atmosphere and functional wayfinding light to the kitchen. A warm-white LED strip (2700K to 3000K color temperature) along the chair rail casts a soft wash of light downward across the wainscoting panels.
A base-level LED strip (installed at the junction of the wainscoting and the floor) provides nighttime navigation light for midnight trips to the kitchen without turning on overhead fixtures. Mount the LED strip in a slim aluminum channel ($10 for a 3-foot channel from Amazon) to protect the strip from foot contact, diffuse the individual LED points into a smooth light line, and provide a clean installation appearance. Connect the strip to a dimmer ($15 for a wireless dimmer from Lutron or Govee) for adjustable brightness.
9. Wainscoting with Wallpaper Above
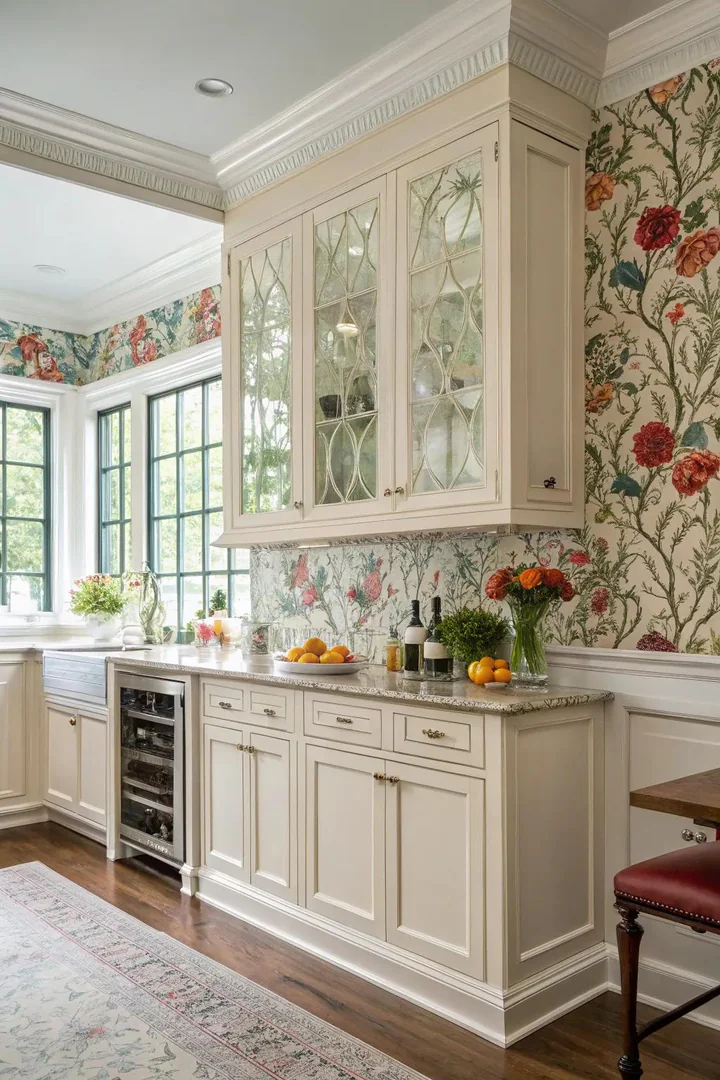
Pairing solid-colored wainscoting below the chair rail with patterned wallpaper above the chair rail creates a layered, European-inspired wall treatment where the architectural paneling grounds the bold pattern above. The wainscoting provides a clean, solid lower border (36 inches of calm) that prevents the wallpaper from overwhelming a small kitchen by confining the pattern to the upper wall zone only.
Choose a wallpaper pattern that coordinates with the wainscoting color: a blue-and-white toile ($30 to $60 per roll from Waverly or Schumacher) above white wainscoting for a French country kitchen, a botanical leaf print ($25 to $50 per roll from Tempaper peel-and-stick or York Wallcoverings) above sage-green wainscoting for an organic-modern kitchen, or a bold geometric ($20 to $40 per roll from Spoonflower or WallPops) above black wainscoting for a contemporary kitchen. Peel-and-stick wallpaper ($20 to $40 per roll) allows a renter-friendly, commitment-free pattern trial above permanent or semi-permanent wainscoting.
10. Textured Textile Wainscoting
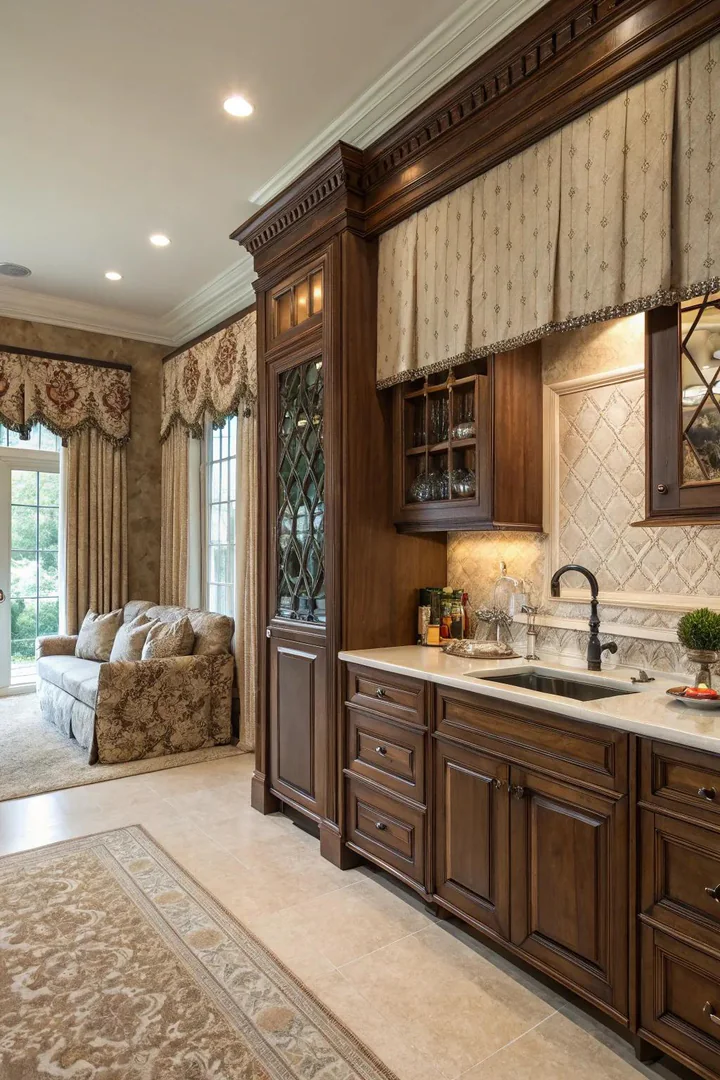
Applying fabric or grasscloth to the wainscoting panels (glued or stapled to the recessed panel faces within the raised-panel frame) adds soft texture that contrasts with the hard surfaces of the kitchen. A natural grasscloth ($30 to $60 per roll from Thibaut, Phillip Jeffries, or budget options from Wayfair at $20 per roll) applied to flat panel faces within white-painted raised-panel frames creates a mixed-media wainscoting with architectural structure and organic texture.
Burlap, linen, or woven-jute fabric ($8 to $15 per yard from JoAnn Fabric) glued to the panel faces with spray adhesive ($8 per can of 3M Super 77) provides a DIY textile wainscoting at a fraction of the grasscloth cost. Protect fabric-covered panels with a coat of Scotchgard Fabric Protector ($10 per 10-ounce can) to resist kitchen grease and food splashes. Textile wainscoting works best in the eating area or breakfast nook (away from the stove, sink, and high-splash zones) where the fabric stays dry and clean.
11. Eco-Friendly Sustainable Wainscoting
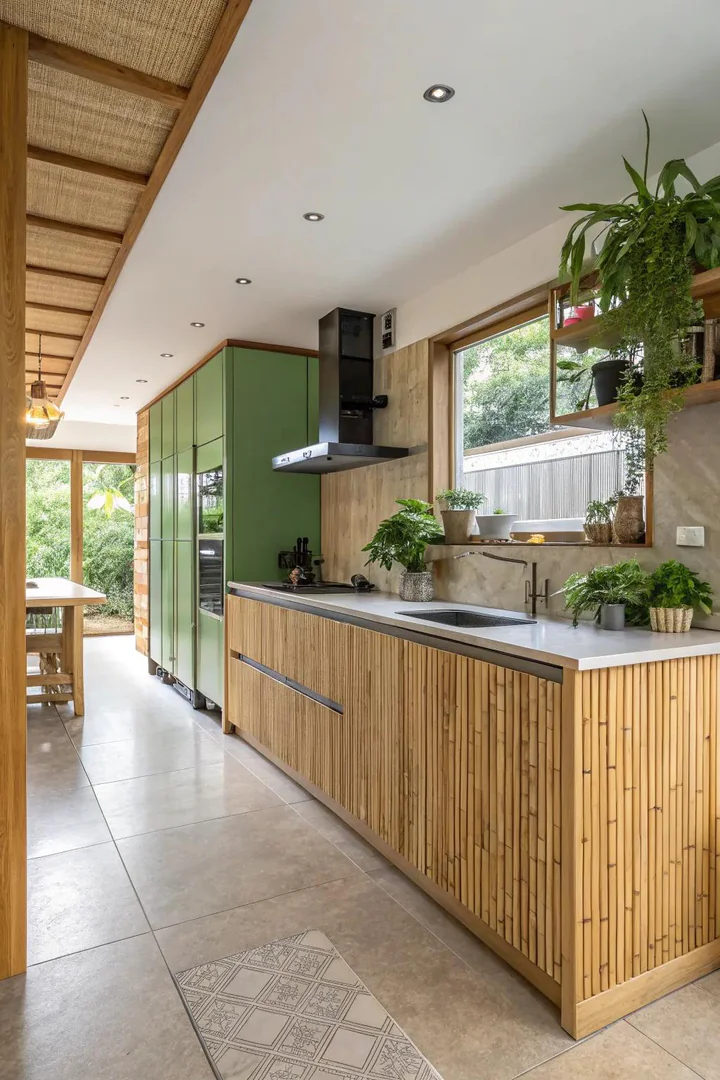
Building kitchen wainscoting from reclaimed wood, FSC-certified lumber ($3 to $6 per linear foot from certified suppliers like EcoTimber or Sustainable Lumber Co.), bamboo panels ($4 to $8 per square foot from Plyboo or Teragren), or recycled-content MDF (made from post-consumer wood fiber, available from Columbia Forest Products) reduces the environmental footprint of a kitchen wall renovation. Bamboo grows to harvest height in 3 to 5 years (versus 20 to 80 years for hardwood trees), making bamboo panels the fastest-renewing wainscoting material.
Finish eco-friendly wainscoting with a zero-VOC paint (Benjamin Moore Natura, $55 per gallon; Sherwin-Williams Harmony, $50 per gallon) or a natural oil finish (Rubio Monocoat, $60 per 350-ml can) to maintain indoor air quality during and after installation. Zero-VOC paint emits no volatile organic compounds (the chemical fumes that cause headaches, nausea, and respiratory irritation in freshly painted rooms), making the kitchen safe to occupy immediately after painting. Explore more eco-friendly kitchen updates at wheelchair accessible kitchen ideas for sustainable, universal-design kitchen features.
12. Wainscoted Kitchen Island
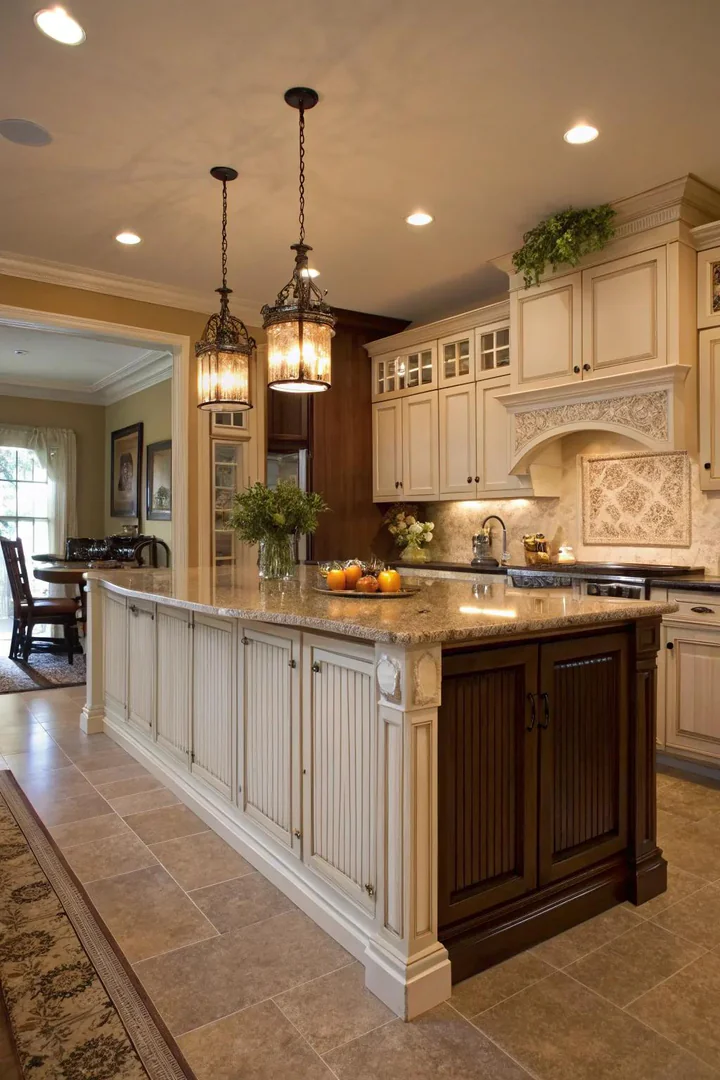
Applying wainscoting panels to the kitchen island (the back panel, the end caps, or all exposed sides) turns a flat, drywall-wrapped island base into a finished, furniture-quality piece. Beadboard paneling ($15 to $25 for a 4-by-8-foot sheet), raised-panel wainscoting ($30 to $60 for a 4-by-8-foot kit from Wainscoting America or House of Fara), or shiplap boards ($1.50 to $3 per linear foot) install on the island’s flat surfaces with construction adhesive and brad nails.
A white beadboard island in a kitchen with dark-stained perimeter cabinets creates a high-contrast focal point. A painted island with raised-panel wainscoting in the same color and profile as the perimeter cabinet doors creates a built-in, custom-kitchen look (matching the island trim to the cabinet trim unifies the room). A wainscoted island with a contrasting countertop overhang (butcher block on a white beadboard base, or white quartz on a navy raised-panel base) adds a two-material, furniture-inspired detail that distinguishes the island as the kitchen’s centerpiece.
13. Geometric Pattern Wainscoting
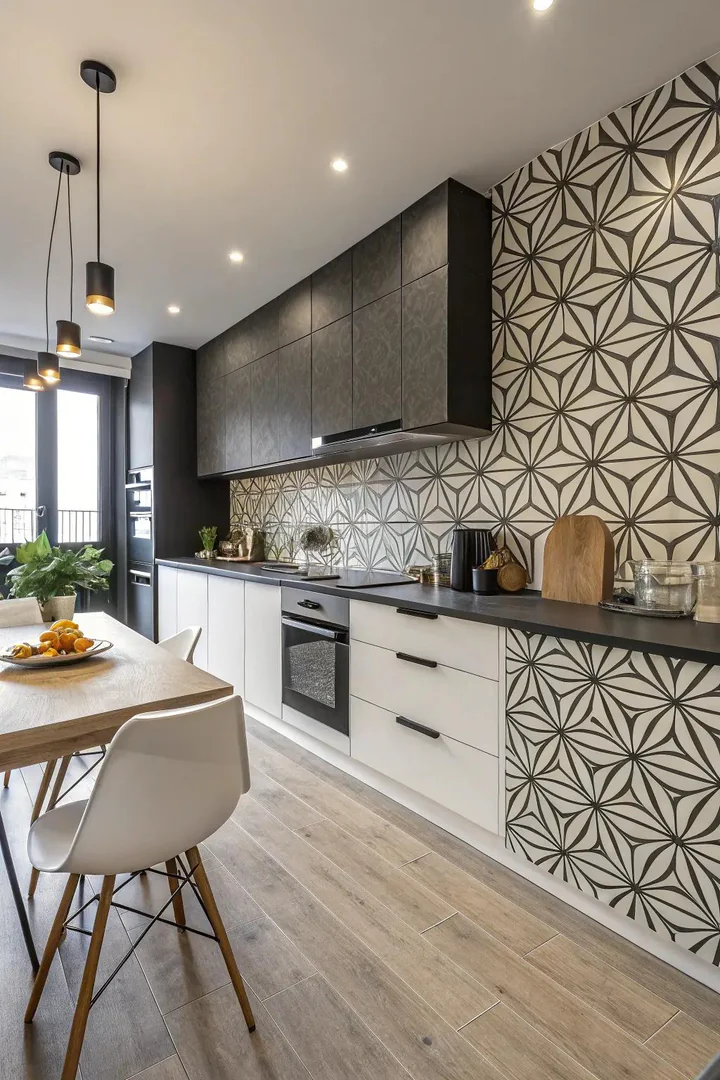
Creating geometric wainscoting patterns (diamond lattice, hexagonal frames, chevron, overlapping circles, or custom angular designs) from thin MDF strips or lattice molding ($1 to $3 per 8-foot strip of 1/4-by-1-1/2-inch MDF from Home Depot) glued and nailed to the lower wall creates a modern, high-impact wainscoting treatment that reads as custom millwork. A diamond-lattice pattern (thin MDF strips arranged in a diagonal grid forming diamond shapes) across a 8-foot kitchen wall takes 3 to 5 hours to install and costs $30 to $60 in materials.
Cut the MDF strips at 45-degree angles with a miter saw ($100 for a 10-inch DEWALT DWS713 miter saw or $15 per day to rent from Home Depot) for diagonal patterns or at 60-degree angles for hexagonal frames. Attach the strips to the wall with construction adhesive (Liquid Nails Heavy Duty, $5 per tube) and 1-inch brad nails, fill the nail holes with wood filler ($5 per tube), sand smooth, and paint the entire wainscoting and strip pattern in a single color for a unified, architectural look. White geometric wainscoting on a white wall creates a subtle, tone-on-tone texture. A contrasting color (dark gray geometric strips on a white wall, or white strips on a navy wall) creates a bold graphic statement.
14. Mixed-Material Wainscoting
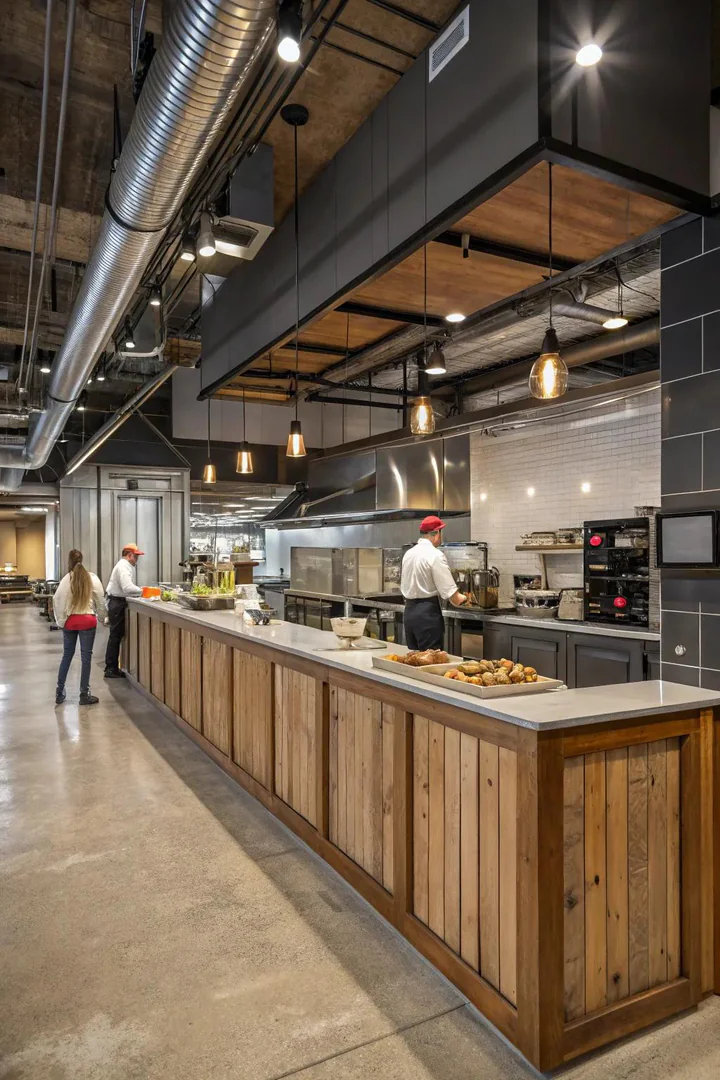
Combining two or more materials (wood paneling with a tile accent strip, beadboard with a stone cap, shiplap with a metal chair rail, or MDF panels with a live-edge wood shelf as the rail cap) creates a mixed-material wainscoting with textural variety and visual depth. A wood wainscoting topped with a honed marble chair rail (a 2-by-36-inch marble pencil molding, $8 to $15 per linear foot from a tile shop) adds a stone accent to the wood paneling.
A beadboard wainscoting with a live-edge walnut shelf ($40 to $80 for a 36-inch live-edge slab from Etsy or a local lumber mill) mounted as the chair rail provides both architectural trim and a functional display shelf for small plants, candles, or decorative objects. A shiplap wainscoting with a brushed-brass flat bar ($15 per 36-inch bar from a metal supplier or Amazon) as the chair rail adds a metallic accent that coordinates with brass cabinet hardware and light fixtures. Browse decorative panel options at french country kitchen ideas for paneling styles that pair with mixed materials.
15. Classic Raised-Panel Wainscoting
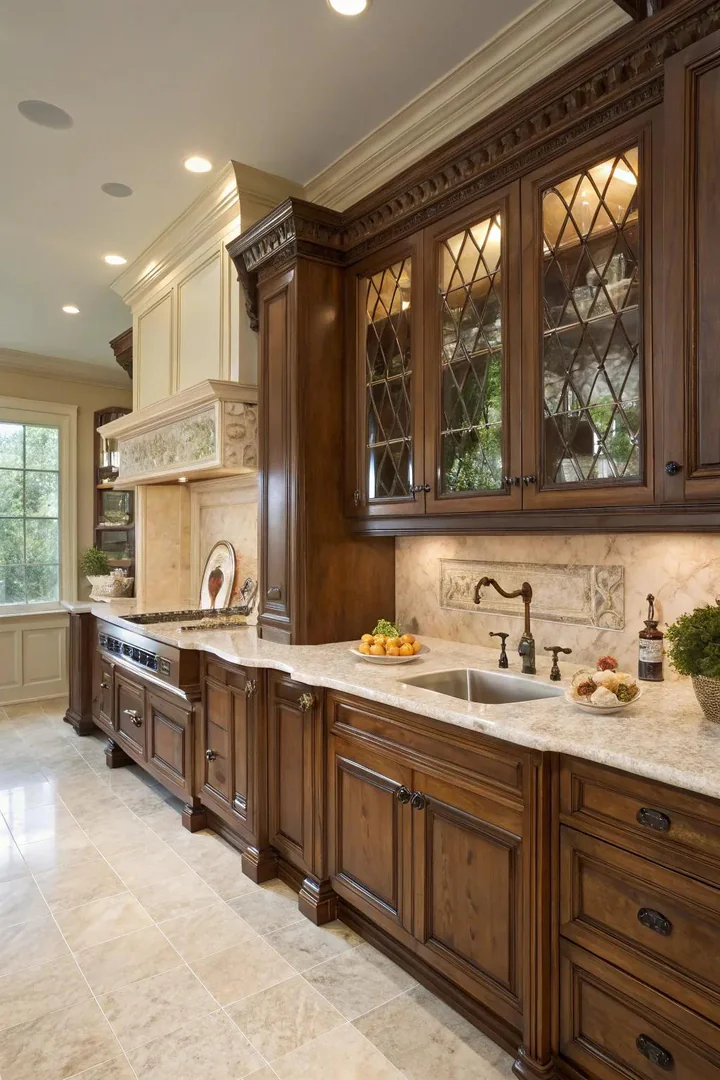
Raised-panel wainscoting (flat wall panels framed by applied molding strips that create a raised, shadow-box effect) is the most traditional and formal wainscoting style, used in American, British, and French interiors since the 1700s. A raised-panel kit (Wainscoting America Heritage Panel Kit, $30 to $60 per 4-foot section; House of Fara 8-foot Raised Panel Kit, $50 to $80) includes pre-cut stiles, rails, and panel moldings that install over existing drywall with construction adhesive and brad nails.
Raised-panel wainscoting pairs with crown molding at the ceiling, baseboard molding at the floor, and a chair rail at the wainscoting top for a fully trimmed, architecturally complete kitchen wall. Paint all trim elements (wainscoting, crown, baseboard, chair rail) the same color in a semi-gloss finish ($50 per gallon of Benjamin Moore Advance) for a unified, custom-millwork look. White or cream raised-panel wainscoting in the kitchen eating area or breakfast nook creates a dining-room-quality wall treatment that distinguishes the eating zone from the working kitchen. Visit The Designers Company for the complete kitchen design library.
How to Install Kitchen Wainscoting
1. Measure and Mark the Wall
Determine the wainscoting height (32 to 42 inches from the finished floor). Mark a level horizontal line at the chosen height across all walls that will receive wainscoting using a 4-foot level ($15 from Stanley) and a pencil. The marked line represents the bottom edge of the chair rail molding and the top of the wainscoting panels. Measure the total linear footage of wall to be covered and calculate the material quantity (panels, boards, or beadboard sheets) plus 10% for waste and cuts.
2. Install the Panels or Boards
Cut panels, boards, or beadboard sheets to the correct height (floor to the marked line, minus the baseboard height at the bottom and the chair rail height at the top). Apply construction adhesive (Liquid Nails Heavy Duty, $5 per tube) to the back of each panel in a zigzag pattern and press the panel against the wall. Secure with 1-1/4-inch brad nails ($5 per box) from a brad nailer ($25 to rent for the day, or $100 to $150 to buy a RYOBI AirStrike) every 12 to 16 inches along the studs. Use a stud finder ($20 from Zircon) to locate wall studs for secure nailing.
3. Add Trim Moldings
Install the chair rail molding at the top of the wainscoting, the baseboard at the bottom, and any vertical stile or divider moldings between panels. Cut molding corners at 45-degree angles with a miter saw or miter box ($10 for a hand miter box from Stanley). Fill all nail holes and molding joints with paintable wood filler ($5 per tube), sand smooth with 220-grit sandpaper after the filler dries (1 to 2 hours), and caulk any gaps between the moldings and the wall with paintable latex caulk ($4 per tube of DAP Alex Plus).
4. Prime and Paint
Apply 1 coat of primer (Zinsser Bulls Eye 1-2-3, $20 per quart, or Kilz 2 All-Purpose Primer, $18 per quart) to all wainscoting surfaces, trim, and filled areas. Allow 1 hour to dry. Sand lightly with 220-grit between primer and paint for a smooth finish. Apply 2 coats of semi-gloss or satin paint (Benjamin Moore Advance, $50 per gallon, or Sherwin-Williams Emerald Urethane, $55 per gallon) with a 4-inch foam roller for flat surfaces and a 2-inch angled brush for molding profiles. Allow 4 to 6 hours between coats.
Wainscoting Style Comparison
| Style | Cost/Linear Ft | DIY Difficulty | Best Kitchen Style | Height Range |
|---|---|---|---|---|
| Beadboard | $3–$6 | Beginner | Cottage, farmhouse, coastal | 32–42 in |
| Shiplap | $4–$8 | Beginner | Modern farmhouse, transitional | 36–48 in |
| Raised panel | $8–$15 | Intermediate | Traditional, formal | 32–36 in |
| Board-and-batten | $5–$10 | Beginner | Modern, Scandinavian | 36–full wall |
| Reclaimed wood | $10–$20 | Intermediate | Rustic, industrial | 32–42 in |
| Geometric lattice | $6–$12 | Intermediate to advanced | Contemporary, glam | 36–48 in |
Frequently Asked Questions
How high should wainscoting be in a kitchen?
Traditional wainscoting height is one-third of the wall height: 32 inches in a room with 8-foot ceilings, 36 inches in a room with 9-foot ceilings, and 42 inches in a room with 10-foot ceilings. A 36-inch height is the most common kitchen wainscoting height because the chair rail aligns with the countertop height (also 36 inches), creating a visual connection between the wall treatment and the work surface. A full-wall wainscoting (floor to ceiling) works in kitchens with 8-foot ceilings where a partial-height treatment would divide the wall awkwardly.
What is the best wainscoting material for kitchens?
MDF (medium-density fiberboard) is the most popular kitchen wainscoting material because MDF takes paint evenly (no grain showing through), costs less than solid wood ($1 to $3 per square foot for 1/4-inch MDF panels), does not warp or split like solid pine, and cuts cleanly with standard woodworking tools. Solid pine wainscoting ($3 to $6 per square foot) provides real-wood character and accepts stain finishes, but pine can warp in high-humidity kitchens. PVC/vinyl wainscoting ($4 to $8 per square foot) resists moisture completely and works behind sinks and in wet zones where wood and MDF would swell.
Can you install wainscoting over existing tile or wallpaper?
Wainscoting panels install directly over smooth, flat existing surfaces (painted drywall, flat tile, or firmly bonded wallpaper) with construction adhesive and brad nails. Remove loose wallpaper, crumbling tile, or any surface that is not flat and firmly bonded to the wall before installing wainscoting. A 1/4-inch wainscoting panel installed over existing tile adds 1/4 to 3/8 inch of thickness to the wall, which may require adjusting electrical outlet box depth using outlet-box extenders ($1 each from Home Depot).
How do you clean kitchen wainscoting?
Wipe painted wainscoting with a damp microfiber cloth and mild dish soap (1 drop of Dawn in 1 cup of warm water) to remove kitchen grease, fingerprints, and food splashes. Semi-gloss and satin paint finishes resist moisture and clean more easily than flat or matte finishes (which absorb grease and show stains). A Magic Eraser ($4 for a 4-pack from Mr. Clean) removes stubborn scuff marks from painted wainscoting without damaging the paint film. Avoid abrasive cleansers and powdered scrubbing agents that scratch the paint surface.
Does wainscoting add value to a kitchen?
Wainscoting adds perceived value and design quality to a kitchen by creating an architectural detail that buyers and appraisers associate with custom, higher-end construction. A professionally installed raised-panel wainscoting (valued at $1,500 to $3,000 by real-estate appraisers) can be built as a DIY project for $200 to $600 in materials. Wainscoting does not directly increase the appraised square footage or functional capacity of the kitchen, but the visual upgrade improves the kitchen’s presentation in listing photos and in-person showings, which influences the buyer’s willingness to pay at or above the asking price.

