
Windowless Kitchen Ideas: 14 Brilliant Ways to Brighten Any Space
Windowless kitchen ideas solve the lighting, ventilation, and spatial perception challenges of a kitchen with no natural light source. A kitchen without windows relies entirely on artificial lighting for task visibility, lacks passive airflow for cooking odors and moisture, and can feel enclosed or cave-like when surrounded by solid walls and upper cabinets. Below are 14 design strategies with specific products, fixture specifications, material choices, and installation methods that brighten, open, and ventilate a kitchen with zero windows, followed by a how-to lighting plan guide, a comparison table, and FAQs on ventilation, paint colors, and layout modifications.
1. Layered Recessed Lighting
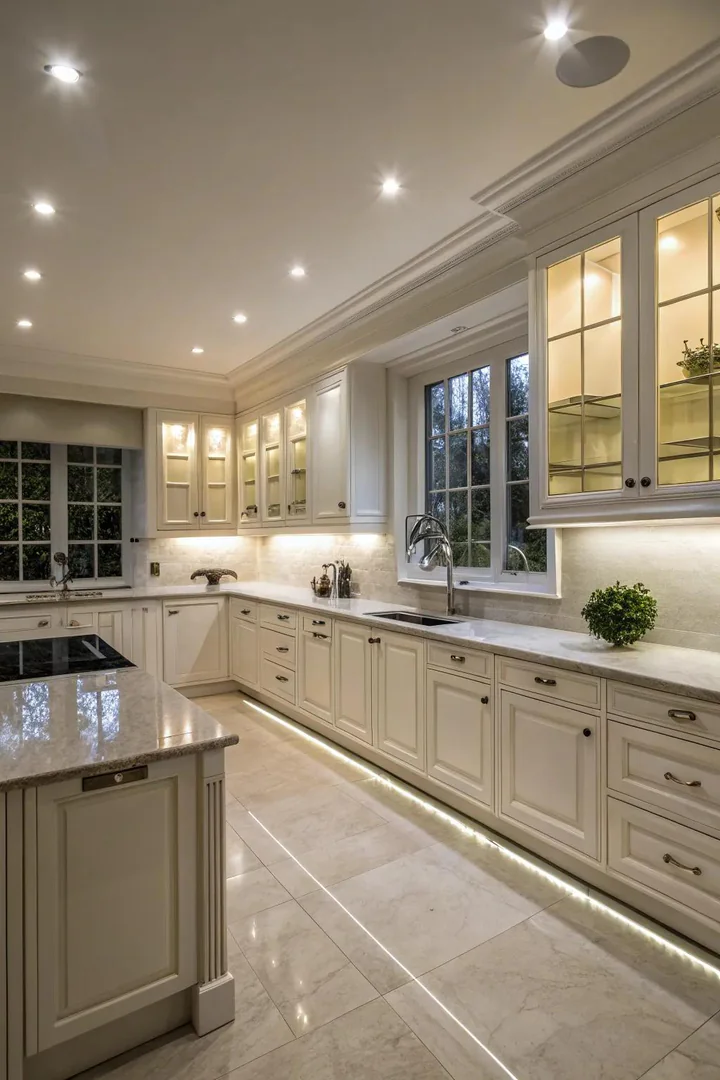
Installing 6-inch LED wafer lights from Halo ($12 to $18 each) or Commercial Electric ($10 each in a 4-pack from Home Depot) on a 4-foot grid across the ceiling provides uniform, shadow-free ambient lighting that replaces the daylight a window would supply. A 10-by-12-foot kitchen needs 6 to 8 recessed lights (one per 15 to 20 square feet) to achieve 50 to 75 foot-candles of ambient illumination, the level recommended by the Illuminating Engineering Society for residential kitchens.
Choose a 3000K warm-white color temperature for a natural-daylight feel without the clinical harshness of 4000K or 5000K cool-white LEDs. Wire the recessed lights on a Lutron Diva dimmer switch ($20) to adjust brightness from full-power task mode (cooking, cleaning) to a lower ambient mode (dining, conversation). Recessed LED wafer lights mount flush to the ceiling with spring clips (no recessed housing can required), making them compatible with shallow ceiling cavities in apartments, condos, and older homes where traditional recessed cans cannot fit.
2. Reflective Backsplash Surfaces
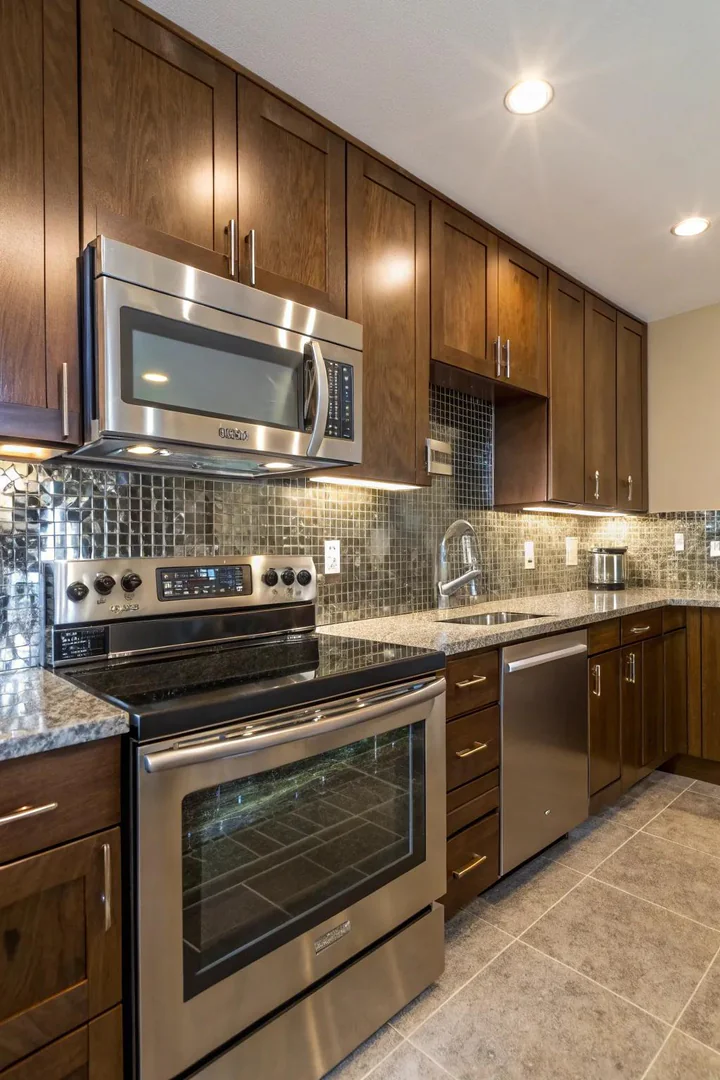
A mirror backsplash (custom-cut mirror panels, $8 to $15 per square foot from a local glass shop) or a high-gloss ceramic tile backsplash (polished white subway tile, $2 to $4 per square foot from Floor & Decor) reflects artificial light back into the kitchen, doubling the perceived brightness of the recessed and under-cabinet fixtures. A mirror backsplash above the countertop between the upper and lower cabinets (typically 18 inches tall and 8 to 12 linear feet long) reflects the opposing wall, cabinets, and light fixtures, creating the optical illusion of doubled depth and a brighter space.
Polished or glossy tile (as opposed to matte or honed finishes) reflects 40% to 60% of incident light, while mirror reflects 85% to 95%. A stainless-steel backsplash panel ($50 to $100 for a 30-by-30-inch panel from Broan orDERA) behind the range reflects light and resists heat and grease better than mirror glass. Combine reflective backsplash surfaces with under-cabinet LED strips to create a double-bounce lighting effect: LED light hits the countertop, bounces up to the reflective backsplash, and scatters back into the room.
3. Glass-Front Cabinet Doors
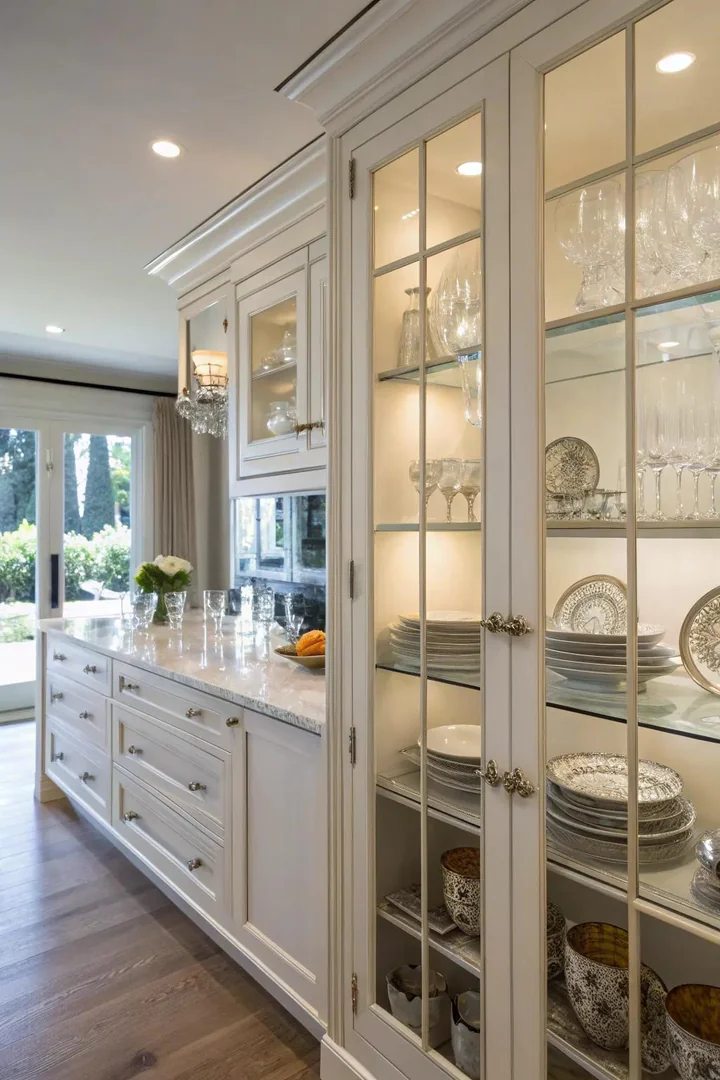
Replacing solid wood upper-cabinet doors with glass-panel doors (clear, seeded, reeded, or frosted glass in the existing door frame) opens the visual depth of the kitchen by allowing the eye to see through the cabinet face into the shelves behind. A glass-front cabinet with interior LED puck lights ($3 to $5 each, battery-operated, adhesive-backed) glows from within, creating a lantern-like effect that adds ambient warmth to a windowless kitchen.
A cabinet door with a clear tempered glass insert ($20 to $40 per door for a custom-cut glass panel from a local glass shop, or IKEA JUTIS glass doors, $30 to $60 per pair) requires routing a rabbet groove into the existing door frame to seat the glass, or replacing the door entirely with a pre-made glass-panel door from Cabinet Door World ($40 to $80 per door in maple, oak, or MDF). Reeded glass (vertically ribbed) provides partial obscurity for cabinets holding mismatched dishware, while clear glass demands neatly arranged, color-coordinated contents.
4. Under-Cabinet LED Strip Lighting
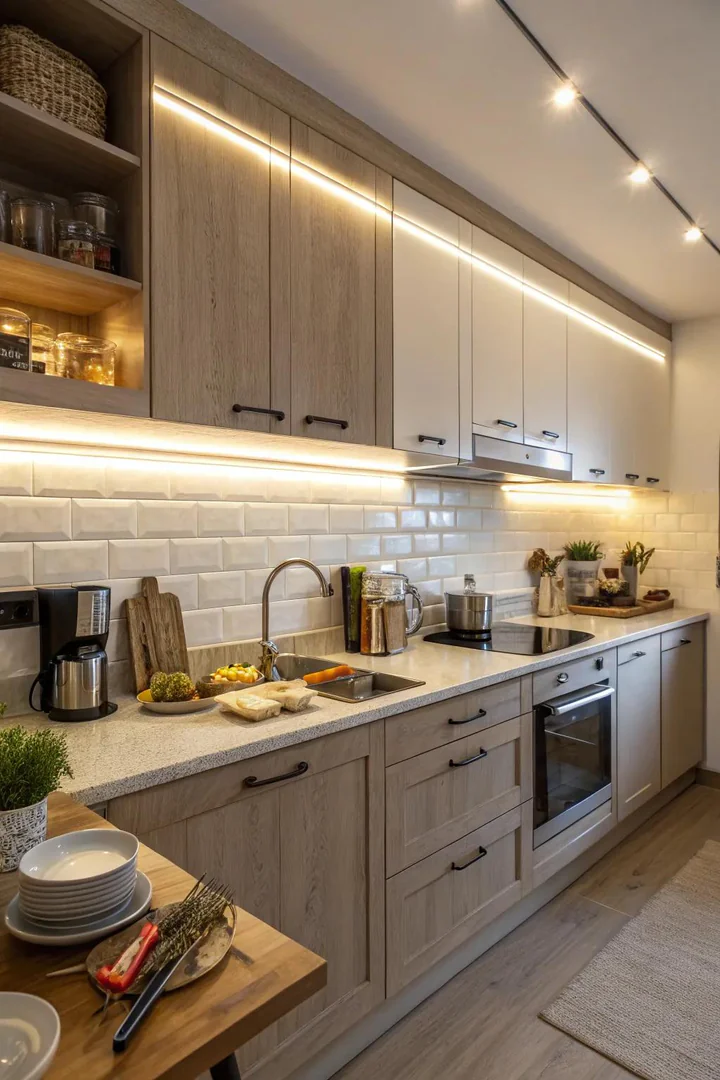
Adhering peel-and-stick LED strips from Philips Hue LightStrip ($80 for a 6-foot strip, color-tunable) or HitLights Warm White LED Strip ($15 for a 16-foot roll) to the underside of every upper cabinet creates a continuous band of countertop illumination that eliminates shadows during food prep. Under-cabinet lighting is the single most effective fixture addition in a windowless kitchen because the countertop work zone sits directly below the upper cabinets, which block ceiling light from reaching the surface.
Mount the LED strip toward the front lip of the cabinet bottom (1 to 2 inches from the front edge) so the light projects downward onto the countertop and forward into the room, rather than washing the backsplash wall. A light rail molding ($3 per linear foot) along the front bottom edge of the upper cabinet conceals the LED strip from direct view and prevents glare when seated at a counter-height stool. A full run of under-cabinet LED strips (16 linear feet covering all upper cabinets) costs $15 to $80 and installs in 30 minutes with peel-and-stick adhesive.
5. Strategic Mirror Placement
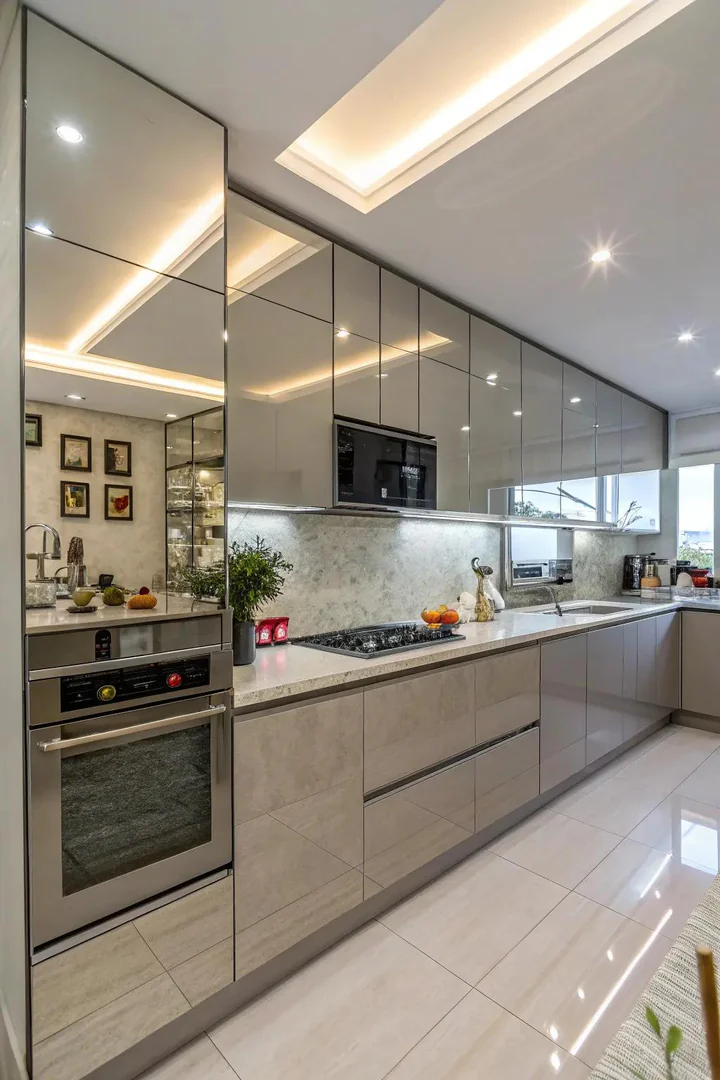
Hanging a large framed mirror (24 by 36 inches or larger) on the wall opposite the main lighting source, or at the end of a galley kitchen, reflects light and visual depth back into the space, making the kitchen appear twice as deep and significantly brighter. A framed mirror from Target Threshold ($40 to $80 for a 24-by-36-inch mirror in black, gold, or natural wood frame) serves as both a lighting amplifier and a decorative focal point.
Position the mirror to reflect the brightest area of the kitchen (the main light fixture or the under-cabinet light strip) for maximum brightness multiplication. A mirror placed at the end of a narrow galley kitchen doubles the visual length of the space, reducing the tunnel-like feeling of two parallel walls. In a windowless kitchen where the mirror trick replaces an actual window, consider a window-frame mirror (a mirror set inside a window-shaped frame, $50 to $120 from Pottery Barn or Amazon) that mimics the appearance of a real window and tricks the brain into perceiving an opening. Explore complementary small-kitchen layout fixes at kitchen ergonomics and layout planning.
6. High-Gloss Cabinet Finishes
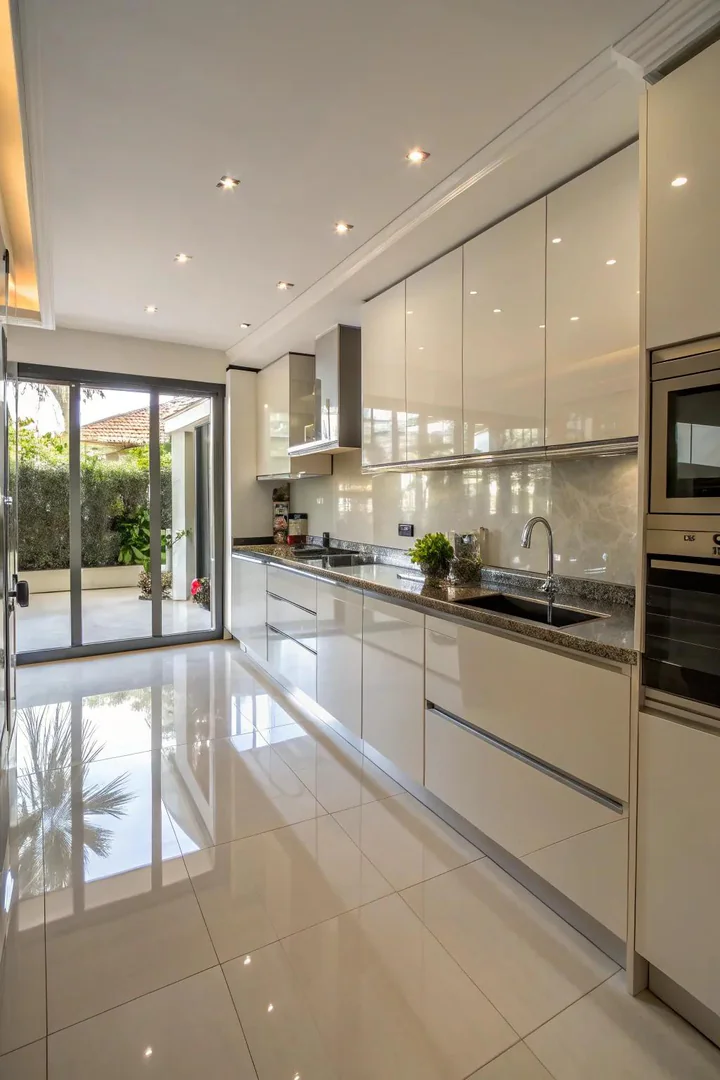
High-gloss lacquer cabinet finishes (80 to 90% sheen level) or semi-gloss paint (50 to 70% sheen, Benjamin Moore Advance semi-gloss, $55 per gallon) on cabinet doors reflect light from recessed fixtures and under-cabinet strips back into the room, amplifying the artificial lighting by 20% to 30% compared to flat or matte cabinet surfaces. A high-gloss white kitchen reflects the most light of any cabinet color and finish combination.
For existing cabinets, sand the current finish with 150-grit sandpaper, prime with Zinsser BIN shellac-based primer ($30 per quart), and apply 2 coats of Benjamin Moore Advance in semi-gloss or high-gloss. For new cabinets, IKEA RINGHULT high-gloss white doors ($30 to $80 per door depending on size) provide a factory-finished, mirror-like surface. High-gloss finishes show fingerprints, water spots, and dust more readily than matte surfaces, so plan for weekly wipe-downs with a microfiber cloth and a spray of diluted white vinegar. The trade-off between maximum reflectivity (high-gloss) and minimum maintenance (satin or eggshell) favors semi-gloss as the best compromise for a windowless kitchen.
7. Metallic Accent Surfaces
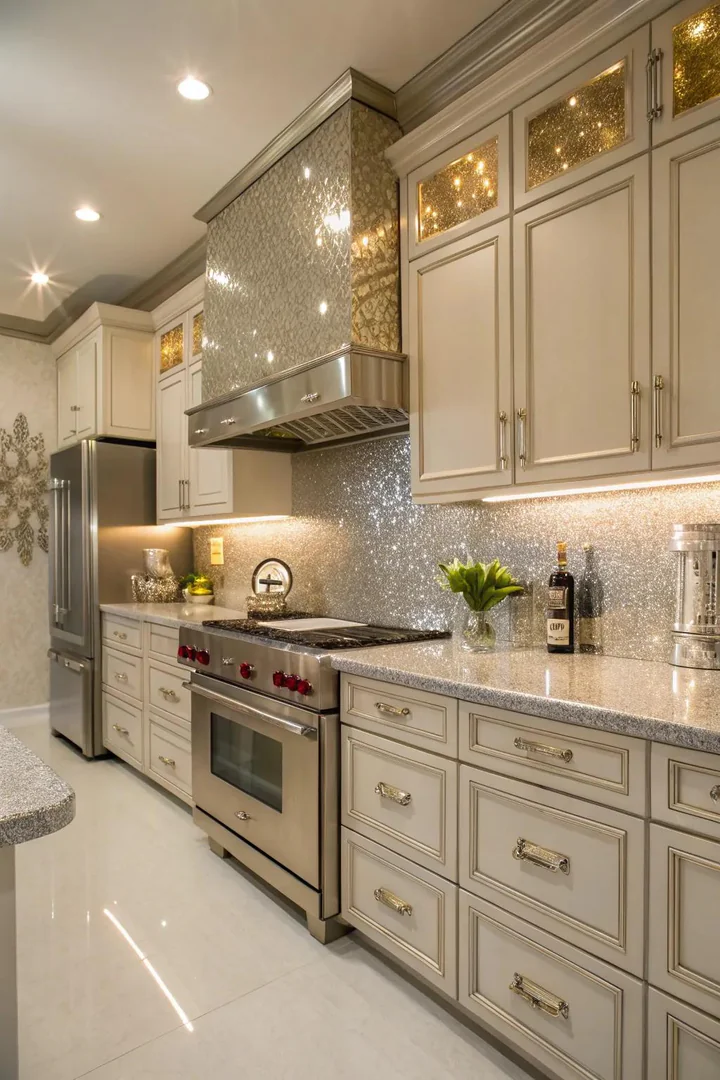
Brushed brass cabinet hardware ($3 to $5 per pull from Amerock or Goldenwarm), a stainless-steel range hood, and metallic mosaic tile ($10 to $20 per square foot for stainless or copper mosaic from Daltile) introduce reflective metallic surfaces that bounce light across the kitchen. Metallic finishes reflect 50% to 80% of incident light depending on the metal and surface texture (polished reflects more than brushed, which reflects more than hammered or matte).
A consistent metallic finish across hardware, fixtures, and accents (all brushed brass, all matte black, or all stainless steel) creates visual cohesion. Mixing more than two metallic finishes in a small, windowless kitchen risks visual clutter because every reflective surface draws the eye. A brass or copper pendant light ($40 to $120 from West Elm or Amazon) with a metallic interior reflector casts warm, golden-toned light downward while the exterior surface reflects ambient light outward, serving double duty as both a light source and a reflective accent.
8. Art as a Focal Point
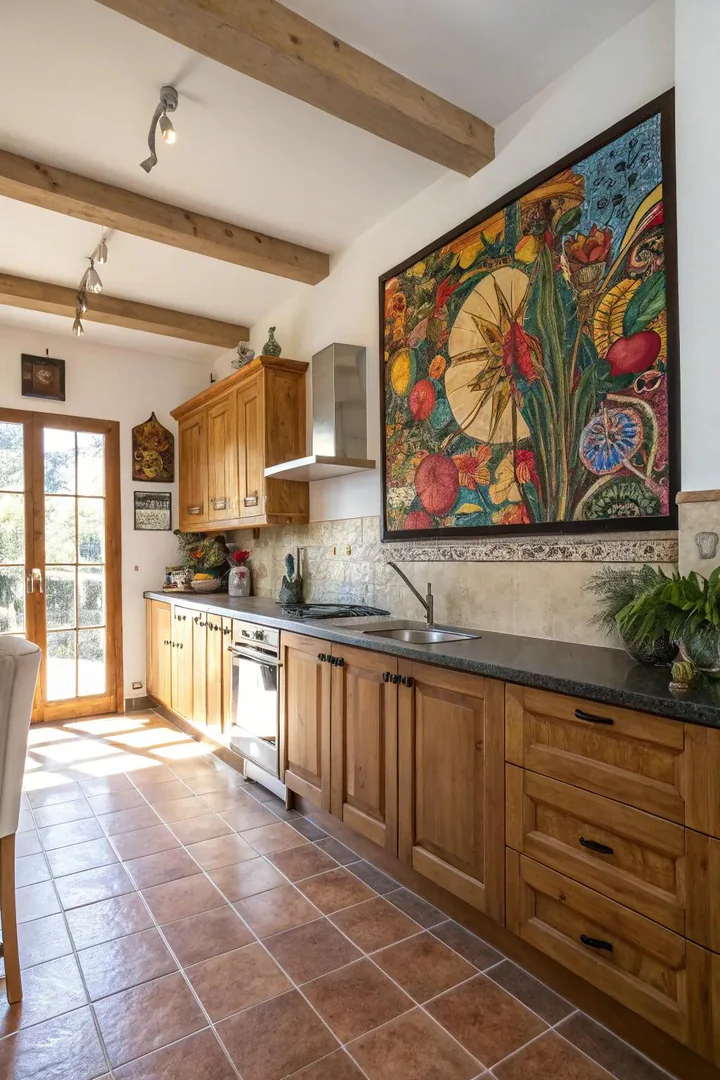
Hanging a large-scale art print (24 by 36 inches or larger) on the most visible wall of the kitchen draws the eye to a focal point and gives the windowless space a sense of personality, openness, and visual destination. A landscape, seascape, or nature photograph ($20 to $60 for a downloadable print from Etsy, framed in a $15 IKEA RIBBA frame) depicting an outdoor scene creates a psychological “window” to the outside that partially compensates for the missing real window.
A backlit LED art panel ($80 to $200 from Amazon, 24 by 36 inches) combines ambient lighting with wall art: the LED panel illuminates the printed image from behind, producing soft, even backlighting that doubles as a secondary light source. Position the art on the wall opposite the kitchen entrance so the arriving viewer’s eye lands on the art immediately, drawing attention away from the absence of a window. A gallery wall of 3 to 5 smaller framed prints (8 by 10 inches each, $5 to $15 per frame) arranged in an asymmetric cluster provides variety and a conversation-starting focal point.
9. Toe-Kick LED Accent Lighting
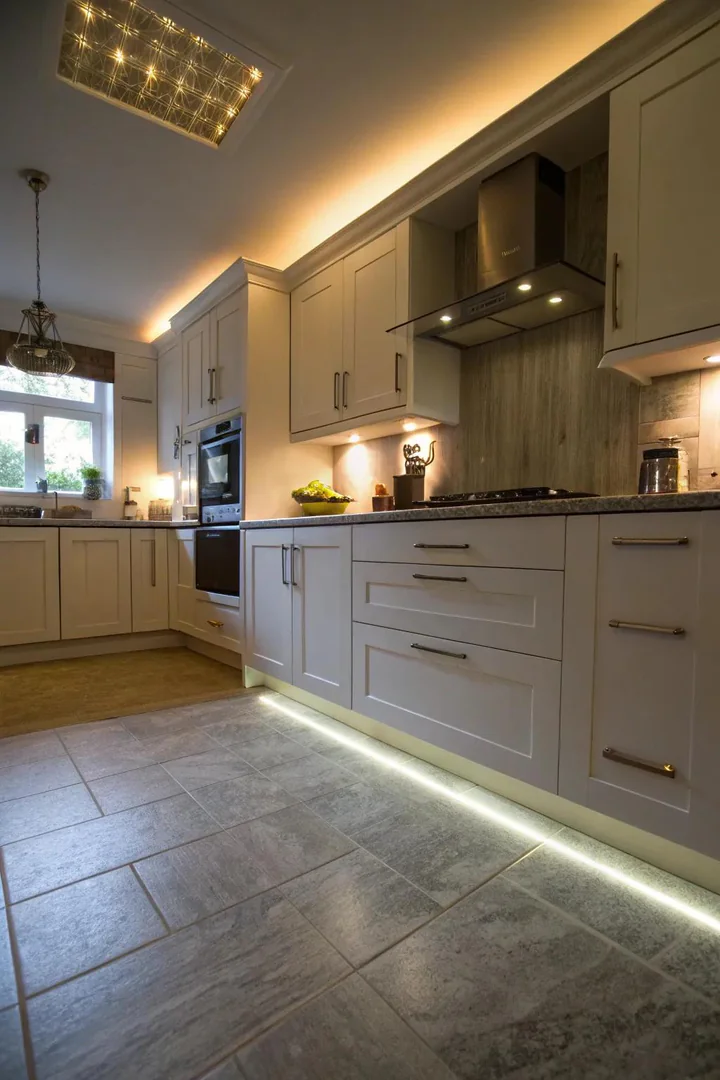
Adhering an LED strip ($10 to $15 for a 16-foot warm-white strip) along the toe-kick (the recessed panel at the base of the lower cabinets, typically 3 to 4 inches tall and 3 inches deep) casts a soft glow onto the floor, creating a floating-cabinet effect and adding a third layer of light (ambient + task + accent) that makes the windowless kitchen feel more spacious and less enclosed.
Toe-kick lighting reads as a design detail rather than a necessity: the soft floor glow suggests a high-end custom kitchen and lifts the visual weight of the lower cabinets off the floor. Wire the toe-kick strip to a separate switch or a motion sensor ($8 for an inline PIR motion sensor from Amazon) so the lights activate when someone enters the kitchen at night, serving as a low-level nightlight without turning on the full overhead or under-cabinet fixtures. A warm 2700K color temperature for toe-kick LEDs (slightly warmer than the 3000K overhead lights) creates a candlelit-floor effect that adds warmth and depth. Browse white countertop options that pair well with these lighting techniques at white kitchen countertop ideas.
10. Natural Wood and Plant Elements
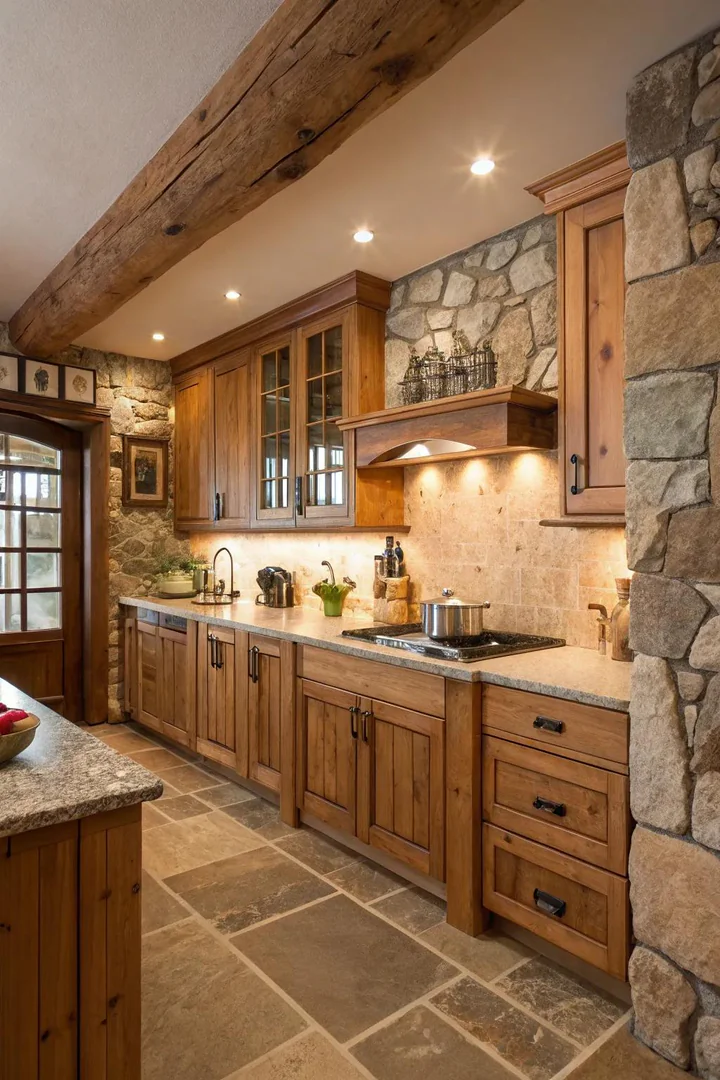
Introducing natural materials (butcher-block countertops, wooden open shelves, bamboo drawer organizers, woven baskets) and low-light houseplants (pothos, snake plant, ZZ plant, philodendron) brings organic texture and living greenery into a windowless kitchen that would otherwise feel entirely synthetic and artificial. A golden pothos ($10 to $15 from a garden center) on top of an upper cabinet trails vines downward and thrives under artificial light (100 to 200 foot-candles from nearby LED fixtures is sufficient).
A snake plant (Sansevia) ($12 to $20) stands upright on a countertop corner or on the floor beside the refrigerator and tolerates very low light, infrequent watering (every 2 to 4 weeks), and the temperature fluctuations of a kitchen environment. A herb planter (basil, mint, parsley, chives) under a grow light ($20 to $40 for a clip-on full-spectrum LED grow light from AeroGarden or Amazon) grows fresh herbs without any natural sunlight. The grow light supplements the missing window with the specific red and blue wavelengths plants need for photosynthesis. Pair natural wood tones with the green foliage to create a warm, organic atmosphere that offsets the enclosed feeling of solid walls.
11. Smart Storage to Open Walls
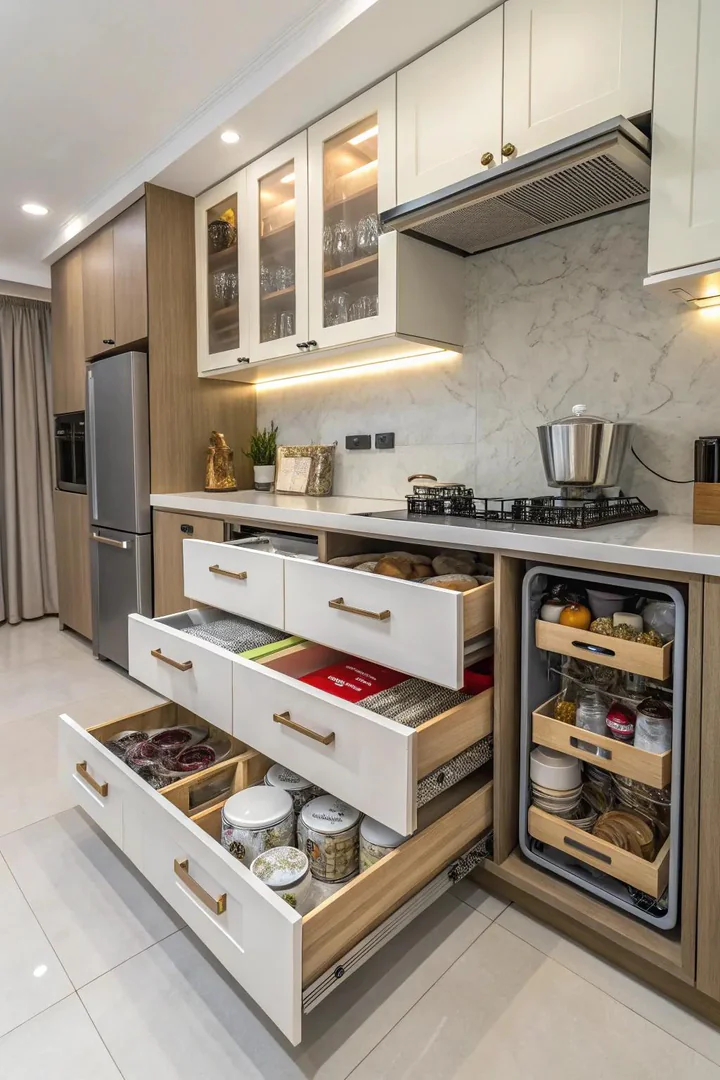
Removing one or two upper-cabinet sections and replacing them with open floating shelves ($20 to $40 each for a 36-inch pine or oak shelf on French cleats) opens the upper wall area, reduces visual bulk, and allows the eye to travel past the shelf to the wall behind, making the kitchen feel less box-like. A windowless kitchen with solid upper cabinets from wall to wall feels more enclosed than the same kitchen with 3 to 4 feet of open shelving breaking the cabinet line.
Position the open-shelf zone on the wall most visible from the adjacent room or hallway so the openness is perceived from outside the kitchen as well as inside. Stock the shelves with curated, uniform items (white dishes, clear glass jars, a small plant) rather than cluttered, mismatched contents. A shelf backed by a light-colored or reflective backsplash tile reads as a bright, open zone compared to a shelf backed by a dark or matte wall. Pair open shelves with interior-lit glass-front cabinets on the adjacent wall sections for maximum light penetration through the upper-cabinet zone. See more storage approaches at kitchen organization ideas.
12. Handleless Flat-Panel Cabinets
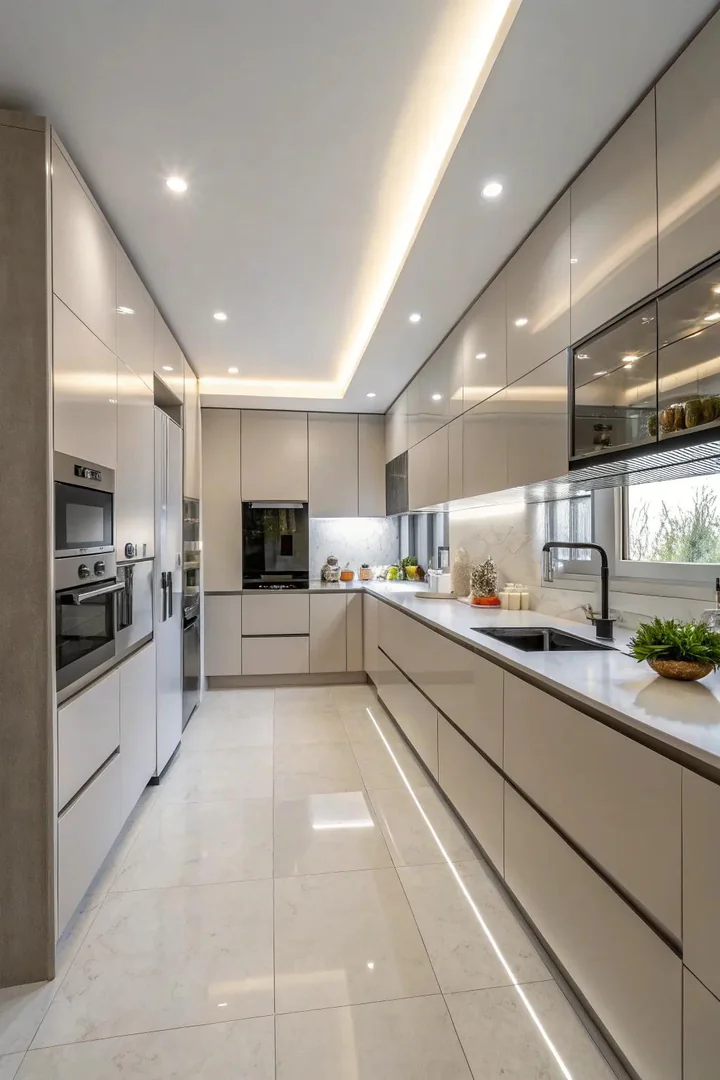
Handleless (push-to-open) cabinets with flat slab doors create smooth, uninterrupted surfaces that reflect light evenly and reduce visual clutter. IKEA VOXTORP doors ($30 to $60 per door in matte white, walnut effect, or dark gray) use integrated finger-pull channels (J-pull or 45-degree beveled edge) instead of protruding handles. A push-to-open mechanism (Blum TIP-ON, $8 per unit) eliminates handles entirely: press the door face to open, press again to close.
Flat-panel (slab) doors with no raised panels, no molding profiles, and no visible hardware present a clean geometric surface that bounces light uniformly. In a windowless kitchen where every surface is lit by artificial fixtures, a flat door reflects light predictably (no shadows in panel grooves, no dark spots behind protruding handles) and maintains the clean, bright aesthetic that compensates for missing daylight. Handleless cabinets suit modern, Scandinavian, and minimalist kitchen styles. A 45-degree beveled bottom edge on each upper-cabinet door creates a finger grip that functions as a handle without any hardware visible from the front.
13. Kitchen Island with Pendant Lighting
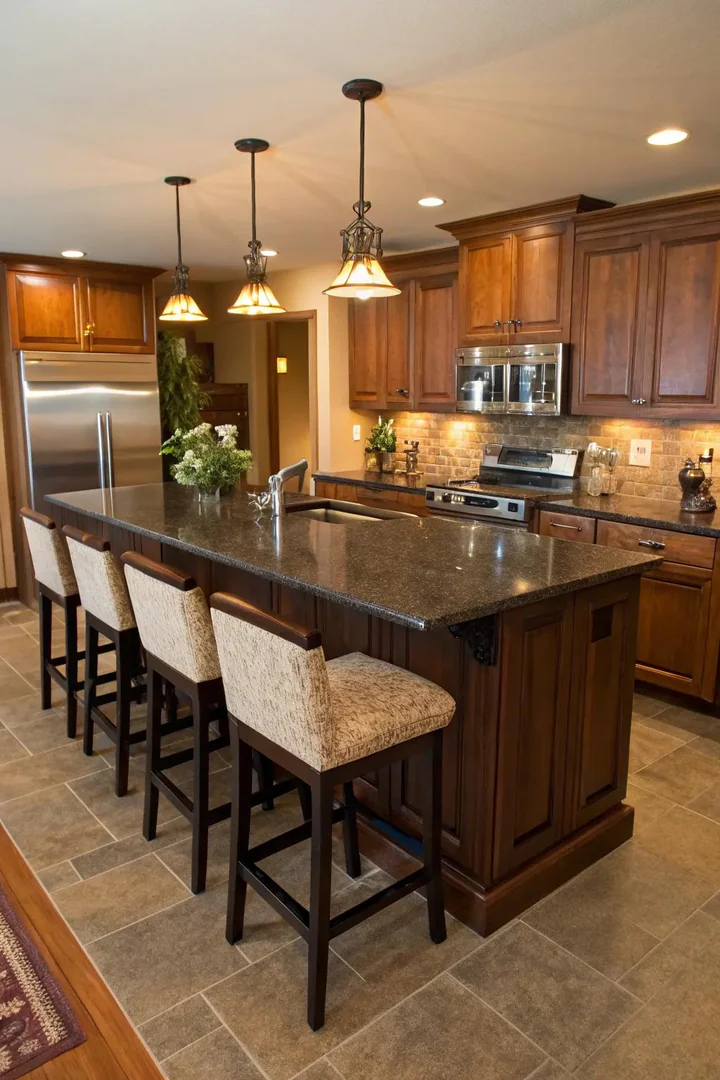
A kitchen island with 2 to 3 pendant lights hung above creates a defined social and work zone in the center of the kitchen that draws attention downward (toward the lit countertop) rather than outward (toward the windowless walls). Globe pendants ($30 to $80 each from West Elm, Amazon, or IKEA JAKOBSBYN) with clear or frosted glass shades cast light in all directions, acting as both task lights for the island surface and ambient light sources for the surrounding kitchen.
Hang pendants 30 to 36 inches above the island countertop (measured from the countertop surface to the bottom of the pendant shade) for optimal task illumination without head-bonking. Space the pendants 24 to 30 inches apart center-to-center across the island length. A 4-foot island takes 2 pendants; a 6-foot island takes 3. In a windowless kitchen, pendant lights serve triple duty: task lighting for the island, ambient lighting for the room, and a decorative focal point that gives the ceiling plane a visual anchor. Match the pendant finish (brass, matte black, brushed nickel) to the cabinet hardware and faucet for a coordinated palette.
14. Indoor Plants and Herb Gardens
A countertop hydroponic herb garden from AeroGarden Harvest ($100 to $130, grows 6 herbs under a built-in LED grow light) or Click & Grow Smart Garden 3 ($70 to $90, grows 3 herbs) produces fresh basil, cilantro, mint, dill, parsley, and chives on the countertop without any natural sunlight. The built-in full-spectrum LED grow light provides the red (630nm) and blue (460nm) wavelengths that plants need for photosynthesis, running on an automatic timer (16 hours on, 8 hours off) that mimics a natural daylight cycle.
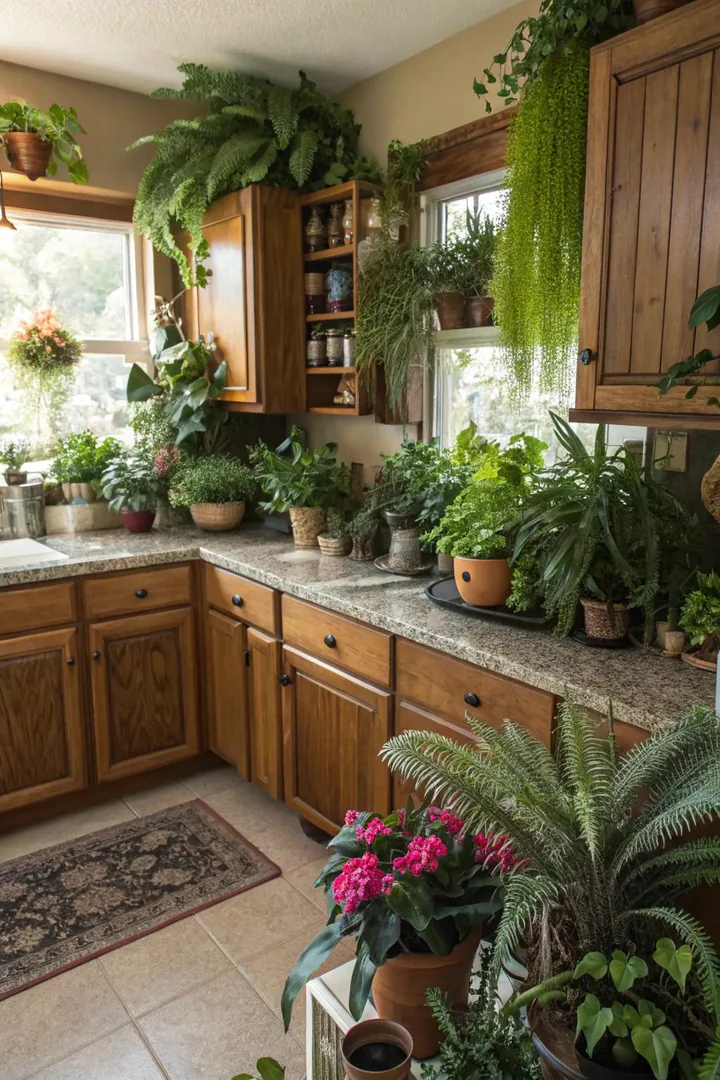
Beyond herbs, low-light foliage plants placed on open shelves, on top of the refrigerator, and on the countertop beside the coffee station add living greenery that warms the space psychologically. A pothos in a hanging macrame planter ($10 for the planter from Amazon, $8 for the plant) mounted above the island or from an upper-cabinet bracket trails vines downward and thrives on 100 foot-candles of artificial light. A windowless kitchen with 3 to 5 strategically placed plants reads as alive and welcoming, while the same kitchen without plants reads as cold and institutional. Rotate plants quarterly so each one spends time closer to the brightest fixture. Visit mobile home kitchen remodel ideas for more small-kitchen renovation strategies, or browse the full library at The Designers Company.
How to Plan Lighting for a Windowless Kitchen
1. Calculate the Total Lumens Needed
Measure the kitchen’s square footage (length times width). Multiply by 50 to 75 lumens per square foot (the residential kitchen standard from the Illuminating Engineering Society). A 10-by-12-foot kitchen (120 square feet) needs 6,000 to 9,000 total lumens from all light sources combined. Distribute this total across 3 layers: ambient (recessed ceiling lights, 60% to 70% of total lumens), task (under-cabinet strips, pendant lights, 20% to 30%), and accent (toe-kick LEDs, interior cabinet lights, 5% to 10%).
2. Select Fixtures for Each Layer
Choose 6 to 8 recessed LED wafer lights ($10 to $18 each, 800 to 1,000 lumens per fixture) for the ambient layer. Choose 16 linear feet of under-cabinet LED strip ($15 to $80, 300 to 500 lumens per linear foot) for the task layer. Choose 2 to 3 pendant lights ($30 to $80 each, 400 to 800 lumens per pendant) over the island or dining bar for a focused task/ambient hybrid. Choose a 16-foot toe-kick LED strip ($10, 200 lumens per linear foot) for the accent layer.
3. Wire All Fixtures on Dimmer Switches
Install a Lutron Diva LED dimmer ($20 per switch) on each lighting circuit (ambient, task, accent can share a dimmer or run on separate dimmers for independent control). Dimming allows the kitchen to shift from 100% brightness during cooking and cleaning to 30% to 50% brightness during dining and conversation. A windowless kitchen with dimmable fixtures has more lighting flexibility than a windowed kitchen that cannot dim the sun.
Windowless Kitchen Solution Comparison
| Solution | Cost | Brightness Gain | Install Difficulty | Rental Safe |
|---|---|---|---|---|
| Recessed LED wafer lights (6–8) | $60–$144 | High (primary ambient) | Moderate (electrical) | No |
| Under-cabinet LED strips | $15–$80 | High (task zone) | Easy (peel-and-stick) | Yes |
| Mirror backsplash | $100–$200 | Medium–high (reflection) | Moderate (adhesive) | Partially |
| Glass-front cabinet doors | $20–$80 per door | Medium (visual depth) | Moderate (carpentry) | No |
| High-gloss cabinet paint | $80–$170 | Medium (surface reflection) | Moderate (prep + paint) | No |
| Open shelving swap | $40–$120 | Medium (reduces visual bulk) | Moderate (wall mount) | Minor holes |
| Toe-kick LED strip | $10–$15 | Low (accent only) | Easy (peel-and-stick) | Yes |
| Indoor plants + grow light | $30–$130 | Low (psychological warmth) | None | Yes |
Frequently Asked Questions
How do you ventilate a kitchen without windows?
A ducted range hood vented through the wall or ceiling to the outside ($150 to $500 for a 30-inch hood from Broan or Hauslane, 300 to 600 CFM) is the most effective ventilation solution for a windowless kitchen. A ducted hood exhausts cooking smoke, grease, steam, and odors directly outside. Where ductwork is impossible (apartments, condos, basement kitchens), a recirculating range hood ($80 to $250) with a charcoal filter captures grease and odors and returns filtered air to the room. Replace the charcoal filter every 3 to 6 months ($10 to $20 per filter). An inline bathroom exhaust fan ($30 to $60, ducted through the ceiling) installed in the kitchen ceiling provides general ventilation for moisture and odors when a range hood is not feasible.
What paint color is best for a windowless kitchen?
White and off-white paint colors (Benjamin Moore Chantilly Lace OC-65, Simply White OC-17, White Dove OC-17) reflect the most light (85% to 92% light reflectance value) and maximize the brightness of artificial fixtures. Soft warm whites (Benjamin Moore Swiss Coffee OC-45, Sherwin-Williams Alabaster SW-7008) prevent the clinical, sterile look that pure white creates under LED lighting. A light sage green (Benjamin Moore Saybrook Sage HC-114) or pale blue (Benjamin Moore Breath of Fresh Air 806) adds color while maintaining a high light reflectance value (65% to 75%) that keeps the kitchen bright.
Can you add a window to an interior kitchen?
An interior pass-through opening (a window-like cutout between the kitchen and an adjacent room, 30 to 48 inches wide) borrows light from the neighboring room and reduces the enclosed feeling. A pass-through costs $200 to $500 for a non-load-bearing wall (stud removal, framing, drywall finishing) or $1,000 to $3,000 for a load-bearing wall (requires a structural header and possibly an engineer’s stamp). A solar tube (tubular skylight) from Solatube ($500 to $700 installed) channels natural daylight from the roof through a reflective tube to a ceiling-mounted diffuser, delivering 300 to 500 lumens of real sunlight without a traditional window opening.
How many lumens does a windowless kitchen need?
A windowless kitchen needs 50 to 75 lumens per square foot across all combined light sources (ambient + task + accent). A 100-square-foot kitchen needs 5,000 to 7,500 total lumens. A 150-square-foot kitchen needs 7,500 to 11,250 total lumens. Distribute the lumens across a minimum of 3 fixture types (recessed ceiling for ambient, under-cabinet strips for task, pendant or accent for warmth) to avoid the flat, institutional look of a single overhead fixture illuminating the entire room.
Are LED grow lights safe to use in a kitchen all day?
Full-spectrum LED grow lights consume 10 to 40 watts (comparable to a standard LED bulb), produce negligible heat at the wattages used for countertop herb gardens, and pose no safety risk when used on a timer (16 hours on, 8 hours off is the standard grow cycle). The purple/pink hue of red-blue spectrum grow lights can look unappealing in a kitchen; a full-spectrum white LED grow light ($20 to $40 from GE or Soltech Solutions) produces a warm white light that looks like a standard light fixture while still providing the wavelengths plants need for growth. Mount the grow light 6 to 12 inches above the plant canopy for herb gardens and 12 to 24 inches above for foliage plants.

